
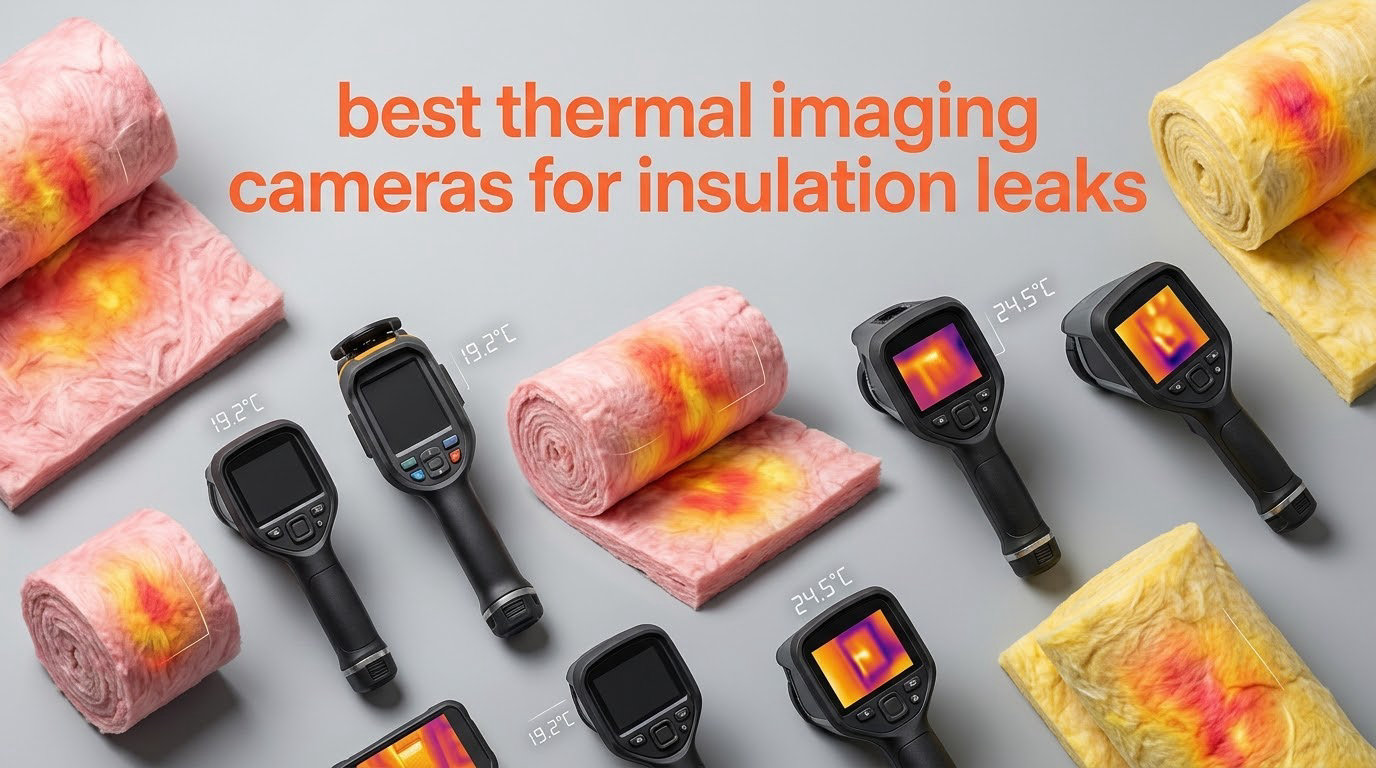
If you have ever run your hand along a window frame in January and felt a cold draft you could not see, you already understand what a thermal camera does for you. It turns that invisible temperature difference into a picture you can show a client, a contractor, or an insurance adjuster. After comparing ten of the most talked-about units on resolution, thermal sensitivity, scale control and reporting workflow, here is my short answer: the best thermal imaging cameras for insulation leaks are the ones that pair enough thermal sensitivity with the software controls that keep a scan comparable from one wall to the next.
That last part is where most buying guides get it wrong. A camera can have an impressive pixel count and still be useless on a building envelope, because a constantly re-scaling color scale turns every wall into a different picture. I weighed the ten units below on the four things that actually decide whether you will use them a year from now: true thermal resolution, NETD in millikelvin, manual scale control, and how easily an image gets into a report.
One thing to say up front, because it changes how you read every section below: a thermal camera flags, it does not diagnose. It shows you where surface temperature behaves unexpectedly. Whether that means missing insulation, an air leak, wet insulation, or simply a thermal bridge through a stud still depends on load conditions, season, and a second tool. If you want the wider category, we also track the best thermal cameras for home and professional use on a separate page.
Last updated in 2026. I refreshed the full lineup this year and re-checked specifications against manufacturer listings, and every number quoted below comes from the product data or from owner reviews rather than from marketing copy.
Our Top 3 Thermal Cameras for Insulation and Air Leak Work

TOPDON TC001
- 256×192 native to 512×384 TISR
- Phone-powered
- 9 simultaneous measurement areas

TOPDON TC004
- 3.5 inch standalone display
- 64GB storage and Wi-Fi transfer
- IP54 with 2-meter drop resistance

Klein Tools TI250
- 19200 pixel sensor
- Emissivity adjustable 0.01 to 0.99
- High and low temperature alarms
The TC001 takes the top slot on the strength of its owner data rather than a single specification. It carries the highest rating and the largest review base in this group, and owners who own competing phone cameras still pick it for refresh speed and temperature range. The TC004 is the standalone counterpart for anyone who does not want a pairing step on a job site, and the Klein TI250 earns its place for full emissivity control in a body light enough to hold overhead.
Comparing All 10 Best Thermal Cameras Side by Side in October 2026
| Product | Details | Action |
|---|---|---|
|
|
Check Latest Price |
|
|
Check Latest Price |
|
|
Check Latest Price |
 |
|
Check Latest Price |
 |
|
Check Latest Price |
 |
|
Check Latest Price |
 |
|
Check Latest Price |
 |
|
Check Latest Price |
 |
|
Check Latest Price |
 |
|
Check Latest Price |
A few patterns jump out of that table. Every unit here is a compact handheld or attachment rather than a large-radiator camera, and nine of the ten cover at least -4F on the low end, which is enough for winter envelope work in most climates. The real split is between the units with 96×96 or 120×90 native sensors and the units that start at 256×192 and upscale to 512×384 with in-camera processing.
How We Tested and Ranked These Cameras
We compare specifications against manufacturer listings, then weight them against what owners report after real jobs: how fast the image settles, whether the scale stays put, and whether an image can be handed to someone else with a location attached. We do not claim laboratory accuracy testing, and we will not pretend to. What we do is filter out the specs that do not matter for a building envelope and promote the ones that do.
That filter includes one practice point that costs nothing to adopt. In the InterNACHI forum, inspectors with credentials like CMI and CPI consistently argue that a camera without Level I and Level II building science training is a very expensive way to take interesting pictures. Take the training first, or at least learn the load conditions below before you trust a scan.
1. TOPDON TC001 – The Best Thermal Imaging Camera for Insulation Leaks Overall
TOPDON TC001 Thermal Imaging Camera for Android, 512×384 High Resolution
256×192 native IR to 512×384 TISR
-4F to 1022F range
Phone-powered, no battery
9 measurement areas
+ Pros
- 512×384 TISR-enhanced images
- Fast refresh owners compare favorably to costly handhelds
- Draws power from the phone so there is no battery to age
- Point Line and Surface modes read nine areas at once
- One ounce with a pouch and extension cable in the box
– Cons
- Short USB-C stem needs an adapter when a phone has a case
- Mobile app resets settings instead of remembering palette and orientation
- Dated app interface with some controls buried
- Corner vignette skews readings so measure from frame center
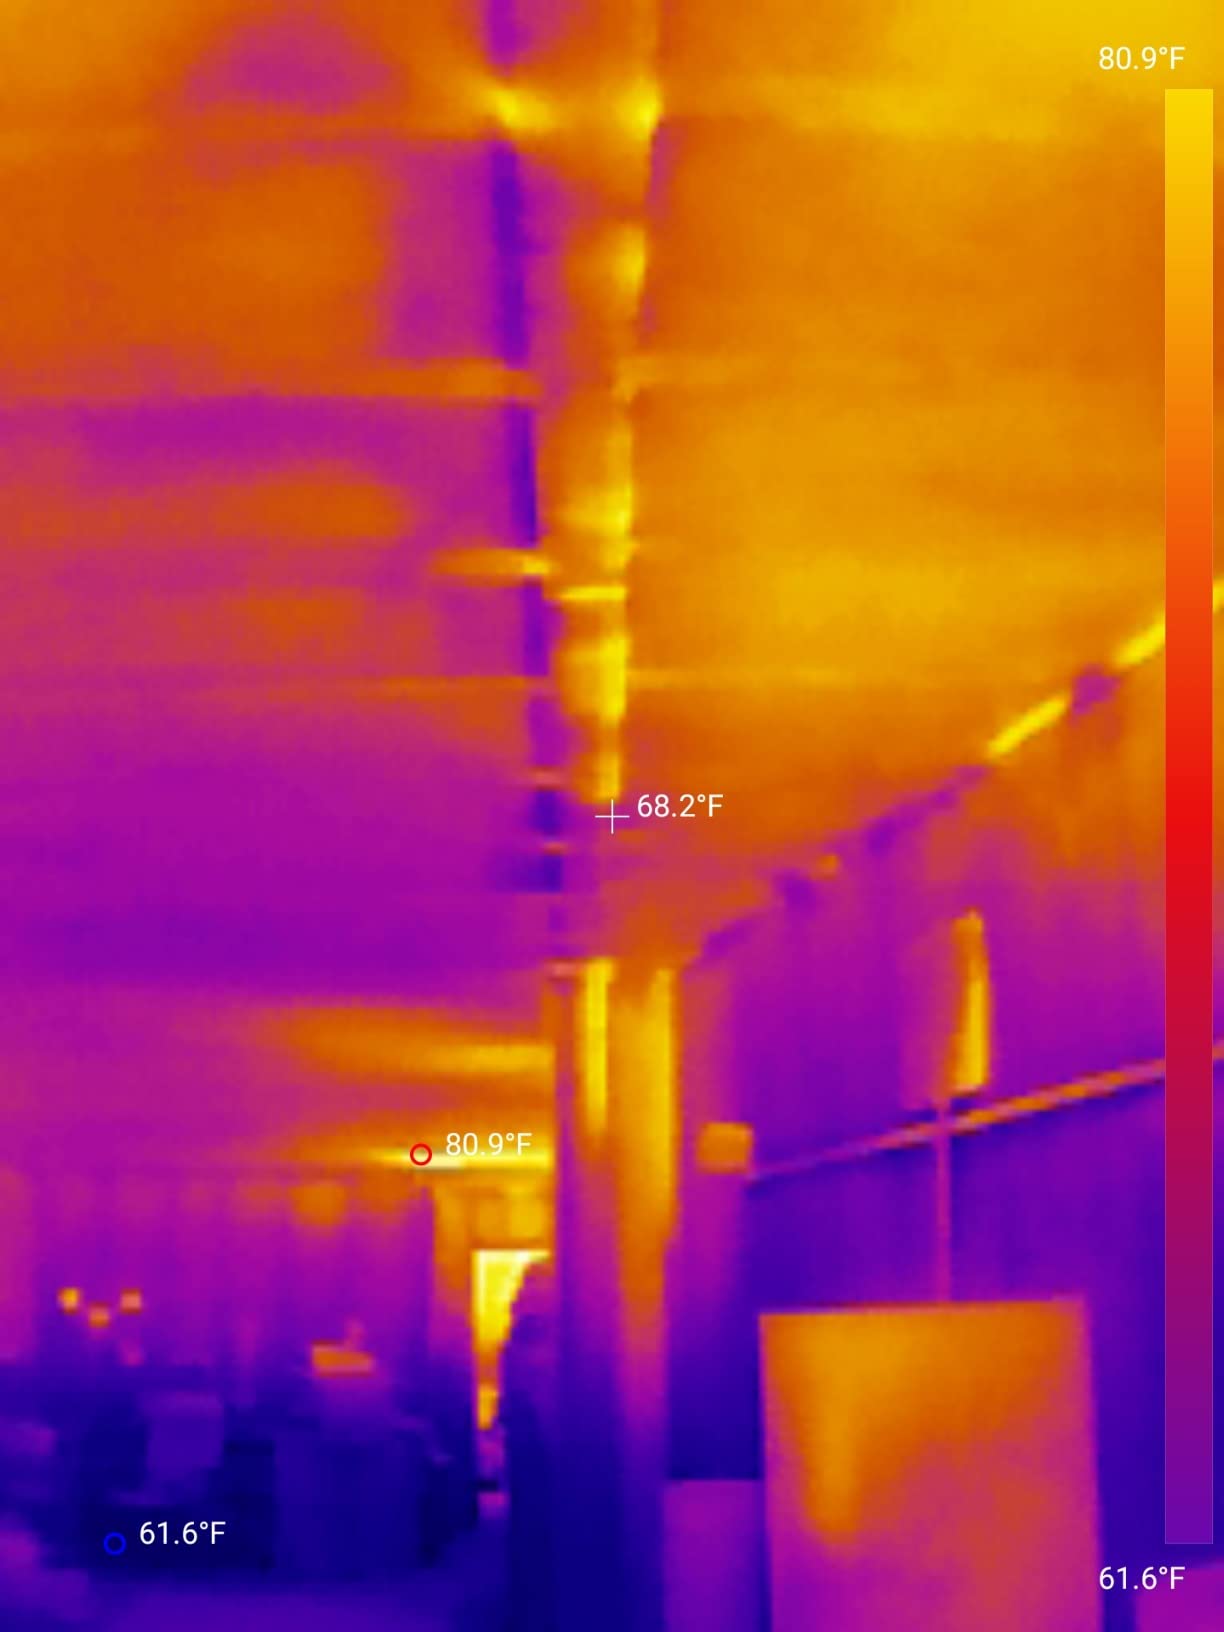
This is the camera I keep reaching for first when someone asks me to find a missing insulation pocket behind drywall. The TC001 plugs into an Android phone and immediately shows the wall in false color, and because the sensor runs a fast refresh, you can sweep a large surface and still catch a transient as air moves through a stud bay.
Owners use it in exactly the situations this article is about. Multiple reviews describe finding missing insulation behind hot water pipes, uninsulated attic hatches, and heat loss around windows and exterior walls. One recurring theme is that people who also own a competing phone camera still choose this one, citing the absence of watermarked output and the wider -4F to 1022F range as the deciding factors.
Why 256×192 Native Beats a Higher Advertised Number
The headline figure is 512×384, achieved through TOPDON’s TISR image enhancement from a 256×192 sensor. That is not a trick, but it is worth understanding: the enhancement sharpens edges and cleans up noise, it does not invent new thermal detail. For insulation work that is exactly the right trade, because a defect is defined by a boundary rather than by a small object.
The practical difference shows up at distance. When you scan a wall from across a room you are looking at large areas of consistent insulation, and enhanced edges make the boundary of an absent batt read more clearly. When you are identifying a specific defect 20 feet away in an attic, no amount of enhancement substitutes for real pixels.
Measurement Modes for Real Envelope Work
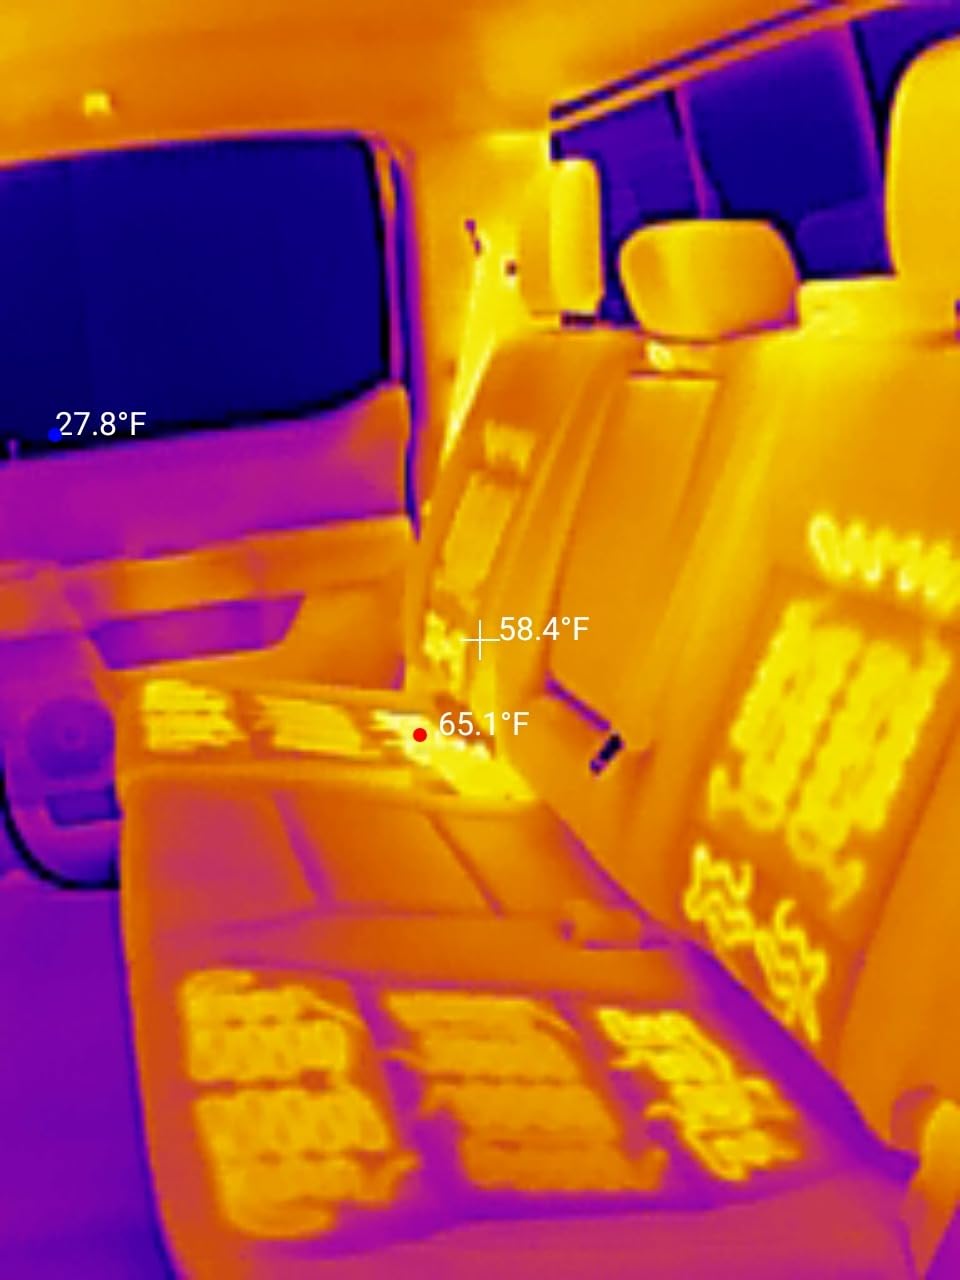
Point, Line and Surface modes with three areas each mean you can put nine measurement boxes on a single frame, and the app flags the hottest and coldest automatically. On a rim joist scan that is the difference between finding the cold band and hunting for it. The reported accuracy is within 3.6F or 2 percent of actual temperature, with 0.1C measurement resolution.
It also means you can leave a diagnostic trail, because the app records those nine readings alongside the image. Reviewers note that emissivity adjustment is unreliable on shiny metal, so treat readings from ductwork or uninsulated pipe with caution and read those in the middle of the frame.
The Physical USB-C Problem You Should Plan For
The most repeated complaint across more than a thousand reviews is the fixed USB-C stem, which is too short to reach a port on a phone in a case. A 19.7 inch extension cable with a USB converter ships in the box and solves it, but plan on using it from day one rather than discovering it in a crawlspace.
The other software complaint is that the app resets settings unexpectedly and does not remember your palette or orientation choices, which is mildly maddling when you are partway through a large pan. It is also an Android-only unit, so if your phone is an iPhone, the TC002C Duo further down is the version to look at.
2. TOPDON TC004 – Best Standalone Value With 64GB and Wi-Fi Reporting
TOPDON TC004 3.5″ Thermal Imaging Camera, -4°F~1022°F Temp Range
3.5 inch standalone display
256×192 native to 512×384 TISR
64GB storage plus Wi-Fi transfer
IP54, 2 meter drop resistant
+ Pros
- Standalone with no phone pairing step
- Sharp TISR-enhanced images
- 64GB onboard storage makes documentation fast
- Laser pointer lines up the measurement area
- IP54 and 2 meter drop resistance suit job sites
– Cons
- Heavier and bulkier than phone-attached units for overhead ceiling work
- No integrated visible camera so fusion and picture-in-picture are unavailable
- Entry-level 256×192 native sensor limits fine detail
For a working inspector who carries a thermal camera on every call, the TC004 is the one I recommend most often. The 3.5 inch screen is the right size for reviewing an image with a homeowner standing next to you, and nothing about the workflow depends on a phone battery or a pairing prompt.
The reporting story is what separates it from the attachments. Sixty-four gigabytes of internal storage holds a full day of images and video, and integrated Wi-Fi moves files to the TopInfrared app without a cable. For a report due that evening, that combination removes the two steps that eat time on every other workflow.
Screen Size, Laser Pointer and the LED Light
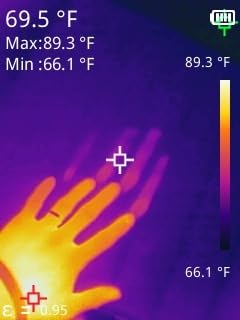
A 3.5 inch display is a meaningful upgrade over a 2.8 inch screen when you are trying to decide whether a cold band at the ceiling line is real. The built-in red laser pointer marks the measurement area so you can point at the defect and put a number on it in the same gesture, which matters when a client is standing behind you asking what you are looking at.
The integrated LED light handles the other half of real inspection work, which is dark attic spaces and closed utility chaseways. It is not a substitute for bringing proper lighting, but it is enough to confirm a finding before you climb back down.
Durability and the Limits of This Sensor
IP54 protection against dust and splash plus 2 meter drop resistance covers the job-site reality that owners describe. The trade-offs are honest ones: at 2.11 pounds it is the wrong tool for an hour of overhead ceiling work with one arm extended, and the 256×192 native sensor means you should walk closer than you would with a larger detector.
There is no integrated visible-light camera on this model, so fusion and picture-in-picture modes are simply not available. Owners who need a visible reference image next to the thermal frame usually end up taking a phone photo anyway, which works but adds a step.
Who This Camera Is Built For
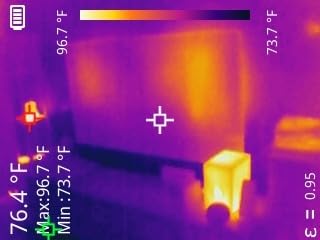
This suits a full-time inspector or a restoration contractor who needs images attached to an invoice the same day. It also suits a homeowner who wants a standalone unit and does not want to fiddle with phone compatibility at all. If your scan work is mostly attic hatches, window perimeters and ceiling-line checks from a ladder, the screen size and laser make this a strong pick.
3. Klein Tools TI250 – Best Emissivity Control in a Lightweight Body
Klein Tools TI250 Rechargeable Thermal Imaging Camera, Camera Displays Over 19,200 Pixels with 3 Color Palettes, High/Low Temperature Points
Over 19,200 pixel imager
Emissivity adjustable 0.01 to 0.99
High and low alarms from -4F to 752F
8.6 ounces with carrying case
+ Pros
- Adjustable emissivity from 0.01 to 0.99 for real material correction
- High and low alarms with crosshair markers speed up scanning
- Light at 8.6 ounces so overhead attic work is manageable
- Established trade brand with carrying case and cable included
- Three color palettes keep the display readable
– Cons
- 19200 pixel resolution is low by current standards
- Non-removable internal battery eventually limits service life
- Only three color palettes
- Upper alarm range of 752F is modest
The TI250 is the camera electricians and HVAC technicians reach for, and the reason is one setting most competitors bury. Emissivity is adjustable from 0.01 to 0.99, which is what you need when you move from painted drywall to brick to bare metal within the same hour.
Without that control, a shiny surface reads colder than it is and you will chase anomalies that do not exist. This unit lets you set the value for the material in front of you and take the reading at face value, which is why it holds a 4.4 average across 937 reviews from people who use it on live systems.
Why Emissivity Matters More Than Resolution for Defect Calls
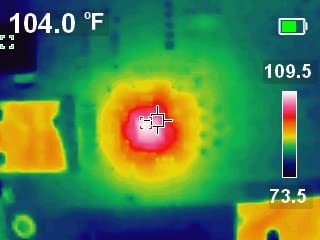
Emissivity describes how much infrared energy a surface radiates compared to a perfect black body. Fresh paint and glossy siding sit high, weathered wood and brick sit lower, and the difference between two settings can be many degrees on the same wall. A fixed default is fine for a quick look and unreliable for a reportable finding.
Thermal sensitivity is not published as a NETD figure for this model, so treat resolution and emissivity as the two things you are actually buying. More than 19,200 pixels is enough to see a hot spot on a motor terminal or a cold band at a window head, which is what the owners report using it for.
Alarms, Markers and Scanning Speed
User-selectable high and low temperature alarms from -4F to 752F, combined with high and low point markers and crosshairs, let you sweep a large surface quickly and let the camera tell you where to stop. That is a genuinely useful pattern for a rooftop scan or a panel sweep, and it is why reviewers describe the unit as fast rather than precise.
Only three color palettes are available, which is fewer than any newer model in this group. For insulation work that matters less than it would for a fire investigation, since you are usually comparing one region to its immediate surroundings rather than tracking a temperature over time.
The Sealed Battery Question
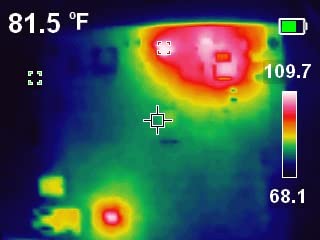
The battery is a built-in rechargeable lithium cell, not a user-replaceable one, and that is the main long-term concern owners raise. A pocket-sized trade tool that gets dropped off a ladder every week deserves the option of a spare cell, and this one does not offer it. Weight at 8.6 ounces is otherwise a genuine strength for overhead work.
Image capture and save run over USB-C, and the box includes a charging cable, a carrying case and instructions. The warranty story is not as strong as the FLIR further down, so if you work in a rough environment, the trade name and the case are what you are really paying extra for.
4. FLIR TG165-X – Best MSX Image Readability From a Recognized Brand
Flir TG165-X Thermal Imaging Camera with Bullseye Laser, Spot IR
4,800 pixel IR sensor
-13F to 572F measurement range
FLIR MSX image embossing
IP54, drop tested
+ Pros
- MSX embossing overlays visible detail onto the thermal image
- Bullseye laser shows the size of the measurement spot
- IP54 sealed and drop-tested enclosure
- Two year parts and labor plus 10 year detector warranty
- Rechargeable battery with strap and pouch included
– Cons
- 4800 pixel resolution is the lowest in this group
- 3 second response time is slow against 25Hz units
- Modest 572F temperature ceiling
- Heavier and larger than pocket alternatives
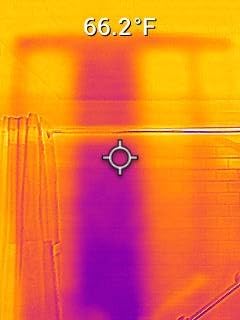
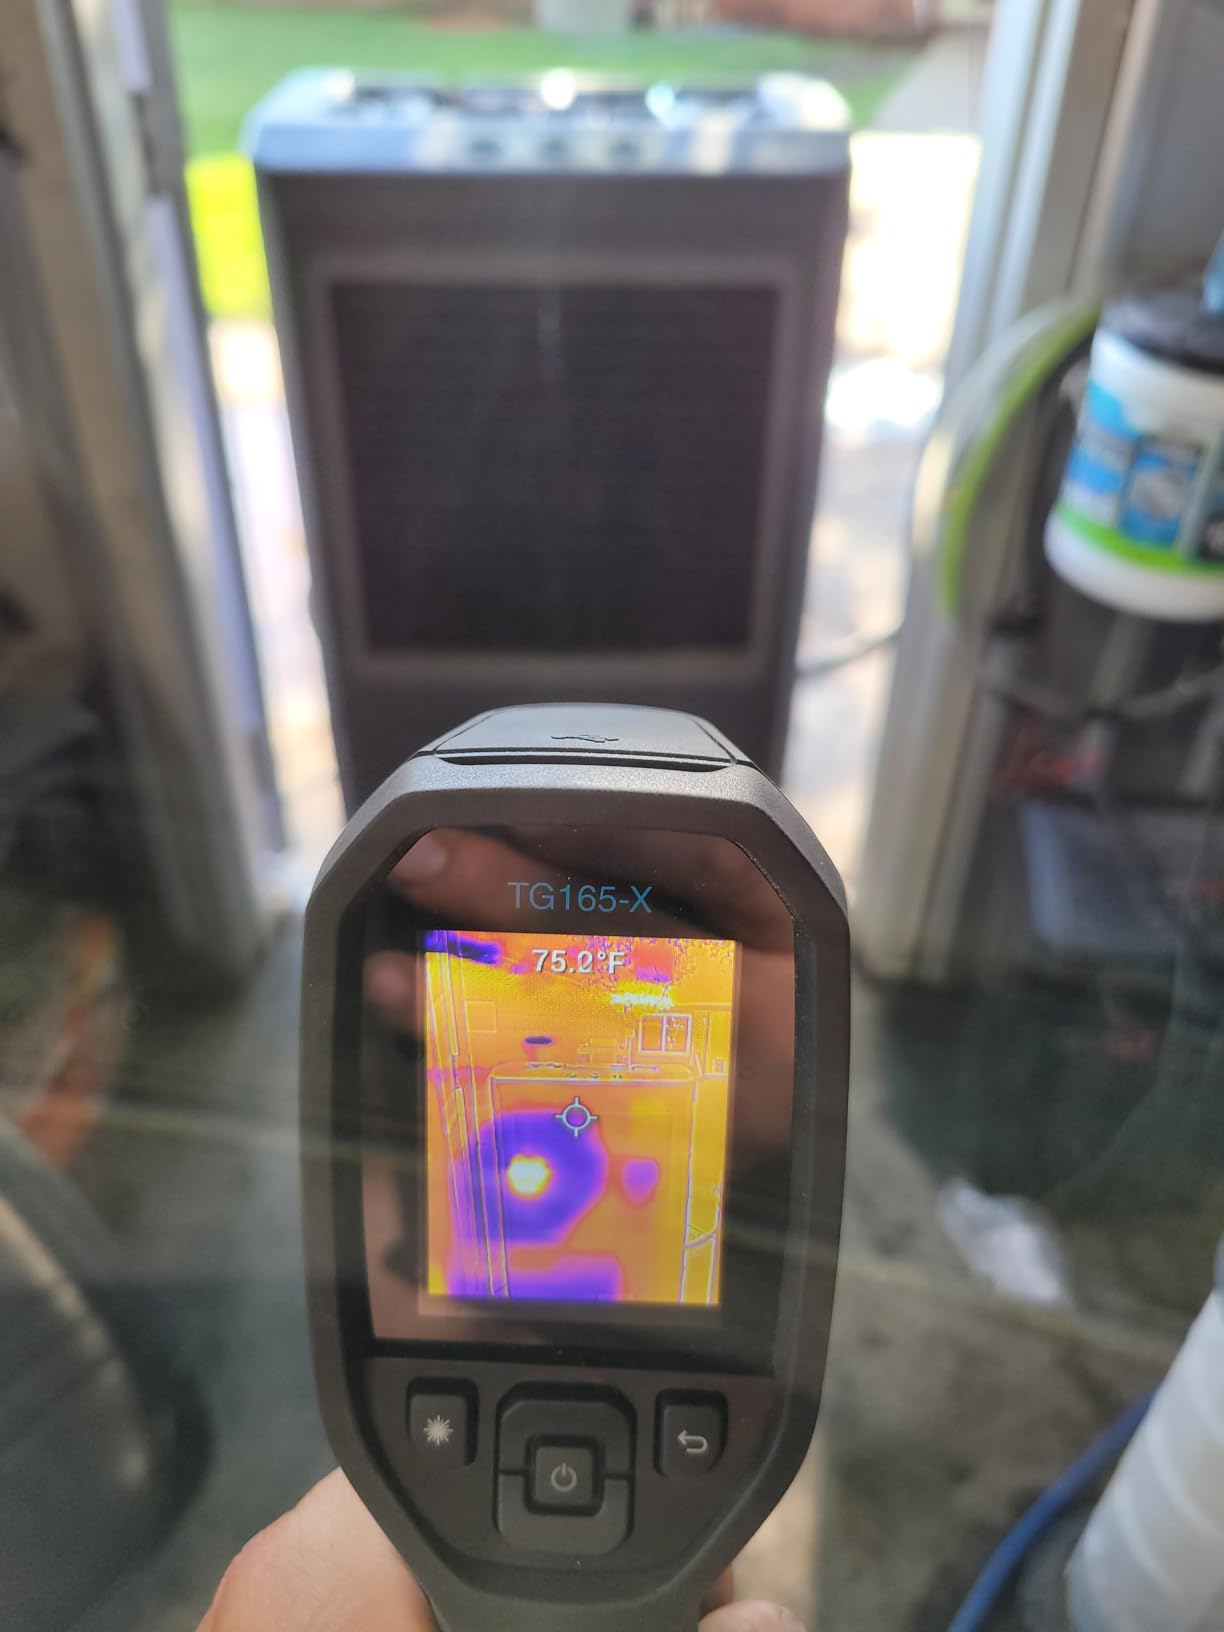
FLIR built its reputation on making thermal images readable by people who are not thermographers, and the TG165-X is that idea in its most portable form. MSX technology embosses visible scene detail onto the thermal picture, so studs, trim and outlet plates are faintly visible underneath the temperature colors.
That single feature answers the most common question in building thermography: is this cold band a defect or just a surface feature? With a plain thermal image you are guessing. With MSX you can see the framing that explains it, which in our view is worth more than a higher pixel count.
Interpreting Insulation Anomalies With MSX
When a cold streak runs the full height of a wall and lines up with a stud bay, that is missing or compressed insulation. When the cold band is perfectly straight and sits where a rim joist would be, that is thermal bridging, which is a construction detail rather than a defect. MSX makes the difference visible on the same frame you are already capturing.
The bullseye laser is the other half of that workflow. It projects a circle showing the exact area being measured, so the number you report and the spot in the image are the same thing. The measurement range runs -13F to 572F, which covers envelope work in any climate and most residential HVAC work.
Where the Spec Sheet Falls Short
A 4,800 pixel sensor is the lowest native resolution in this roundup, and owners say so directly: small temperature anomalies can be missed at distance. The 3 second response time is also slow next to the 25Hz models, so a fast pan will smear a little compared with what a newer handheld gives you.
Warranty is the counterweight. You get 2 years of parts and labor on the camera and 10 years on the detector, which is the strongest coverage listed by any camera here. At 13.92 ounces with an 8.26 inch body it is not a pocket unit, and the 572F ceiling is modest if you also scan flue pipes.
Where This One Still Wins
If your work involves handing images to someone outside your own company, the FLIR name and the MSX patent do real work. A homeowner who has seen the word thermal camera on television recognizes it, and a 10 year detector warranty reduces the risk of buying a tool you will not trust in three years. The IP54 drop-tested enclosure is built for a truck seat and a job site.
5. HSFTOOLS HP96 – Best Touchscreen Interface With Automatic Fault Detection
HP96 Thermal Imaging Camera,3.5″ Touch Screen, Intelligent Scene Detection
96×96 IR plus 640×480 visible sensor
3.5 inch touchscreen
IntellFault scene detection
4 hour battery, IP54
+ Pros
- IntellFault flags likely insulation gaps and water leaks automatically
- Touchscreen is large enough to show a colleague the problem
- Fusion and picture-in-picture give context around the anomaly
- Users map radiant floor tubing and framing members with it
- Compact and light enough to carry one-handed through an attic
– Cons
- No battery strength indicator on screen
- 96×96 native sensor is the lowest true resolution here
- Some units shipped with battery and file transfer faults
- Alignment drifts when imaging very close objects
The HP96 is the most interesting interface in this group. A 3.5 inch touchscreen with a phone-style menu for brightness, image mode, palettes and temperature range is a large step up from hunting through button menus, and owners consistently single it out as the reason they keep the unit in the bag.
More unusual is IntellFault, a deep-learning scene detection mode that flags likely water leaks and insulation gaps automatically. It requires a firmware update and it does not give you moisture readings, so treat it as a triage aid that points at candidates, not as a measurement.
Fusion, Picture-in-Picture and Blending Modes
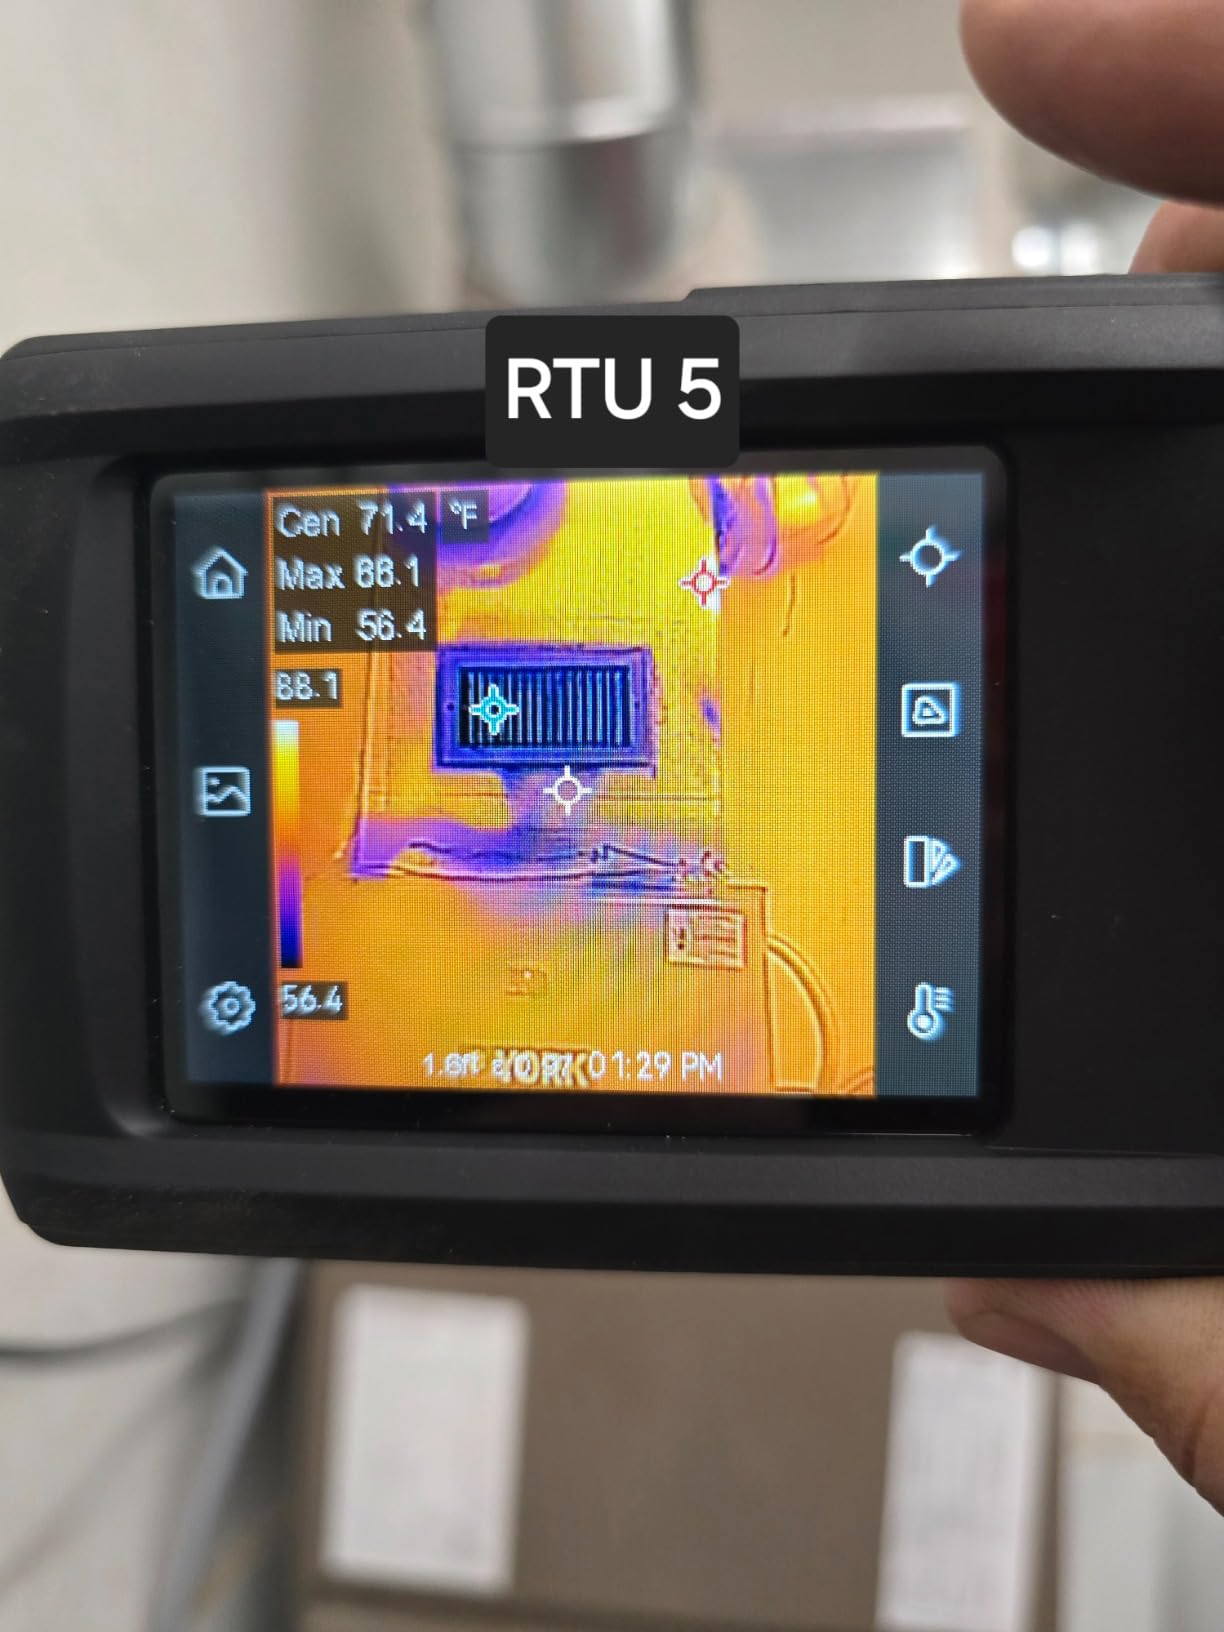
The dual sensor setup pairs a 96×96 infrared detector with a 640×480 visible light camera, and the five imaging modes include Thermal, Visual, Fusion, PIP and Blending. Fusion is the one that matters for envelope work, because it shows the visible scene laid over the thermal frame so you can see that the cold patch is a window head and not a wall stud.
One caveat from owners: thermal and visual alignment drifts when you image very close objects because of lens separation. At room distance the fusion is reliable, which is where envelope scanning happens anyway, so this is a real limitation with a limited practical impact.
What Live Super Resolution Does and Does Not Do
Live Super Resolution takes the 96×96 base and renders it to 240×240 in real time. Owners describe the result as surprisingly effective for the class, and it is fair for spotting variation across a ceiling or locating a cold perimeter.
It is not real resolution, and the difference matters when you need to identify a specific small defect. Thermal sensitivity is specified below 50mK with a 25Hz frame rate, and accuracy is within 2 percent with differentials as small as 0.05C reported, which is strong on paper for a compact unit.
Hardware Reliability and the Missing Battery Gauge
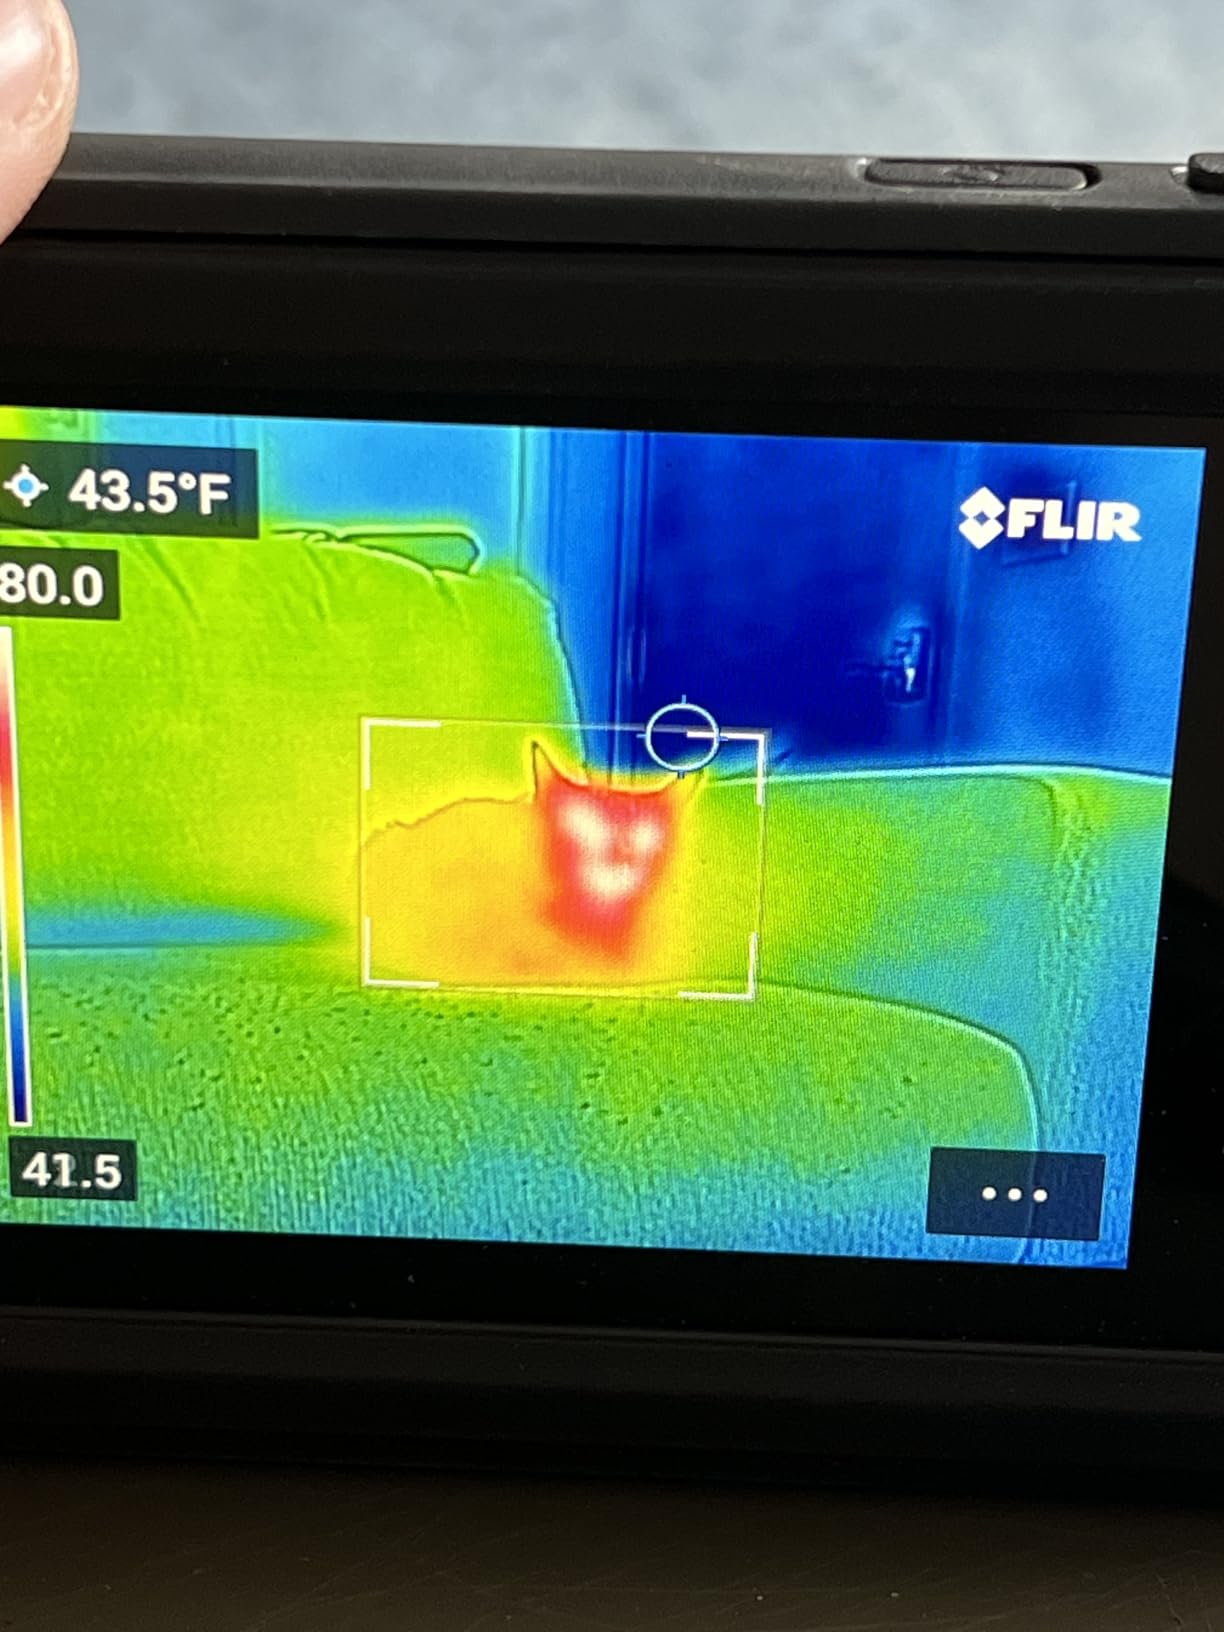
Two practical issues come up repeatedly. There is no battery strength indicator on the screen, and owners describe that as a genuine problem for professional use where a dead unit mid-attic means a re-attempt. Separately, some units shipped with battery and file transfer faults, though multiple reviewers confirm the manufacturer replaced units and resolved the issues.
On the positive side, storage holds about 30,000 images and 20 hours of video, and the runtime is up to 4 hours with IP54 protection, a 6.6 foot drop test and a standard tripod hole. At 1.48 pounds it is light enough to carry one-handed through a large RV or attic, which is where owners report getting good use from it.
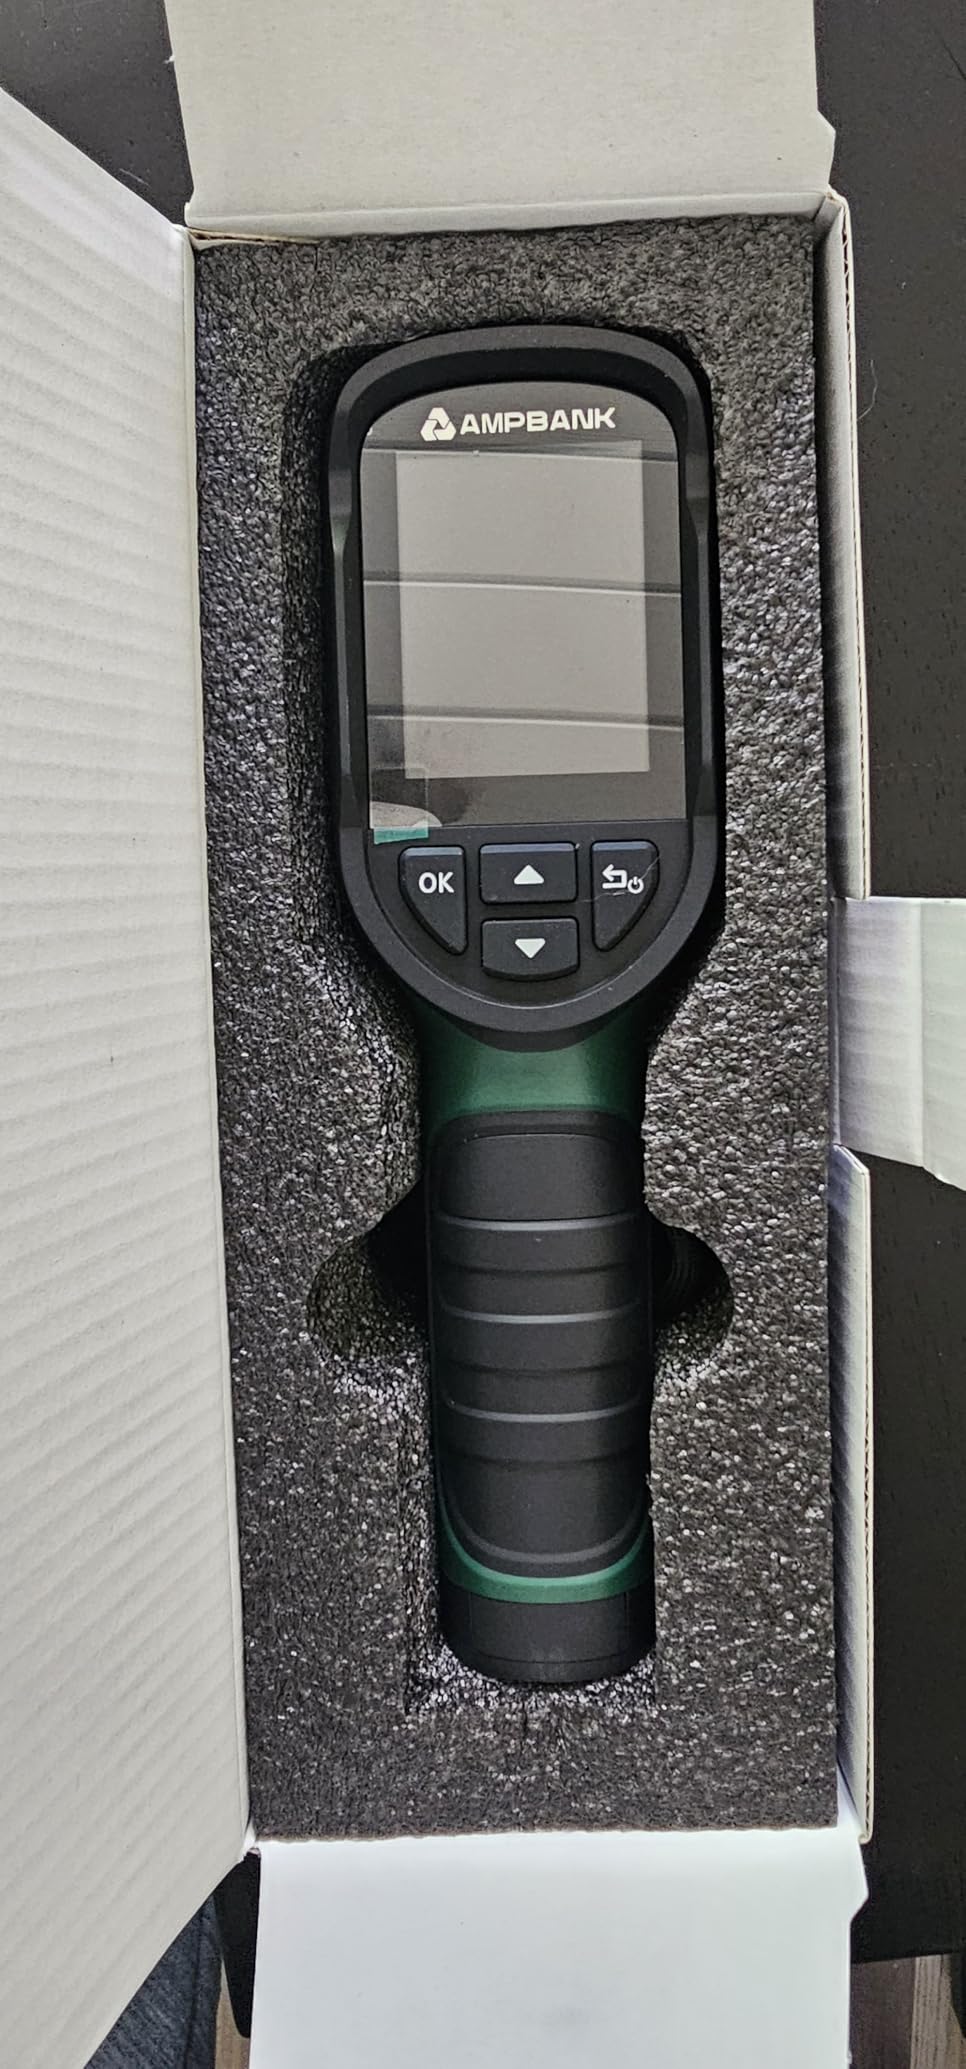
6. AMPBANK H128 – Best Budget Pick With a 24 Hour Battery
H128 Handheld Thermal Camera, 240 x 240 TISR Resolution, 24h Battery Life Thermal Imaging Camera, 25 Hz Infrared Camera with Temperature Alarm, -4℉~ 842℉ Temp Range, IP65 Protection Level
128×128 native to 240×240 TISR
40mK sensitivity at 25Hz
Up to 24 hours battery life
-4F to 842F, IP65 rated
+ Pros
- 24 hour claimed runtime removes charging anxiety on long days
- 240×240 TISR with 40mK is enough to leave a hand print on a wall
- Temperature alarm plus automatic max min and center point
- Owners check insulation around doors and windows and find roof leaks
- IP65 rating and 6.56 foot drop resistance
- Tripod mount included
– Cons
- Modest screen quality that is not photo grade
- Absolute accuracy can drift by several degrees
- You often need to walk close to separate one hot area from another
- No visible-light fusion modes for context
The H128 solves a problem no other budget camera here addresses, which is battery anxiety. Owners report up to 24 hours of continuous working time from the built-in rechargeable cell with automatic shutdown, and that is the difference between a camera you charge every night and one you forget about.
Everything else about it is designed for the same buyer. A 128×128 native sensor enhanced to 240×240 with TISR, 40mK thermal sensitivity and a 25Hz frame rate, in a body with IP65 protection and 6.56 foot drop resistance, is a competent detector for the relative temperature work that insulation hunting actually requires.
Relative Readings Are the Job, Absolute Accuracy Is Not
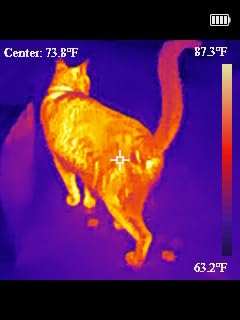
Reviewers position this unit as a relative detector, not a thermometer. That framing is exactly right for insulation work, because you are looking for a band that differs from the wall around it, not for a certified surface temperature. Owners describe checking insulation around doors and windows, spotting an early roof leak on a ceiling, and finding which breaker was running hot.
Absolute readings can drift by several degrees, and accuracy is specified within 3 percent. If you are reporting temperatures to a client or a utility, note the tolerance. If you are deciding where to open a wall, the color difference is your evidence.
Alarms, Emissivity and Materials
The built-in temperature alarm with automatic max, min and center point recognition means you can sweep a large ceiling and let the unit call out the extremes. Distance and emissivity are both adjustable, which covers concrete and brick as well as painted surfaces, and the 0.1C measurement resolution is finer than the accuracy warrants but useful for spotting movement.
The temperature range runs -4F to 842F, which is more headroom than most of the compact units here. There are no visible-light fusion modes, so when you find an anomaly you will want a phone photo alongside the thermal frame to give it a location.
Who Should Buy This One
Buy the H128 if you are a first-time owner of a thermal camera, a restoration contractor who needs one in every truck, or a homeowner working through a property over a weekend. Do not buy it if your reports require documented absolute temperatures, or if you plan to shoot 4K video of a long crawlspace inspection on one charge. At 1.06 pounds with a tripod mount, it handles attic work without becoming a wrist problem.
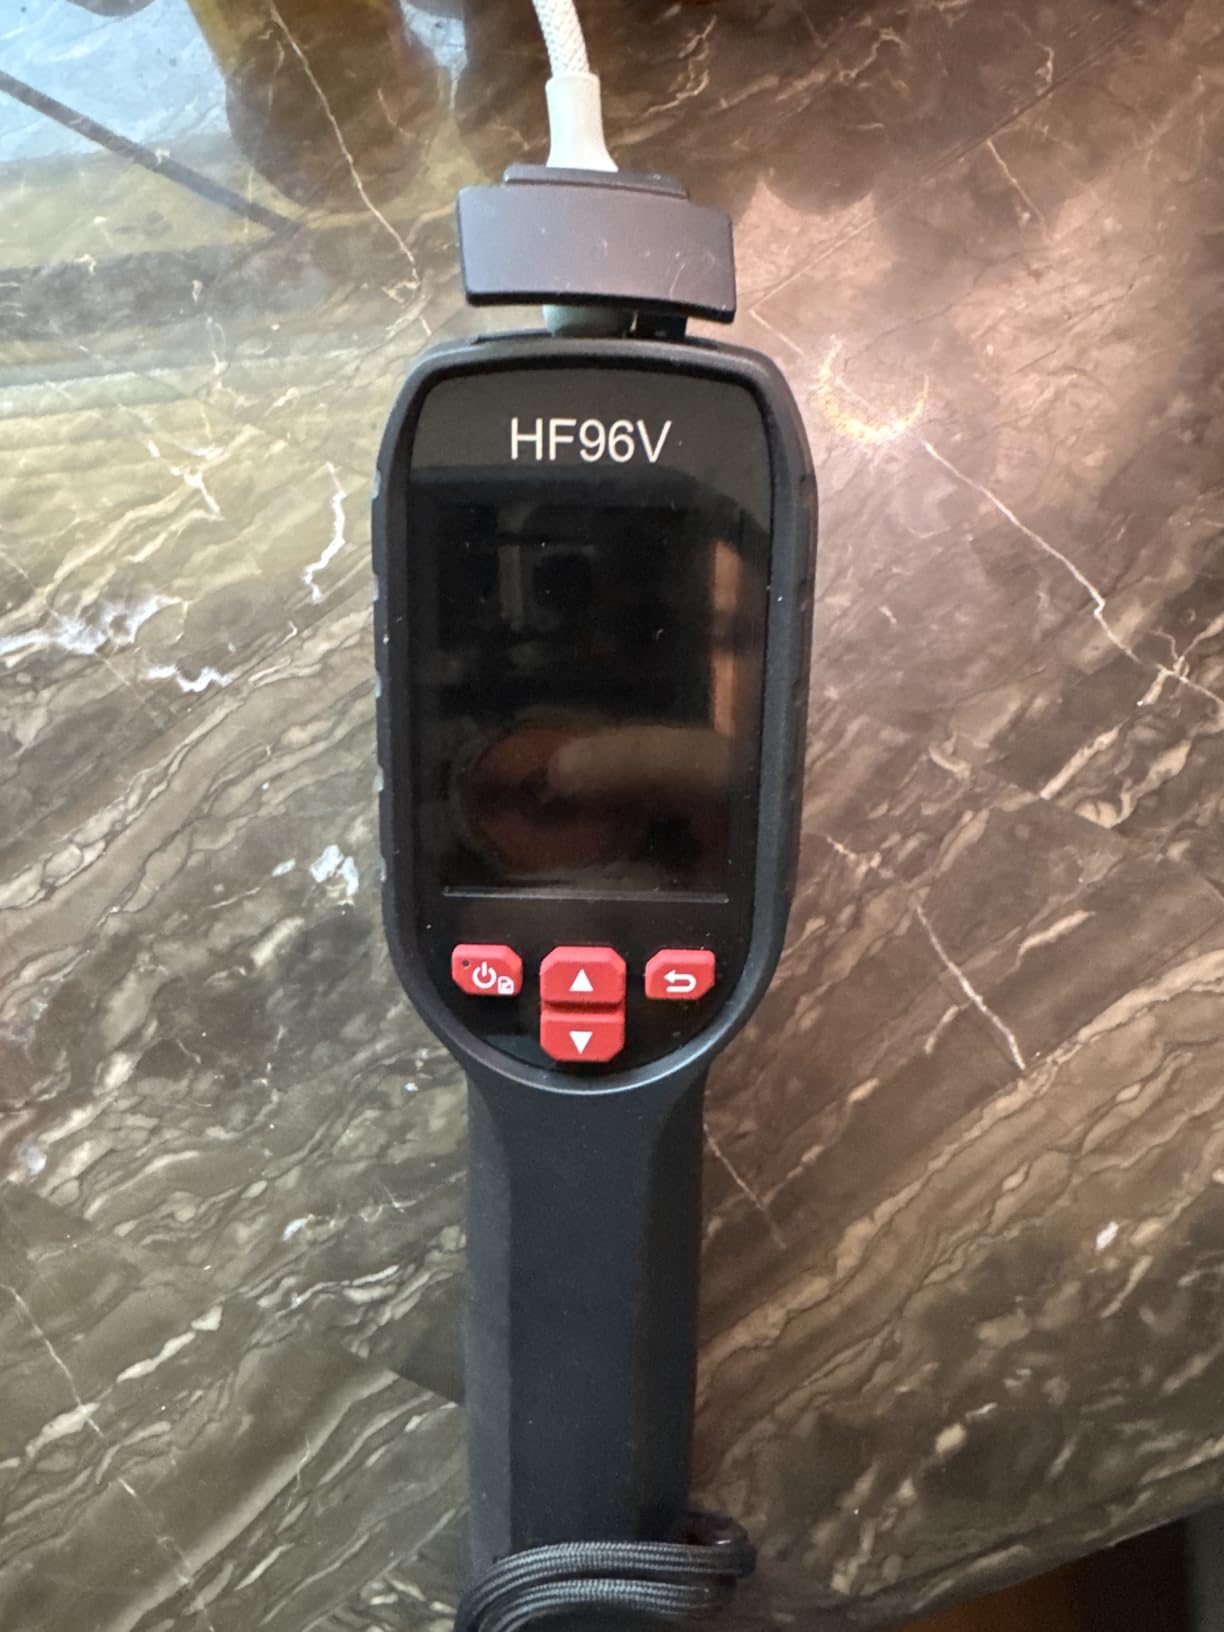
7. HSFTOOLS HF96V – Best for Homeowners Who Want a Visible Reference Image
HF96V Thermal Camera with Visual Camera & Laser Pointer, Intelligent Scene Detection, 240 * 240 Super Resolution Thermal Imaging Camera,25 Hz, 50° FOV, -4°F to 1022°F, IP54 Infrared Camera
96×96 IR plus 640×480 visible camera
Fusion mode overlays the visible scene
Manual level and span adjustment
HSF Studio Windows software
+ Pros
- IntellFault scene detection targets insulation gaps and water leaks
- Fusion mode shows what the cold patch physically is
- Owners track heat loss around doors and windows and find roof intrusion
- Combines thermometer thermal camera and laser in one unit
- HSF Studio adds 2D and 3D analysis plus report generation
– Cons
- Native 96×96 sensor with 240×180 software enhanced
- Low screen resolution loses detail on small differences
- Button driven interface rather than a touchscreen
- Only charges with the included USB-C cable
- Non-user-replaceable battery
Ask a homeowner what they want from a thermal camera and they will usually say they want to know what the cold spot actually is. The HF96V answers that with a dual sensor setup: 96×96 infrared plus a 640×480 visible camera, with Thermal, Fusion and Visual modes.
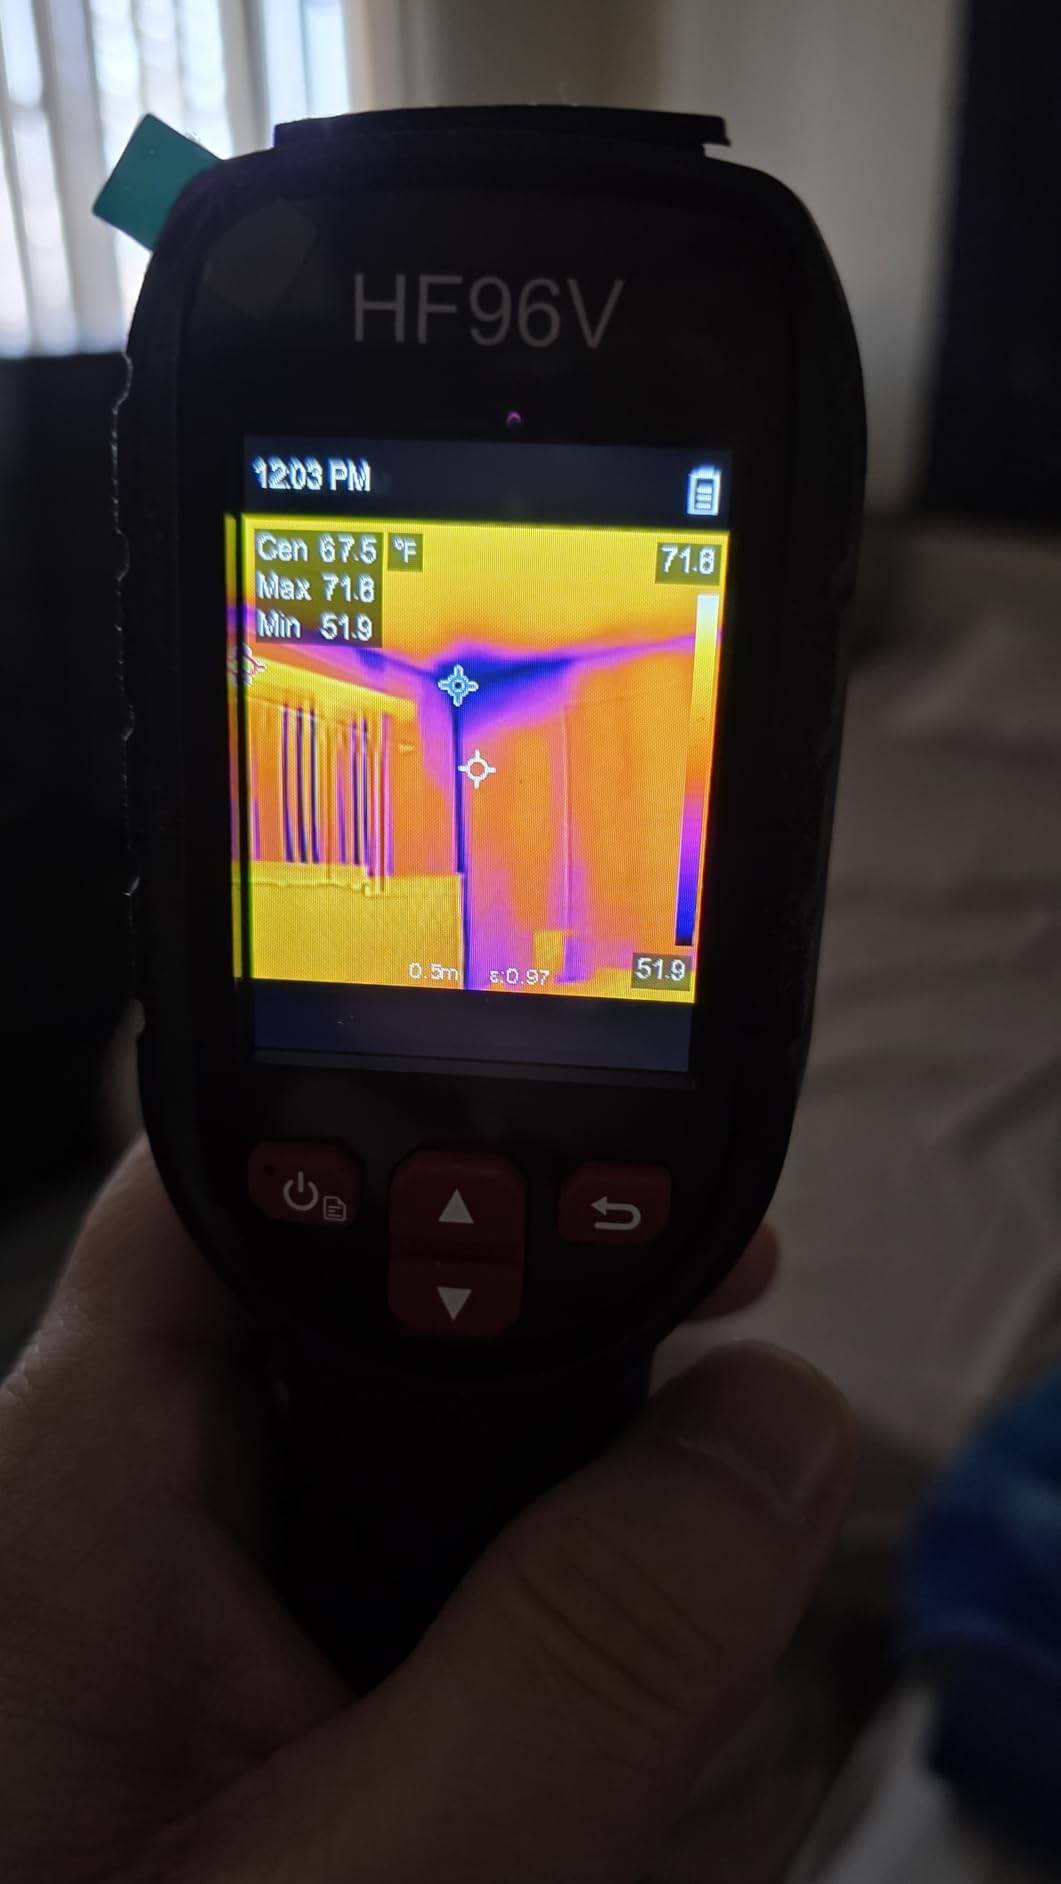
Fusion overlays the visible image on the thermal frame, so a cold rectangle on an upstairs ceiling is immediately recognizable as a bathroom vent rather than a mystery. Owners describe using exactly that reasoning to find heat loss around doors and windows and a roof-adjacent water intrusion point.
Manual Level and Span Is the Feature to Look For
This unit auto tracks the hot spot, cold spot and center point, and it also supports custom high and low alarms with manual level and span adjustment. That last capability is what experienced inspectors ask for, because during a large pan they need the relationship between color and temperature to stay fixed from the first wall to the last.
An auto-scaling-only camera is the single most common deal breaker in owner discussions, since the same blue can mean three different temperatures in one afternoon. If you are buying for professional reporting, check this before anything else.
Software That Produces a Report
HSF Studio for Windows adds image analysis, screen projection, real-time monitoring and 3D plotting to the workflow. For a contractor building a remediation quote, being able to show a client a 3D view of the affected area is a meaningful advantage over a folder of flat images.
Storage is 4GB holding 30,000 plus images and 14 hours of video, and runtime is up to 11 hours. Thermal sensitivity is below 50mK at 25Hz across a 50 degree field of view, with a range of -4F to 1022F and accuracy within 3.6F.
Three Practical Annoyances
The screen resolution is low, so detail suffers exactly where the temperature differences are small, which is the hard part of insulation work. The button-driven interface is less intuitive than the touchscreen on the HP96. And the charging port only accepts the included USB-C cable, failing silently with other cables, which is the kind of detail that strands you in a basement with a dead camera.
At 1.32 pounds with IP54 protection and a 6.6 foot drop test, it is light and durable enough for a homeowner working through a whole house in a day.
8. Thermal Master Thor002 – Best for Reports With Six Simultaneous Measurements
Thermal Master Thor002 Handheld Thermal Camera, 512 × 384 X³ Resolution
512×384 X3 enhanced resolution at 40mK
2MP visible camera with 3.5 inch IPS display
10.5 hour 5000mAh battery
32GB storage with voice notes
+ Pros
- 512×384 X3 enhancement with 40mK gives real detail on framing
- Six simultaneous measurement points including user defined spots
- 2MP visible camera and 640×480 IPS screen read well in daylight
- 10.5 hour battery with 18W fast charging
- Voice notes and QR code file management speed reporting
– Cons
- Heaviest unit here at 3.12 pounds for overhead work
- No touchscreen so it relies on button navigation
- Sits at the top of the range for these features
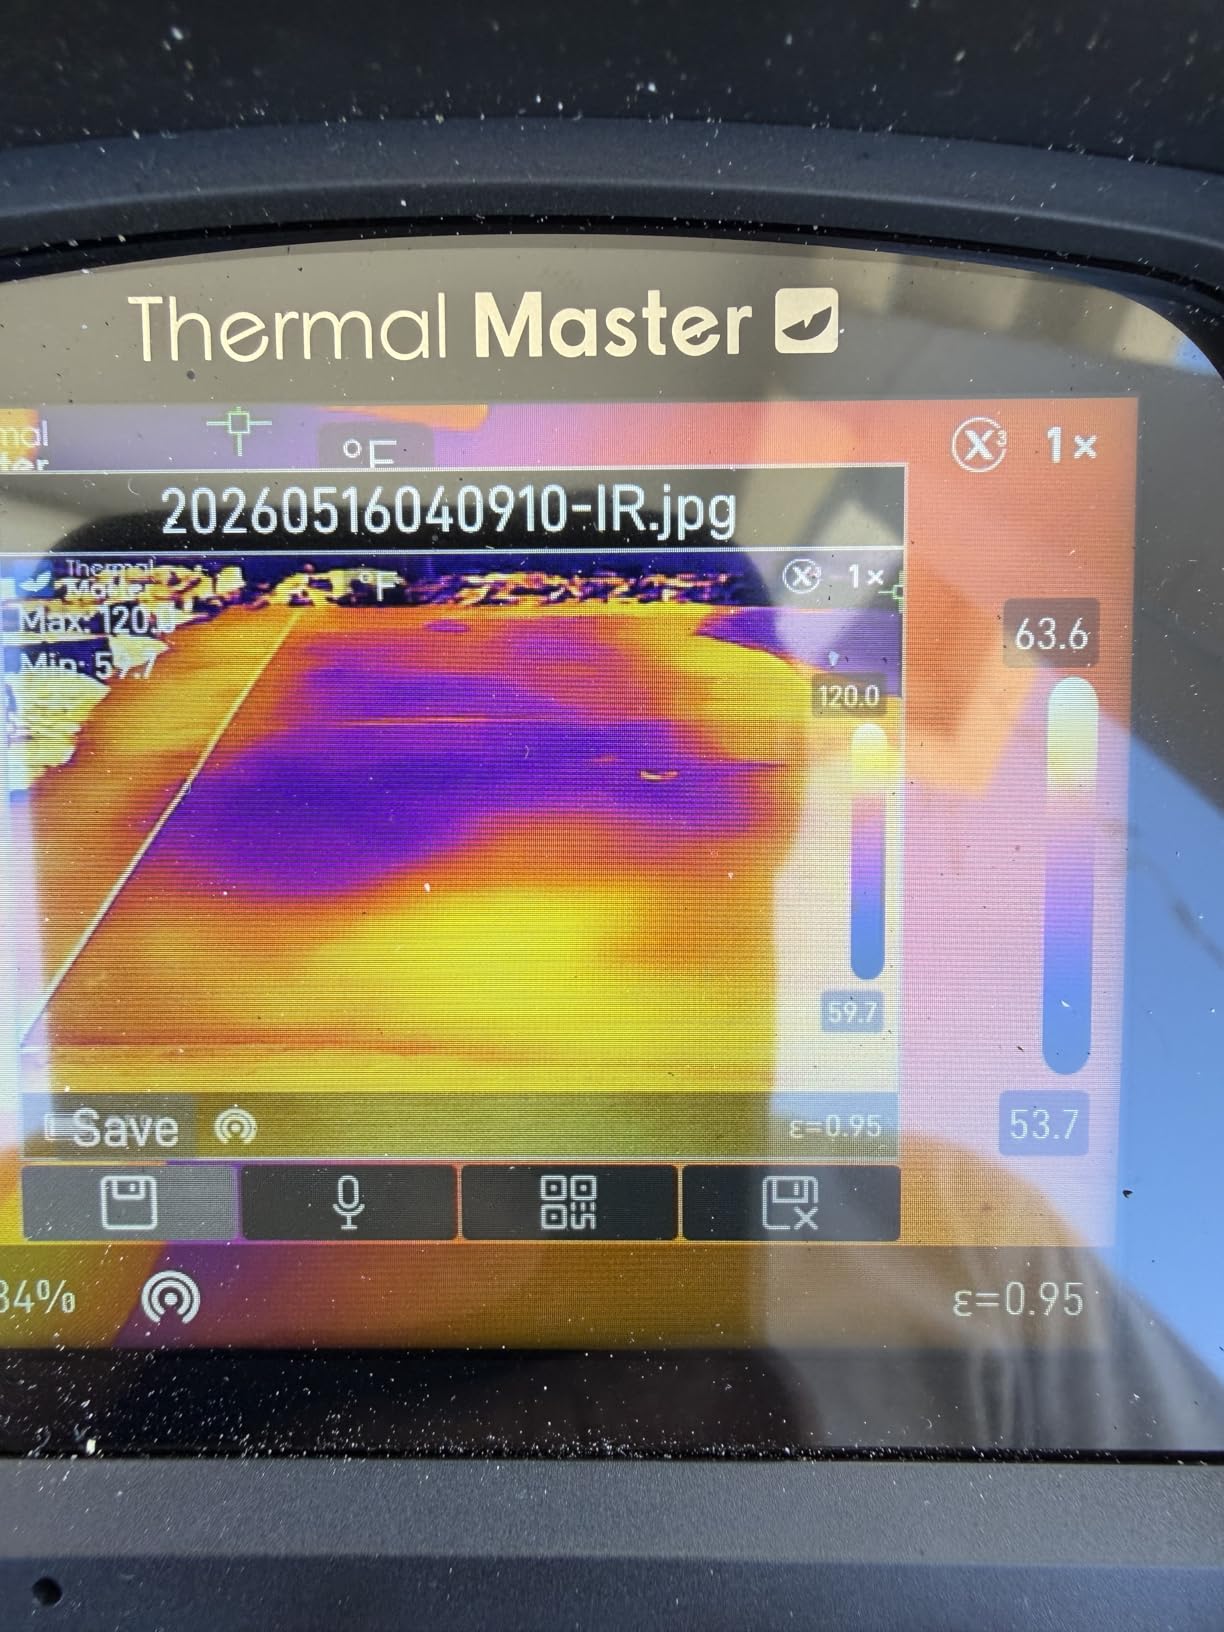
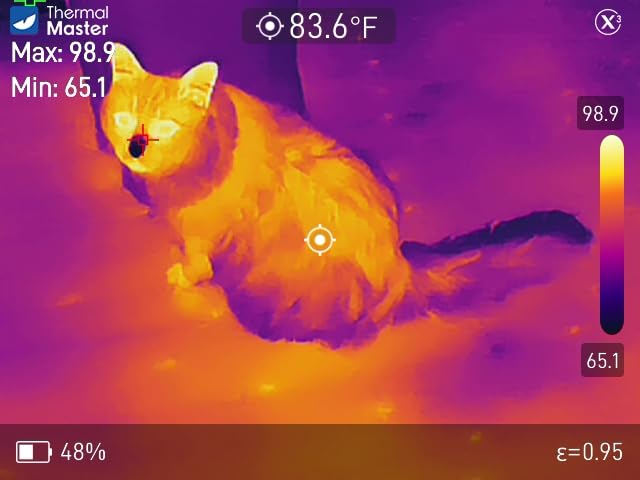
The Thor002 is the most instrument-like camera in this group and the one that produces the most complete documentation. Six simultaneous measurement points including center, hottest, coldest and three user-defined spots means a single frame of a rim joist can carry the readings for all six sections at once.
It pairs that with a 2MP visible light camera and a 3.5 inch 640×480 IPS display, which is bright enough to read in a sunlit attic. Owners highlight the combination of a sharp 512×384 image, six-point measurement and a long battery as features usually reserved for instruments far above this tier.
X3 Enhancement and What 40mK Buys You
Upgraded X3 infrared technology boosts a 256×192 sensor to 512×384 for display and storage, and 40mK thermal sensitivity with a 25Hz refresh rate is the strongest sensitivity figure specified by any camera here. Lower millikelvin is better, because it is the smallest temperature change the sensor can resolve against its own noise.
For insulation work, 40mK means small differences inside an otherwise even wall stay visible, which is how you catch a partially filled stud bay before it becomes a comfort complaint. The 4.3mm lens extends detection range by 34.4 percent with 4x digital zoom, useful when you want framing detail without walking under a hot attic.
Documentation Features That Save Report Time
Voice notes and QR code file management are the details that separate this from a scanning tool. You can speak a note while the image is on screen, and the QR system moves files into the right place later instead of leaving a folder of IMG files named with timestamps.
Connectivity covers both bases with USB to a PC for real-time analysis and Wi-Fi pairing with smartphones and iPads. A 5000mAh battery gives up to 10.5 hours with 18W fast charging, and IP54 protection with 2 meter drop resistance covers the transport side.
The Weight You Will Feel in an Attic
At 3.12 pounds this is the heaviest camera here, and owners specifically flag that it tires the arm during overhead attic work. There is no touchscreen either, so navigation is by button. If most of your scanning is at eye level or on a wall, neither matters much. If your work is a full day above your head, test it in an attic first.
9. FOXWELL RT280 – Best for First-Time Buyers Who Need No Training
FOXWELL RT280 Thermal Imaging Camera, 320 x 240 2.8″ LCD, 240 x 180 TISR
120×90 native sensor to 240×180 TISR
2.8 inch 320×240 LCD at 25Hz
9 palettes with laser and LED
8GB storage with PC software
+ Pros
- Turns on and points with no manual study required
- Owners spot heat patterns through walls and trace radiant pipe runs
- Laser pointer and LED both useful in attics
- Large storage holds a full inspection record on the unit
- Build quality described as sturdy and job-site ready
– Cons
- Native sensor is only 120×90 with software enhanced output
- Indicated temperatures can be off with one report of a 20 degree discrepancy
- Bright light and reflections read as false heat sources
- No wireless transfer and Windows-only PC software
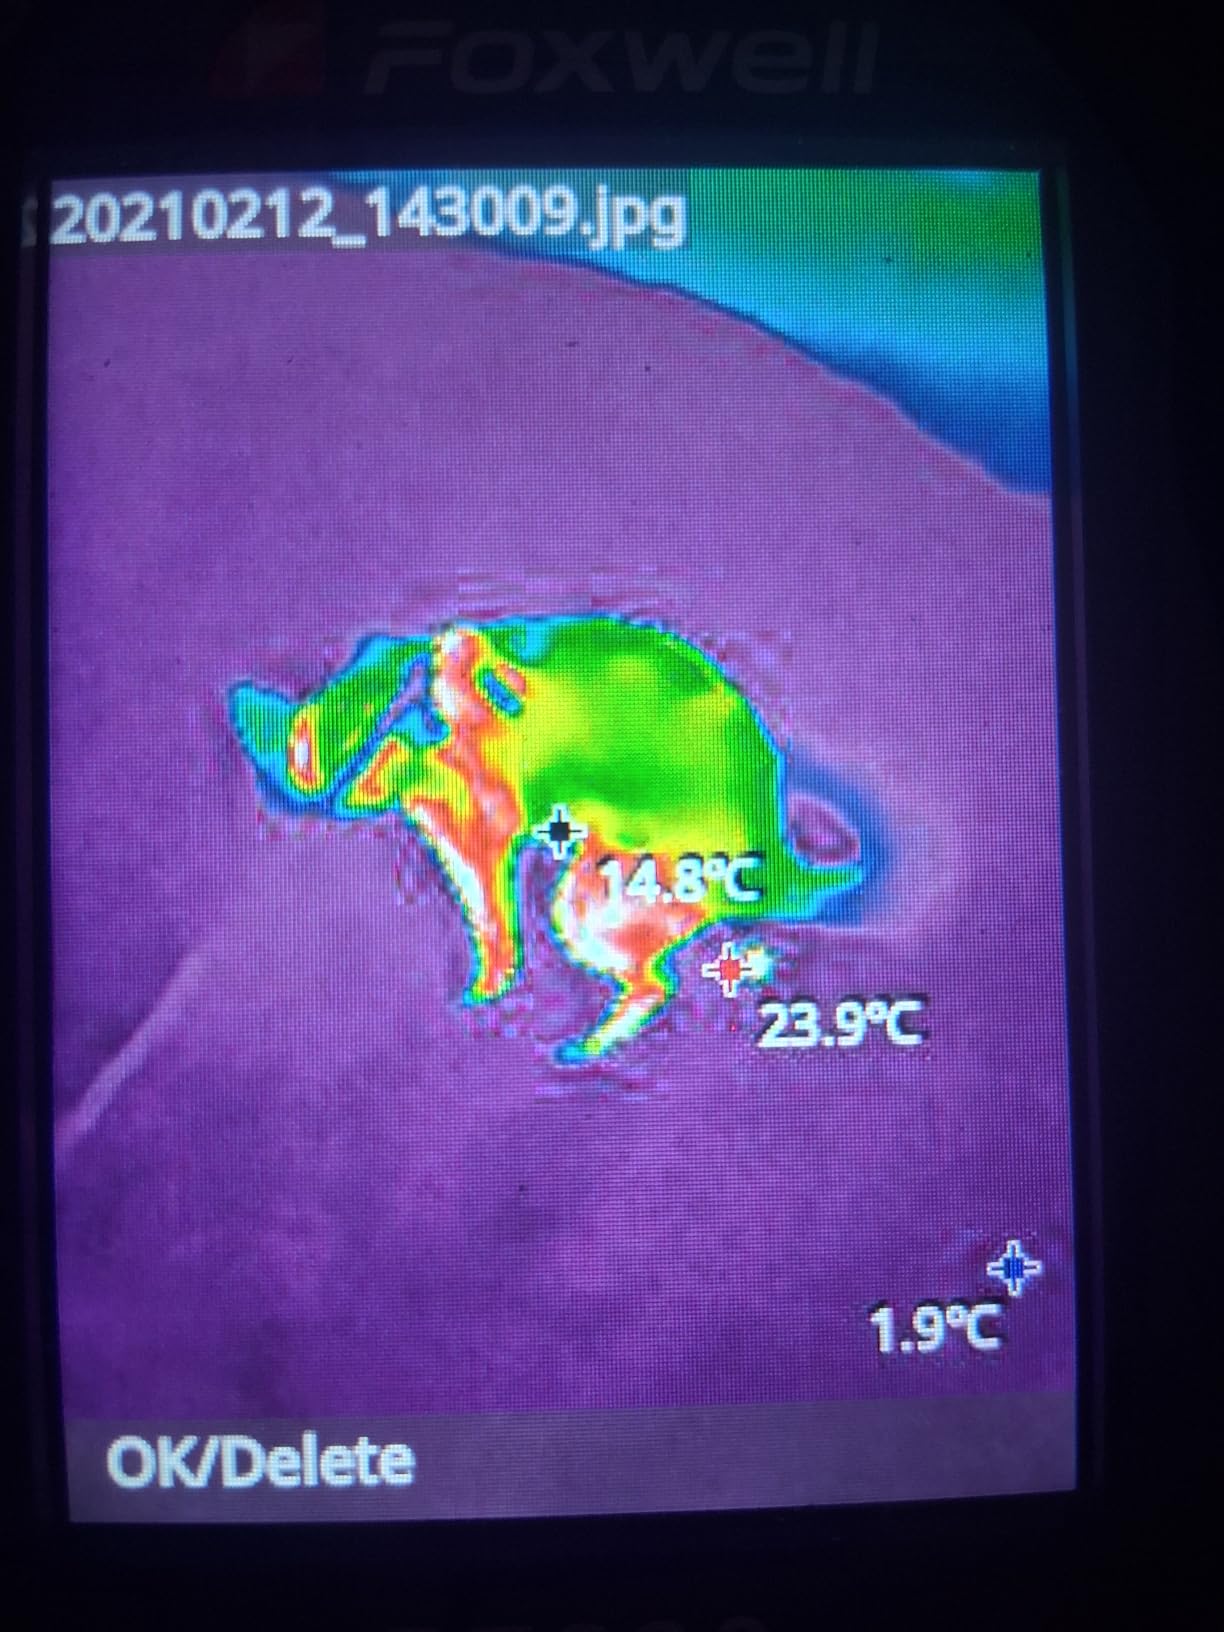
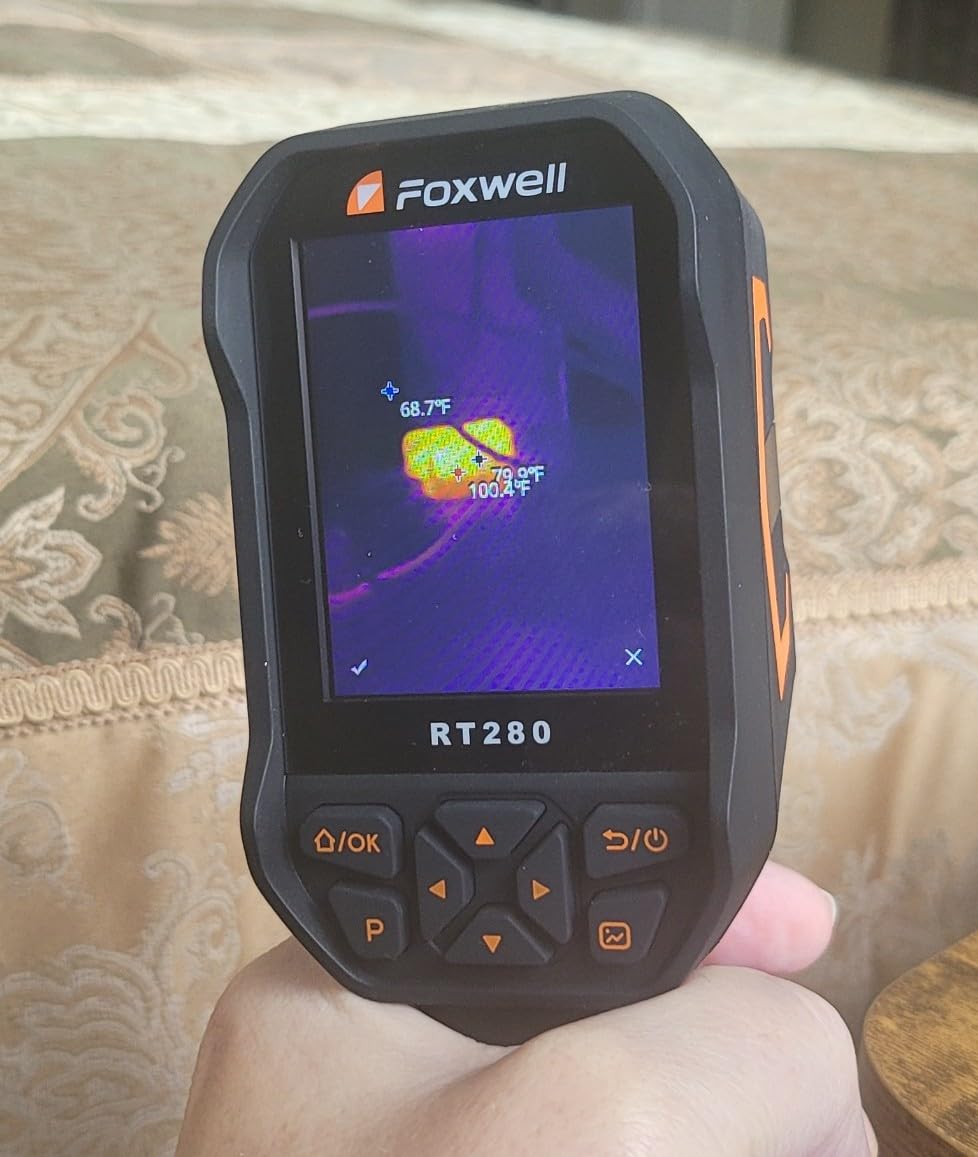
The RT280 is the camera I suggest when someone tells me they have never used a thermal imager and does not want to read a manual. It powers on, shows a picture, and the automatic highest, lowest and center point detection with high and low alarms tells you where to look without any setup.
Reviewers across several languages converge on the same conclusion, which is that it reliably reveals temperature differences in the house, from cold bridges at windows to leaks in roof insulation and underfloor heating zones. For a first scan of a property, that is genuinely useful.
Know the Real Sensor Before You Judge the Image
The advertised 240×180 output is TISR enhancement from a 120×90 native sensor, and some owners find that misleading. Treat it accordingly: this is a difference detector, not a diagnostic instrument. You will see the cold band at a window head, and you will not resolve a small defect across a large wall from a distance.
Temperature accuracy is specified as within 3.6F or 2 percent, though one reviewer reported a 20 degree discrepancy, and bright light sources and reflections occasionally register as false heat sources. The 50 x 38 degree field of view at 25Hz can stutter slightly during a fast pan.
Storage, Software and the Mac Gap
Eight gigabytes of eMMC holds more than 20,000 images and videos, which is more than enough for a full inspection record on the unit itself. The Windows PC software adds point, line and area analysis, 2D and 3D thermal imaging and automatic report generation, which is a real workflow advantage over a bare camera.
It is Windows only, with no Mac compatibility and no wireless transfer to a phone. IP54 dust and water protection with 6.6 foot drop resistance covers job-site use, and the 9 color palettes, laser pointer and LED light are more than the price-class norm.
What You Give Up Compared With the TC001
The comparison that matters is with the TOPDON TC001, which costs about the same, runs a much higher native resolution of 256×192, and reaches 512×384 through TISR as well. The TC001 needs a phone; the RT280 is fully standalone. If you already scan with your phone in hand, the TC001 is the better image. If you want one device that needs no pairing, the RT280 is simpler.
10. TOPDON TC002C Duo – Best for iPhone and iPad Owners
TOPDON TC002C Duo Thermal Imaging Camera for Any USB-C iPhone iPad Android
Universal USB-C for iOS and Android
256×192 native to 512×384 TISR
40mK sensitivity at 25Hz
Phone powered, no internal battery
+ Pros
- Works across USB-C iPhones iPads and Android devices
- Owners find cold spots at window perimeters and even framing behind paint
- Duo fusion overlays the phone camera on the thermal frame
- No internal battery to degrade
- Light at 1.1 ounces with a carrying case
– Cons
- Short USB-C port often will not seat with a phone case
- Weak grip so a bump can break the connection
- No autofocus and overlay alignment drifts at close range
- TISR mode drains the phone battery faster
- No Mac or Android 16 compatibility at this time
If you own an iPhone, this is the attachment to look at. It is universal over USB-C across iOS, Android and Windows devices, which removes the compatibility guesswork that trips up most phone-attached cameras. Note that it is not compatible with Mac or Android 16 at this time.
Owners describe using it to find insulation problems, cold spots at window and door perimeters, and even wall studs and framing members visible through paint. Others report tracing a hot water leak under a house and finding a blockage in an air conditioning system with the same unit.
Duo Fusion and the 40mK Advantage
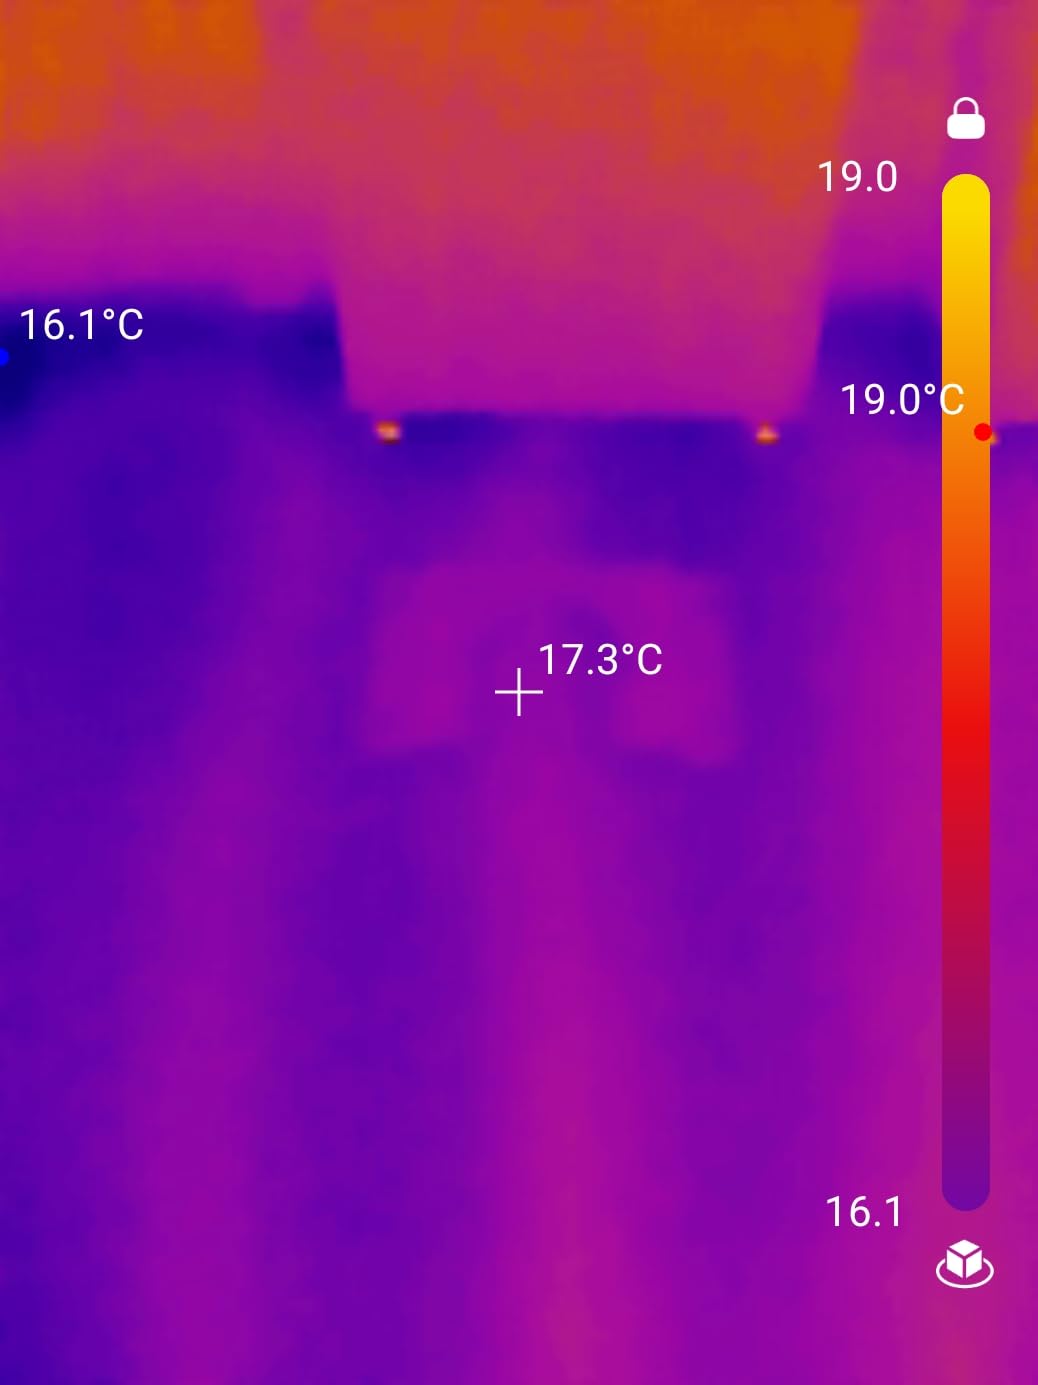
Duo fusion mode overlays the phone camera image on the thermal frame, which makes an anomaly identifiable in context rather than abstract. Combined with 40mK thermal sensitivity and a 25Hz refresh rate at 512×384 TISR-enhanced output, that gives you the smoothest phone-based experience in this group.
The real-time waveform temperature display shows how a measurement point changes over time with customizable limits and color, which is useful when you are watching a line of cold appear along a ceiling edge while the HVAC system runs.
Connection Weakness and Battery Sharing
The dominant complaint is physical. The USB-C port is short and often will not seat without removing a phone case, and the grip is weak enough that a slight bump can break the connection mid-scan. An extension adapter solves the first problem and reduces the second.
There is no autofocus, and overlay alignment drifts at close range because of the gap between the phone camera and the thermal lens. TISR mode also puts a heavy load on the phone GPU and drains the battery faster. Measurement distance reaches 16.4 feet, and at 1.1 ounces you will forget you are carrying it.
Phone Attachment Versus Standalone in One Comparison
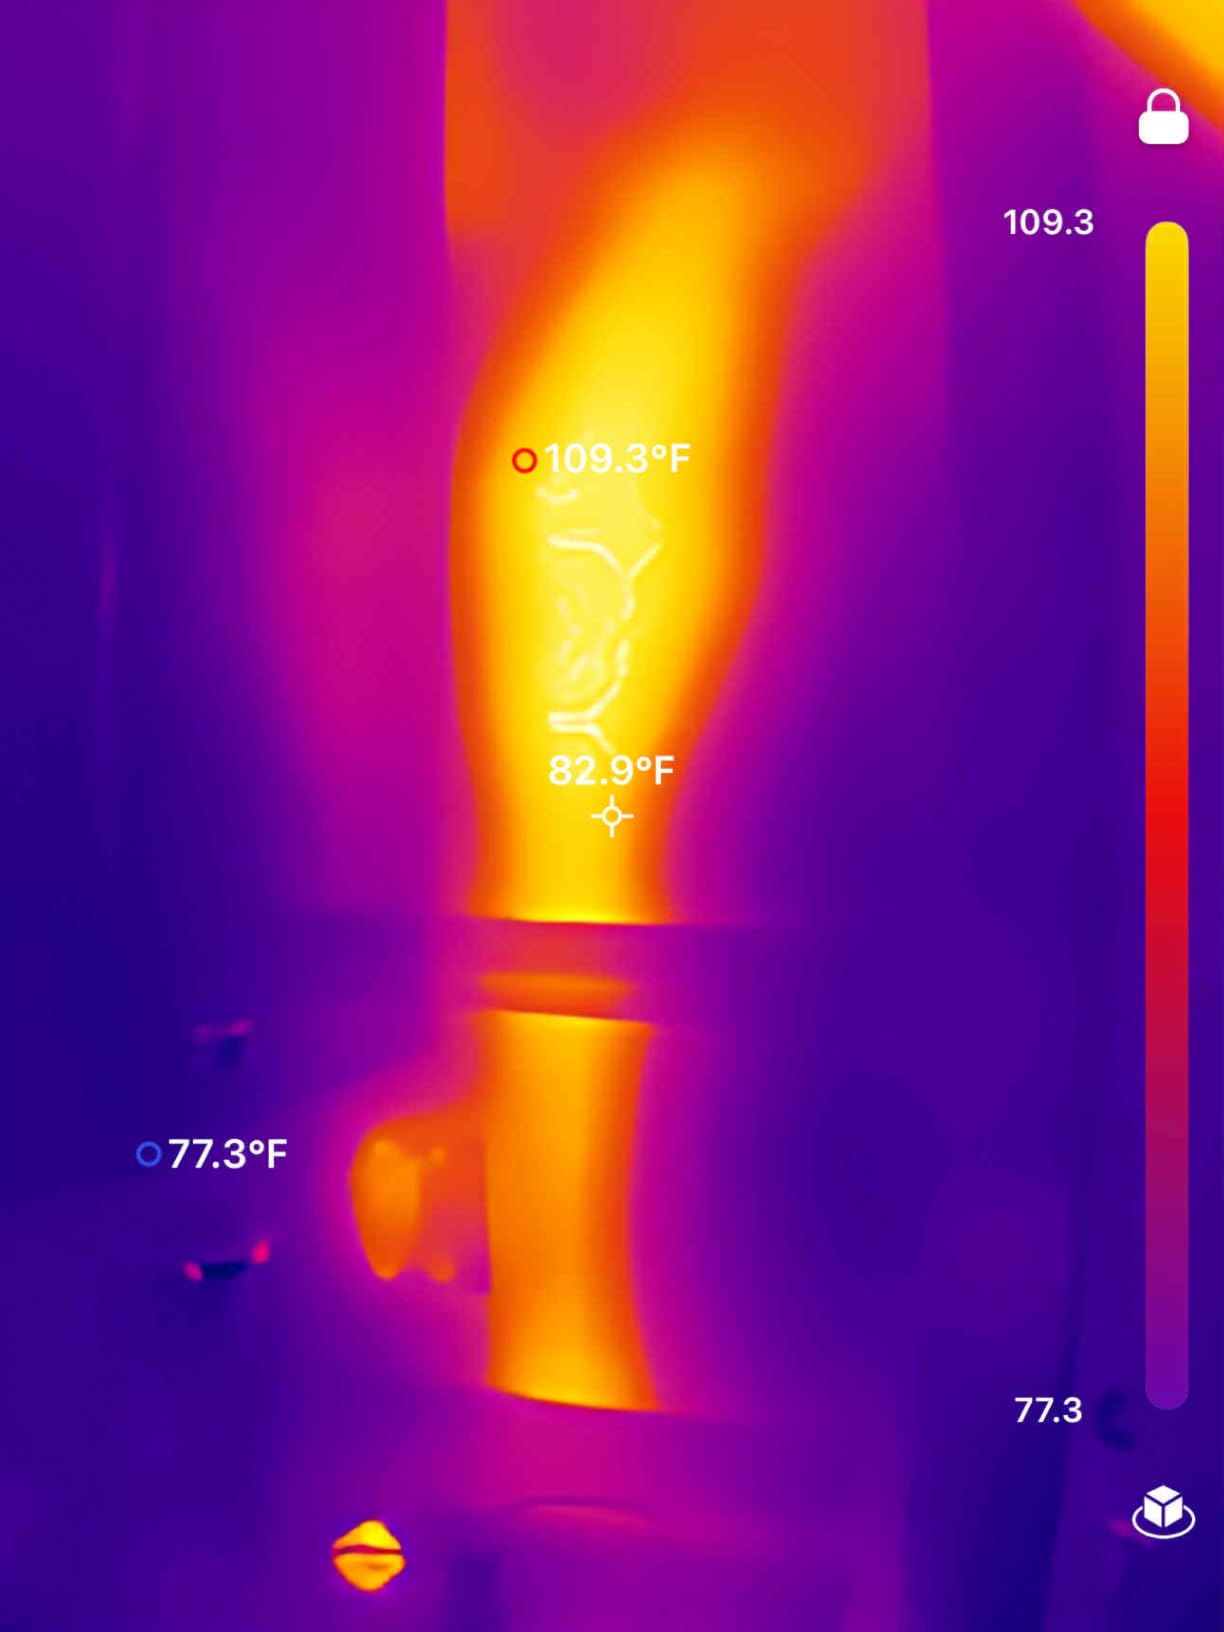
Buying an attachment means you carry a phone you already own, share its battery and storage, and accept the physical connection as a weak point. Buying a standalone means a dedicated screen, its own battery, a laser pointer and no app pairing, at the cost of one more device to charge. Owners who upgraded from an older attachment report that compatibility and app reliability improved noticeably after firmware and iOS updates.
What to Look For in a Thermal Camera Before You Buy
Three criteria decide whether a thermal camera is useful on a building envelope: thermal resolution, which is the honest pixel count of the infrared detector rather than the enhanced output number; thermal sensitivity in NETD, measured in millikelvin, where lower is better and anything under 50mK is a strong result; and form factor, which decides whether the camera works attached to the phone you already carry or as a standalone with its own screen and battery.
A fourth criterion separates professionals from hobbyists, and it is the one that came up most in owner discussions. Fixed scale and span control means you can lock the color-to-temperature relationship so two images taken an hour apart are comparable. A camera that only auto-scales produces a different picture every 30 seconds, which makes it useless for a report and frustrating for a large pan.
Resolution is the most visible specification and the most misunderstood. A 96×96 sensor pushed to 240×240 by software looks far better than 9,216 real pixels would, and for spotting a cold band across a ceiling that is genuinely helpful. It does not help you identify a 2 inch defect in a stud bay from 15 feet away. Read native resolution, not the enhanced figure.
NETD, or thermal sensitivity, is the number that actually governs how faint a difference you can detect. It is the smallest temperature change the sensor can distinguish from its own electrical noise. Units here range from below 50mK down to 40mK, and the AI Overview on this topic already treats 40mK as the benchmark to beat.
Emissivity control decides whether your readings mean anything. Painted drywall, weathered wood, brick and bare metal all radiate infrared energy differently, and a camera locked to a single default will read some of them wrong. Adjustable emissivity plus a reflected apparent temperature setting is what separates a tool from a toy.
Finally, think about the report before you think about the sensor. Built-in storage, Wi-Fi transfer, video capture, voice notes and PC software determine how much of your afternoon goes into filing images instead of inspecting. If you compare by category, our [best thermal cameras guide](https://fypower.org/best-thermal-cameras/) covers the wider range, and for paperwork on the shop side our [thermal printer guide](https://fypower.org/best-thermal-printers/) is a different tool entirely.
How to Find Insulation Leaks and Air Leaks with a Thermal Camera
The scan only works when there is a temperature differential pushing air through the building envelope. The widely used rule is 10 to 20F between inside and outside, and the direction matters. In winter, leaking air shows as cold streaks from outside air entering; in summer, hot leaking air shows as warm streaks. A scan on a mild 68F day with no load will show you almost nothing, which is why inspectors decline thermal work in bad weather rather than produce a meaningless report.
Start inside. Close interior doors so the pressure differential does not equalize, and let the building reach steady state, which usually means at least an hour after the heating system is running. Scan the interior of the exterior walls first, looking for cold bands at window and door perimeters, at the rim joist line where floors meet walls, and around any penetrations.
Then go outside. An interior scan shows where the envelope is losing energy; an exterior scan in the same conditions is a useful cross-check, but the load reverses, so cold interior streaks correspond to hot exterior areas and vice versa. Many inspectors do both and save both, because a defect that appears from only one side deserves more scrutiny rather than less.
Flag what you find and confirm it with a second tool. Thermal imaging tells you a spot is anomalous; a pin or analog moisture meter tells you whether insulation behind that spot is wet, which changes the finding from an energy-efficiency observation into a water intrusion concern. A blower door test then quantifies the air leakage as a whole. For records, save images and video as you go with the location noted.
One honest material limit belongs here. Homeowners and inspectors report consistently that thermal imaging works well for leaks in drywall and wet concrete, and that the results inside are dependable. Deep masonry cavities and brick walls are a different story, where the thermal mass and depth can hide what is happening. Treat those results as a prompt to investigate, not as a conclusion.
What Thermal Imaging Cannot Tell You
Thermal cameras do not see through walls, no matter how good the sensor is. They see the surface temperature of the surface facing them, and everything they show you is an inference from that. Any claim about conditions inside a cavity is a hypothesis until something else confirms it.
Thermal bridging is the biggest false positive. Wood studs, steel lintels and rim joists conduct heat through the assembly and show as a straight, consistent cold line in winter. That is a construction characteristic, not missing insulation, and it appears on every scan of a framed wall. Uniform straight lines are structure; irregular patches are more likely defects.
Solar loading wrecks exterior scans. A sunlit wall heats unevenly through the day, so an exterior scan in the afternoon can look identical to one taken at the wrong time of year. That is why interior-first scanning is the standard order of operations.
HVAC registers and recessed lights create their own patterns. Supply registers blow conditioned air against interior surfaces, and recessed fixtures leak heat into the cavity. Both produce clean, geometric anomalies that look like defects until you recognize the shape.
Wet insulation and missing insulation can look the same. Evaporative cooling from moisture drops the surface temperature, so a wet region reads as a cold anomaly in the same way an empty stud bay does. This is the single strongest argument for pairing thermal imaging with a moisture meter, and it is the question inspectors raise most often when a thermal finding needs to go into a written report.
None of this makes the camera a waste of money. It makes it a sensor that requires the same discipline as a moisture meter or a torch. Get the load conditions right, know the false positives, confirm what you find, and the images become evidence rather than decoration.
Which Thermal Camera Fits Your Job: Attachment, Standalone, or Professional
For the DIY homeowner, the choice is usually an attachment. You already have a phone, the total cost is lower, and the learning curve is short. Pick the TC002C Duo if your phone is USB-C, or the TC001 if it is Android. Expect to add an extension adapter if you use a case on either.
For a working home inspector, a standalone unit pays for itself in workflow. Storage, Wi-Fi transfer and a real screen mean you can show a client the finding and file the image before you leave the room. The TC004 is the value pick, the Thor002 if you want six measurement points and voice notes, and the HP96 if you would rather tap than press buttons.
For an energy auditor, documentation is the product, because the output of the scan is a report that justifies a retrofit. Look for video capture, 3D or 2D analysis software and report generation. The HF96V with HSF Studio and the FOXWELL RT280 with its Windows report tool both fit that shape, and the RT280 is worth knowing about if you are just entering the field.
For electricians and HVAC technicians, emissivity control and alarms matter more than pixel counts. The Klein TI250 gives you the widest emissivity range at 0.01 to 0.99 in a body light enough to hold overhead, and the FLIR TG165-X wins on MSX readability and the strongest warranty coverage in this group.
Whatever you choose, buy the training alongside the tool. The InterNACHI community is nearly unanimous that Level I and Level II building science courses are what let an inspector defend a thermal finding instead of merely showing a picture. The camera is the last piece of that sequence, not the first.
Frequently Asked Questions
What is the best thermal camera for building inspections?
For full-time building inspections, the TOPDON TC004 pairs a 3.5 inch standalone display, 64GB of internal storage and Wi-Fi transfer, which makes documenting and delivering findings fast. The Thermal Master Thor002 goes further with six simultaneous measurement points, a 2MP visible camera and voice notes for reports. At the budget end, the TOPDON TC001 attachment offers 256×192 native resolution without a pairing step.
Is thermal imaging worth it for home inspection?
Yes, when load conditions are right and the SOP allows it. A camera is not a way to inspect behind finished walls; it is a way to document anomalies on the surfaces you can see, which strengthens a report and gives a homeowner actionable evidence. It is not worth money without a temperature differential of roughly 10 to 20F, a steady-state load and a second tool to confirm what you find.
What camera do home inspectors use?
Most working inspectors use a standalone handheld rather than a phone attachment, because a dedicated screen, onboard storage and Wi-Fi transfer remove the pairing step and the dependency on a phone battery. Popular choices in this category include the TOPDON TC004, the Thermal Master Thor002 and the HSFTOOLS HP96. Electricians more often carry the Klein TI250 for its adjustable emissivity and temperature alarms.
Do thermal cameras see through walls?
No. A thermal camera measures infrared energy emitted from the surface facing the lens and maps it to a false-color image. It cannot see insulation, wiring or moisture inside a cavity, so every finding is an inference from surface temperature. That inference is useful when load conditions and emissivity are set correctly, and unreliable when solar loading, thermal bridging or HVAC registers are producing the pattern instead.
What temperature difference is needed for thermal imaging of a house?
A differential of about 10 to 20F between inside and outside is the working rule. The building should also be at steady state, which usually means at least an hour after the heating or cooling system has been running with interior doors closed. Below that, air leakage does not move enough energy to show as a clear anomaly, and any image you capture will be noise rather than evidence.
What is NETD in a thermal camera?
NETD stands for noise equivalent temperature difference, and it is the smallest temperature change the sensor can detect against its own electrical noise, expressed in millikelvin. Lower is better, so 40mK resolves finer differences than 100mK. For finding air leaks and insulation defects, anything under 50mK is a strong figure, and 40mK is the practical benchmark to compare against.
Final Verdict: The Best Thermal Imaging Cameras for Insulation Leaks
The best thermal imaging cameras for insulation leaks come down to three profiles. If you want the strongest combination of resolution, refresh rate and proven owner satisfaction without a phone in the loop, take the TOPDON TC001. If you need a standalone unit that files a same-day report, take the TOPDON TC004. If you work across materials and need real emissivity control in a light body, the Klein TI250 is the right instrument.
Everything else in this roundup is a considered second choice with a specific strength: the FLIR TG165-X for MSX readability and warranty coverage, the Thor002 for six-point measurement and voice notes, the HP96 and HF96V for automatic fault flagging and a visible reference frame, the H128 for all-day battery life, the RT280 for plug-and-play simplicity, and the TC002C Duo for iPhone and iPad owners.
Whichever one you pick, set the load before you set the expectation. A camera used on a mild day with no temperature differential will hand you a folder of useless images, and a camera used correctly will change what a client believes about their house. Last updated in 2026 — check the latest listings before you buy, and pick up the training that makes the pictures worth something.
Leave a Reply