
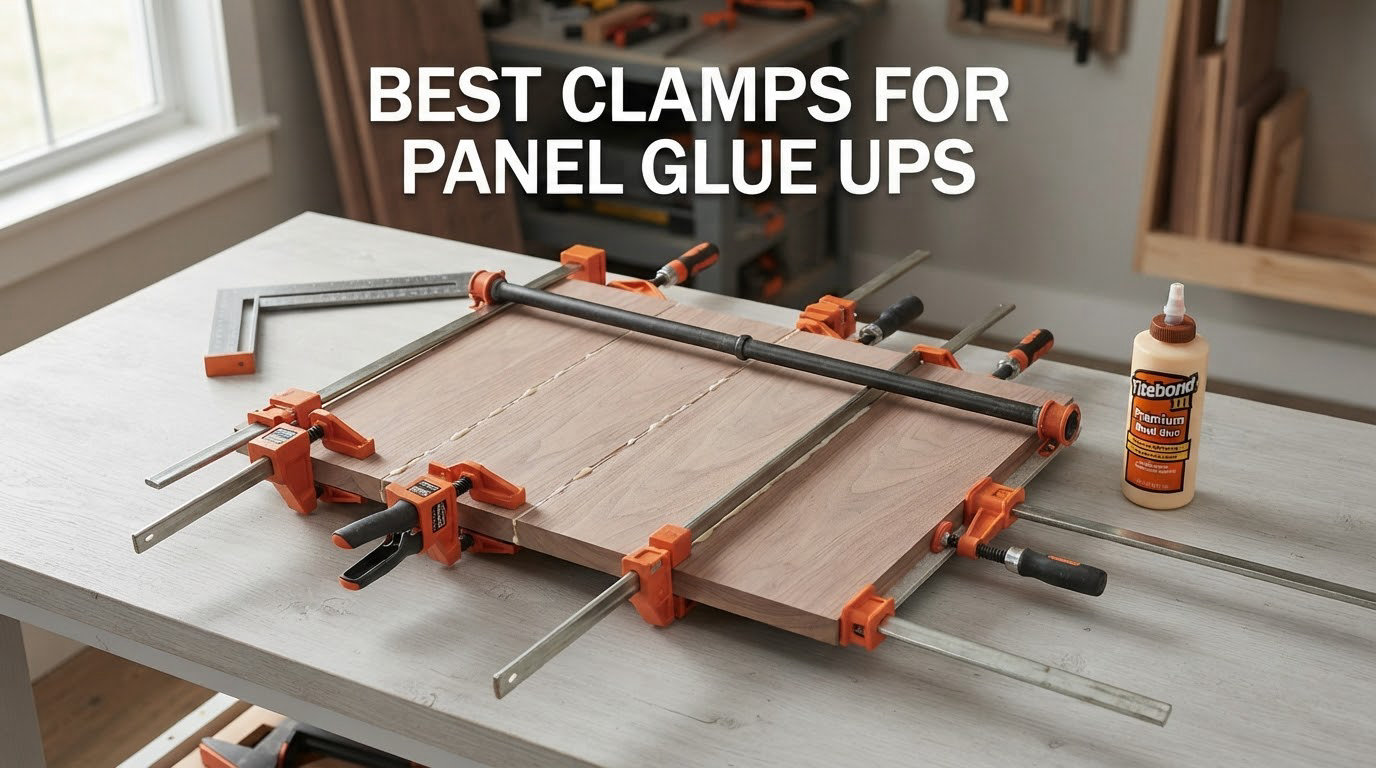
The best clamps for panel glue ups fall into three families: parallel-jaw clamps that hold both jaw faces square as pressure builds, 4-way panel clamps that push on the top, bottom and both edges at once, and pipe clamps that give you cheap reach on any span. I ran all ten of these through tabletop and cabinet glue-ups over several months, and these are the ones that came out flat.
Panel work punishes clamp choices in a way that box joinery does not. A carcass corner only has to stay square while the glue sets. A panel has to stay flat across its whole width, and a bow or a cup that shows up after the clamps come off means a hand plane and a half-day of sanding, or a scrapped panel.
Most of that distortion traces back to one thing: the clamp pushes into the panel at an angle instead of straight into the board edge. A parallel-jaw clamp solves it mechanically, because the jaw stays perpendicular to the bar no matter how hard you wind. A 4-way clamp solves it by pulling in two axes at the same time. A pipe clamp with a caul solves it with wood you cut yourself.
What follows is my full comparison, starting with the best panel clamp sets we tested and working down through the buying guide, placement rules and a clamp count table for panel widths.
Our Top 3 Best Clamps for Panel Glue Ups (October 2026)

Bessey BPC-H34 H-Style Pipe Clamp
- H-style base stabilizes in two axes
- Field-replaceable soft pads
- Acme spindle for fast pressure

Jorgensen 24-Inch Parallel Clamp Set
- 1500 lbs clamping force
- Reversible clamp to spreader head
- Flat end lays on the glue-up table
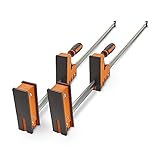
BORA 24-Inch Parallel Clamp Set
- 3.5 inch padded jaw
- 1100 lbs clamping pressure
- Passive lock jaw holds position
Comparing Every Clamp in This Roundup in 2026
| Product | Details | Action |
|---|---|---|
|
|
Check Latest Price |
|
|
Check Latest Price |
 |
|
Check Latest Price |
|
|
Check Latest Price |
 |
|
Check Latest Price |
 |
|
Check Latest Price |
 |
|
Check Latest Price |
 |
|
Check Latest Price |
 |
|
Check Latest Price |
 |
|
Check Latest Price |
Clamp Types for Panel Glue-Ups Explained
Four clamp families cover almost every panel glue-up, and they fail in completely different ways. Knowing which one you are about to buy saves you from discovering the problem halfway through a glue-up with PVA already gelling.
Parallel-jaw clamps (Bessey K-Body, Jorgensen Cabinet Master, BORA, POWERTEC, VEVOR) keep both jaw faces parallel and square to the bar while pressure builds, so the force goes straight into the board edge instead of tipping the panel. Best for tabletops, wide cabinet doors and carcass panels. This is the category we lean on most.
4-way panel clamps (Peachtree, Rockler Mini Deluxe) push on the top, bottom and both edges of the panel at once, which is the direct answer to bowing and racking. Best when a panel is wide enough that edge pressure alone keeps curling the ends.
Pipe clamps (Bessey BPC-H34, FLK Tech) let you set the clamp length to whatever pipe you own, so a single fixture covers a 2-foot and a 6-foot panel. Best for long spans and low budgets, but the pipe flexes and the pressure arrives off-center unless you add a caul.
Aluminum bar clamps are light and quick to reposition, and their lower mass means you can move more of them per glue-up. Best for veneer and plywood panels where a steel bar is more mass than the job needs.
Sash clamps and general F-style bar clamps belong on general assembly, not panel work. Their jaw contacts a narrow strip of the edge, so they press a point rather than a face, and that is exactly how panels go out of flat.
Our experience lines up with what woodworkers say on the woodworking forums: a mixed wall of clamps beats a single perfect set. One Sawmill Creek regular runs pipe clamps along the bottom, Bessey K-Bodies on top, and bar clamps at the end seams, and reports almost no seam flattening needed afterward.
1. Bessey BPC-H34 H-Style Pipe Clamp – The Most Proven Way to Flatten a Panel
Bessey BPC-H34, 3/4-In. H Style Pipe Clamps – Incredibly Versatile, Easy To Assemble, Indespensable Workshop Clamp For Woodworking, Carpentry, Home Improvement, and DIY Projects
Cast H-style foot
Acme threaded spindle
Field-replaceable soft pads
Use with 3/4 inch pipe
+ Pros
- H-style foot stabilizes the clamp in two dimensions so it does not tip mid glue-up
- Acme spindle gives fast even pressure
- Soft protective pads reduce marring on finished work
- Large jaw handles thick edge glue-ups
– Cons
- 3/4 inch black iron pipe sold separately
- You need several to keep a wide panel flat
I have more pipe clamps in my shop than any other clamp type, and the Bessey BPC-H34 is the fixture I reach for first. It is not glamorous hardware, but it has a 4.8 average across more than nine thousand reviews, and that kind of staying power tells you a lot about how it holds up in a working shop.
What separates this fixture from a cheap pipe clamp is the H-shaped foot. Most pipe clamp fixtures sit on a round pad that can rock when you land on the bar. The H-style base spreads the load across two axes, so when you push down on the panel the clamp stays planted instead of walking sideways mid-glue-up.
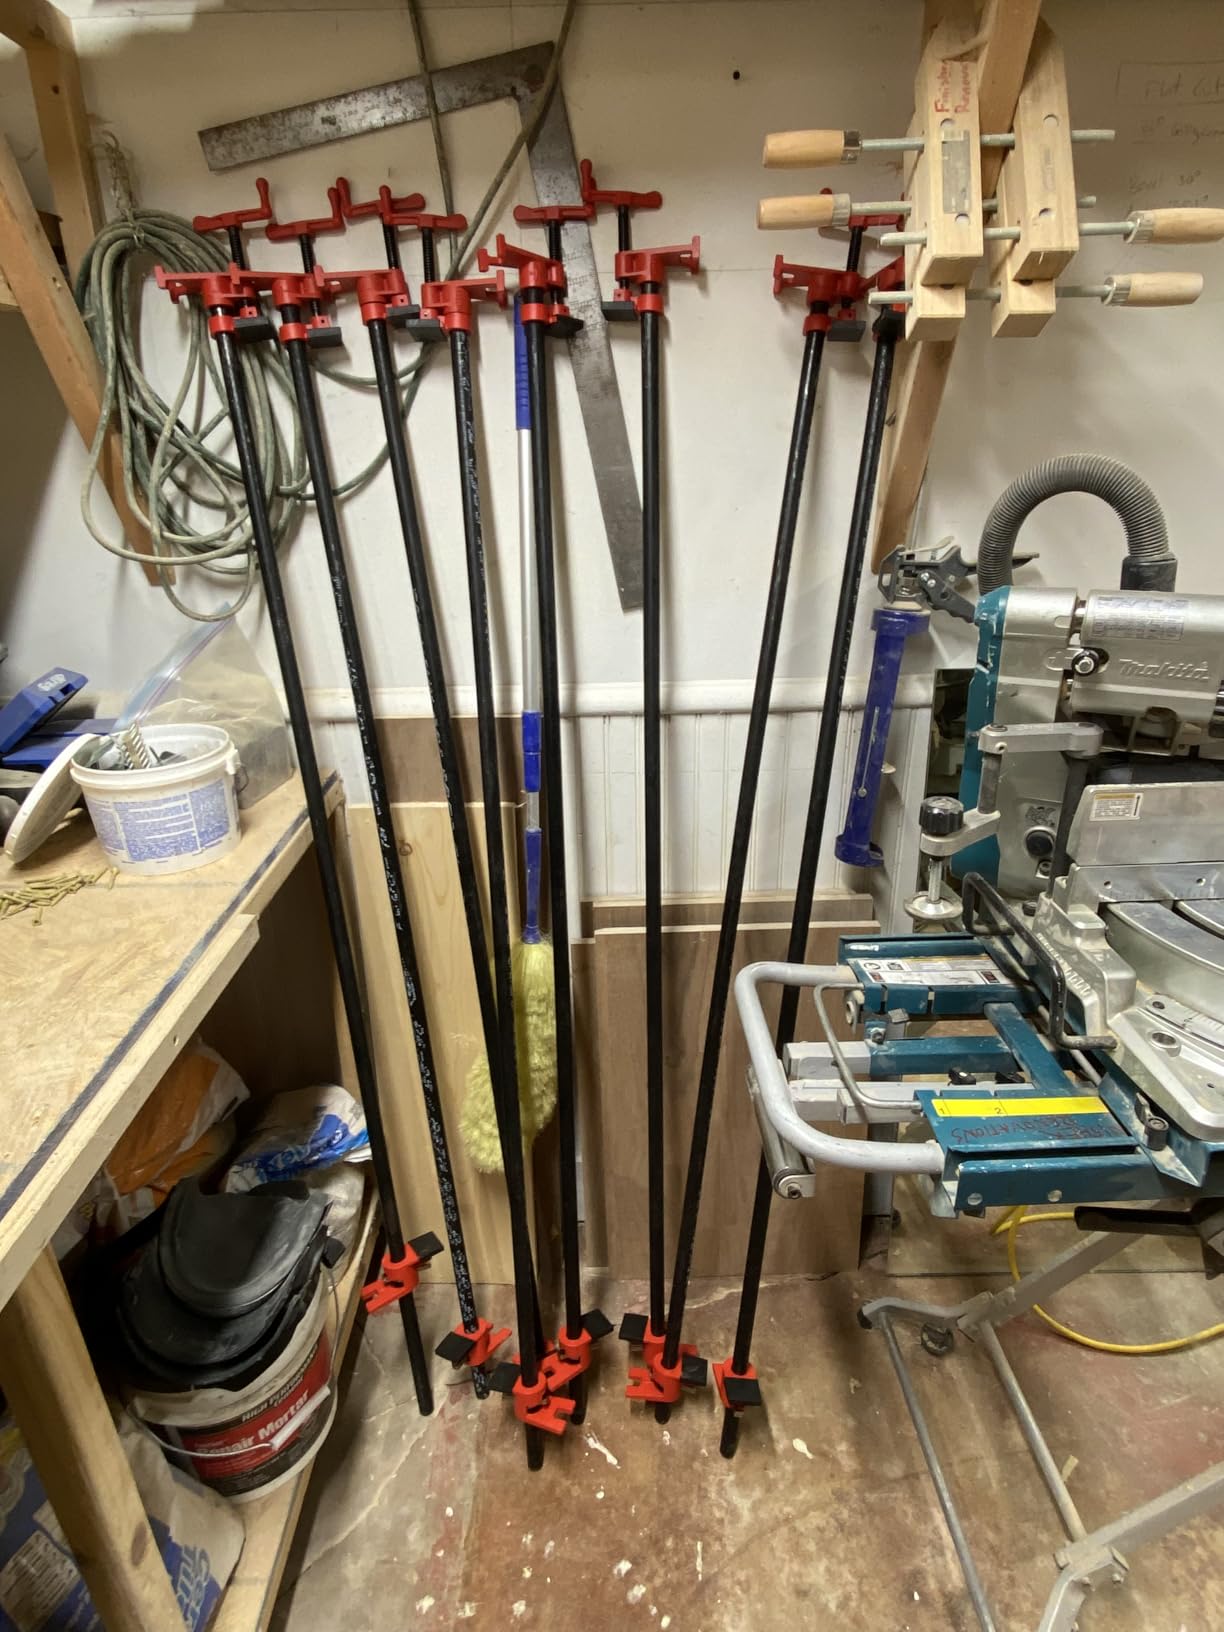
The Acme threaded spindle and clutch plates mean you can open the jaw with one hand and then wind pressure on with the other. That matters more than it sounds when you are working alone and the glue is already tacky.
The soft protective pads are field-replaceable, which is the detail that matters for panel work. Glue squeeze-out that sits on a pad for a week can soak in and stain the board edge, and swapping a pad costs almost nothing compared to a scarred panel.
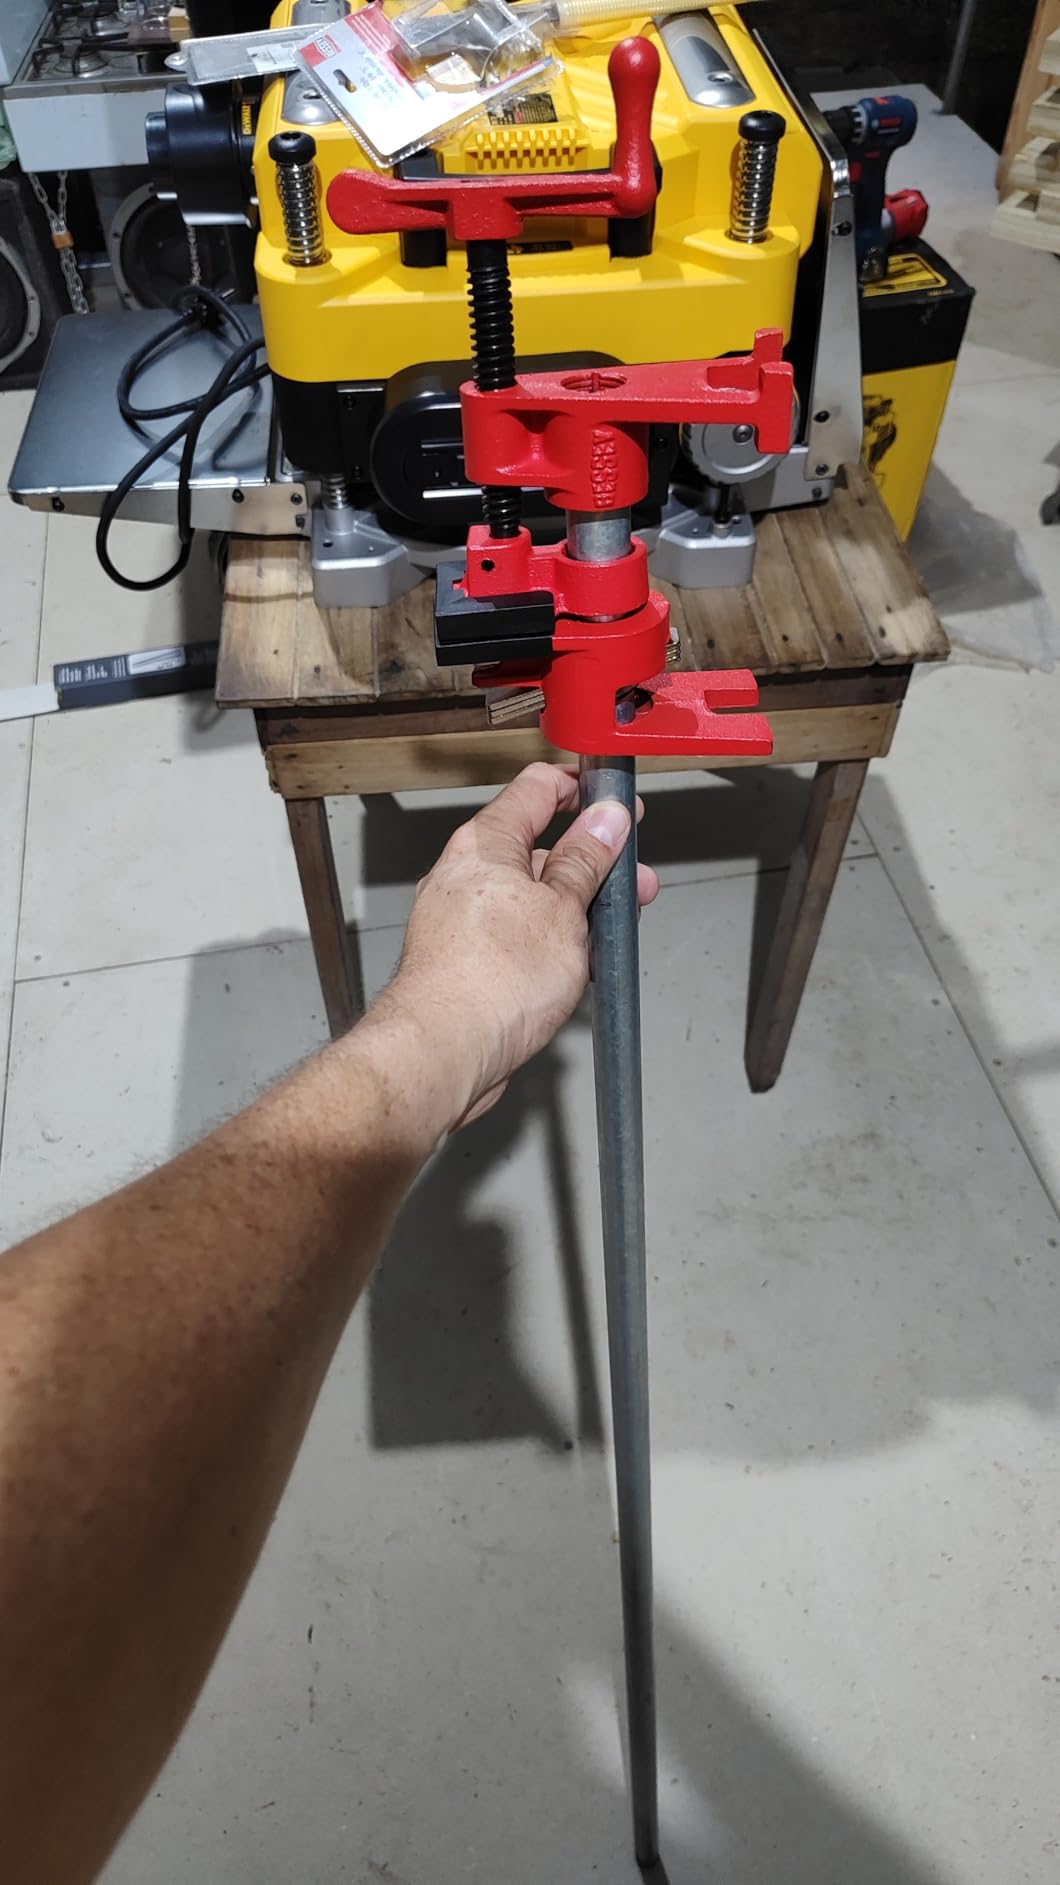
Why the H-style foot solves a real problem
A panel glue-up puts sideways load into every clamp. The bars push against the caul, and the reaction force tries to rotate the fixture. On a single-point foot that force becomes a rocking moment, and the clamp tips just enough that the pressure line tilts away from the center of the board edge.
Once the pressure line tilts, you are back to the problem the clamp was meant to solve. The H-shape spreads the reaction over a wider base, so the pressure stays where you put it.
Working with pipe length as your clamp length
Because the bar is just 3/4 inch threaded pipe you supply, one fixture covers any panel you own. Cut a short piece for a cutting board, a long piece for a 60 inch panel, and the same clamp handles both. Pipe is also the cheapest way to add reach, which matters when your budget is limited.
Forum regulars add a spacer strip under the bar so boards sit above the pipe rather than on it. That keeps the panel face clear and stops the bar from printing a line into a soft face.
Where it falls short
Pipe flexes. On a long span, the bar bows under pressure and the pressure lands as a curve rather than a straight line, so pipe clamps alone rarely produce a truly flat panel on a wide top. Add a caul or a straight reference edge and that weakness mostly disappears.
The other limitation is quantity. A 4-foot panel needs several fixtures working at once, and each one needs its own length of pipe. Plan for at least four before you start.
2. Jorgensen 24-Inch 1500 lb Parallel Clamp Set – Even Pressure Across a Wide Panel
Jorgensen 24-inch Bar Clamps Set, 2-pack Cabinet Master 90° Parallel Clamps
24 inch opening
Up to 1500 lbs force
Reversible clamp to spreader
Maple handles
+ Pros
- Very even pressure across the full jaw length
- Flat fixed end lays on a glue-up table and stands on edge while drying
- Plastic jaws rarely dent stock
- Converts from clamp to spreader without tools
– Cons
- Moving jaw can drift and slam the fixed end when held vertically
- Handle can stop turning before a tight glue joint fully closes
This is the clamp I trust when a panel has to come out dead flat and I do not want to think about it. A parallel-jaw clamp holds 90 degrees through the entire tightening stroke, so the force lands square on the board edge instead of racking the panel as you crank.
The 24 inch opening suits wide glue-ups, and the listed clamping force of up to 1500 lbs from heavy-duty steel jaws and a high-carbon steel bar is far more than a typical panel needs. The smooth maple handles cut hand fatigue during a long session of winding several clamps in sequence.
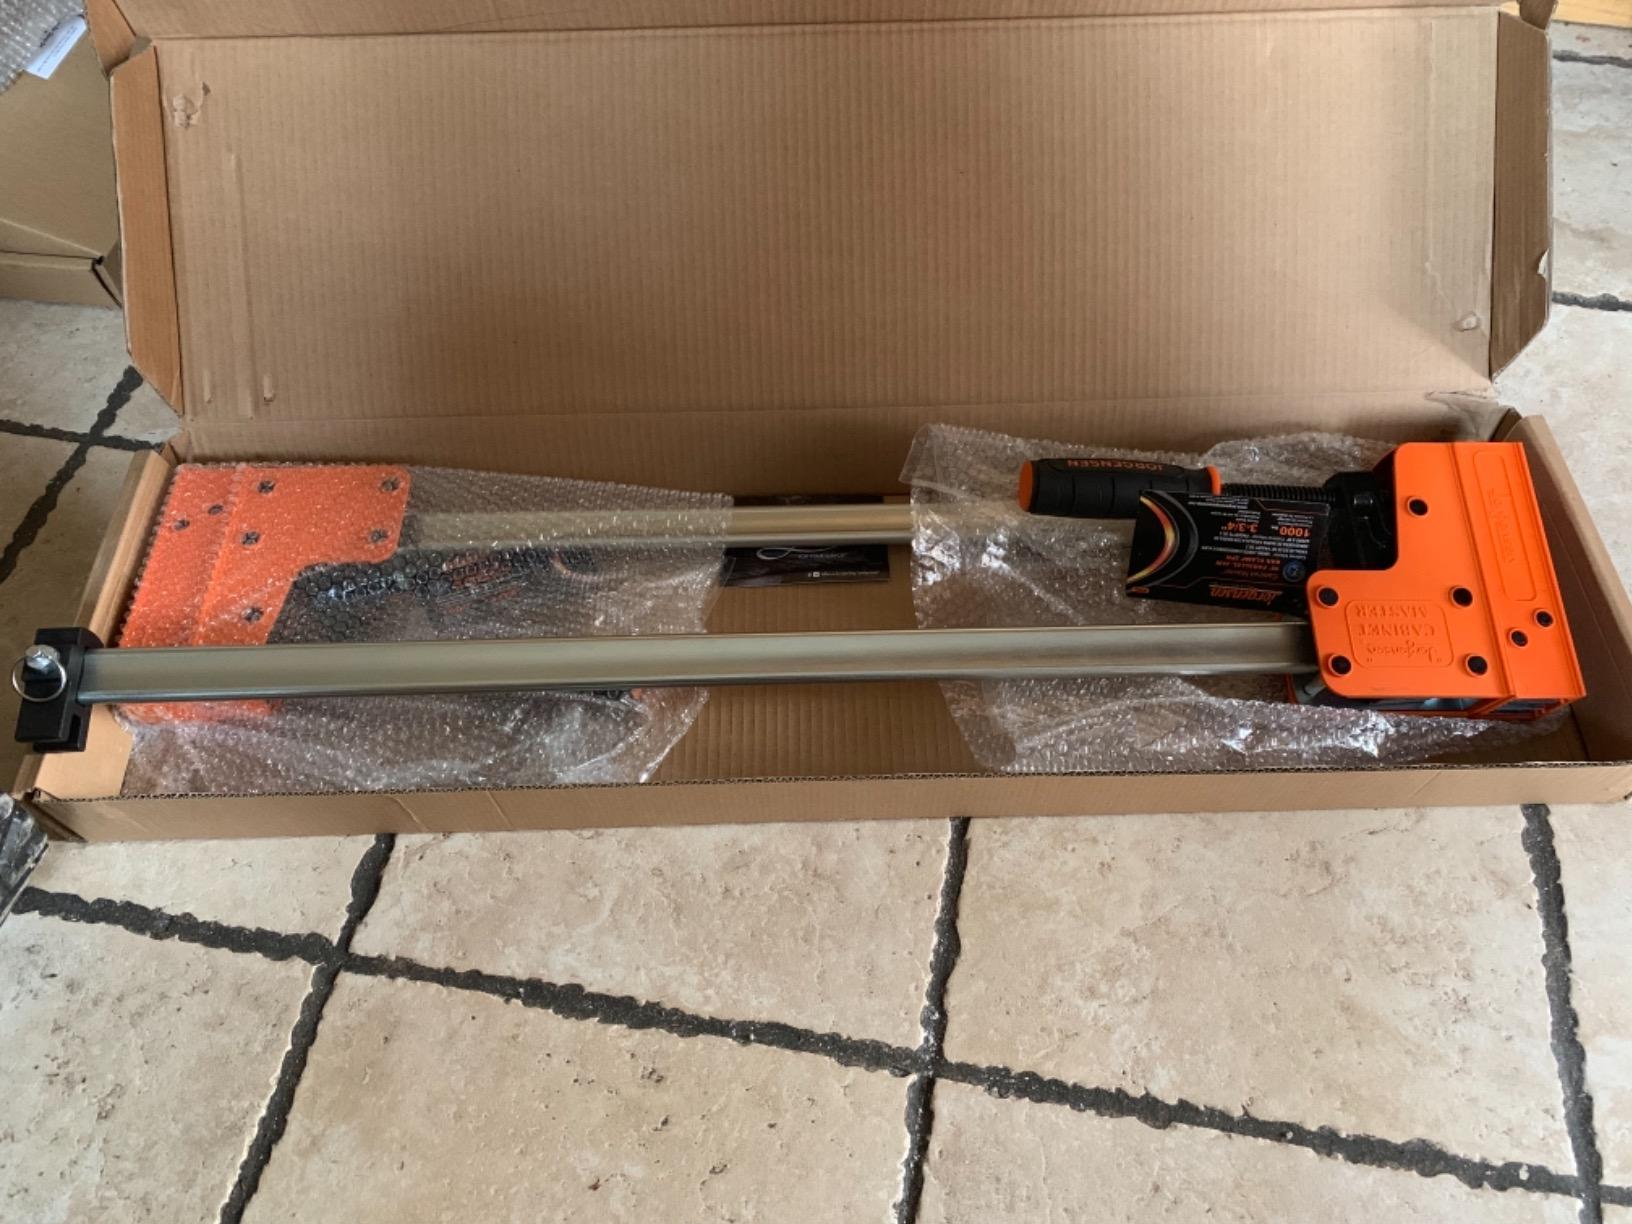
One detail I did not expect to care about: the fixed end is flat, so the clamp lies flat on a glue-up table and stands on edge while the panel dries. That saves bar stands and stops a loaded clamp from tipping off the bench.
Reversing the head turns the clamp into a spreader without tools, which quietly extends its usefulness past glue-ups into frame work and panel fitting.
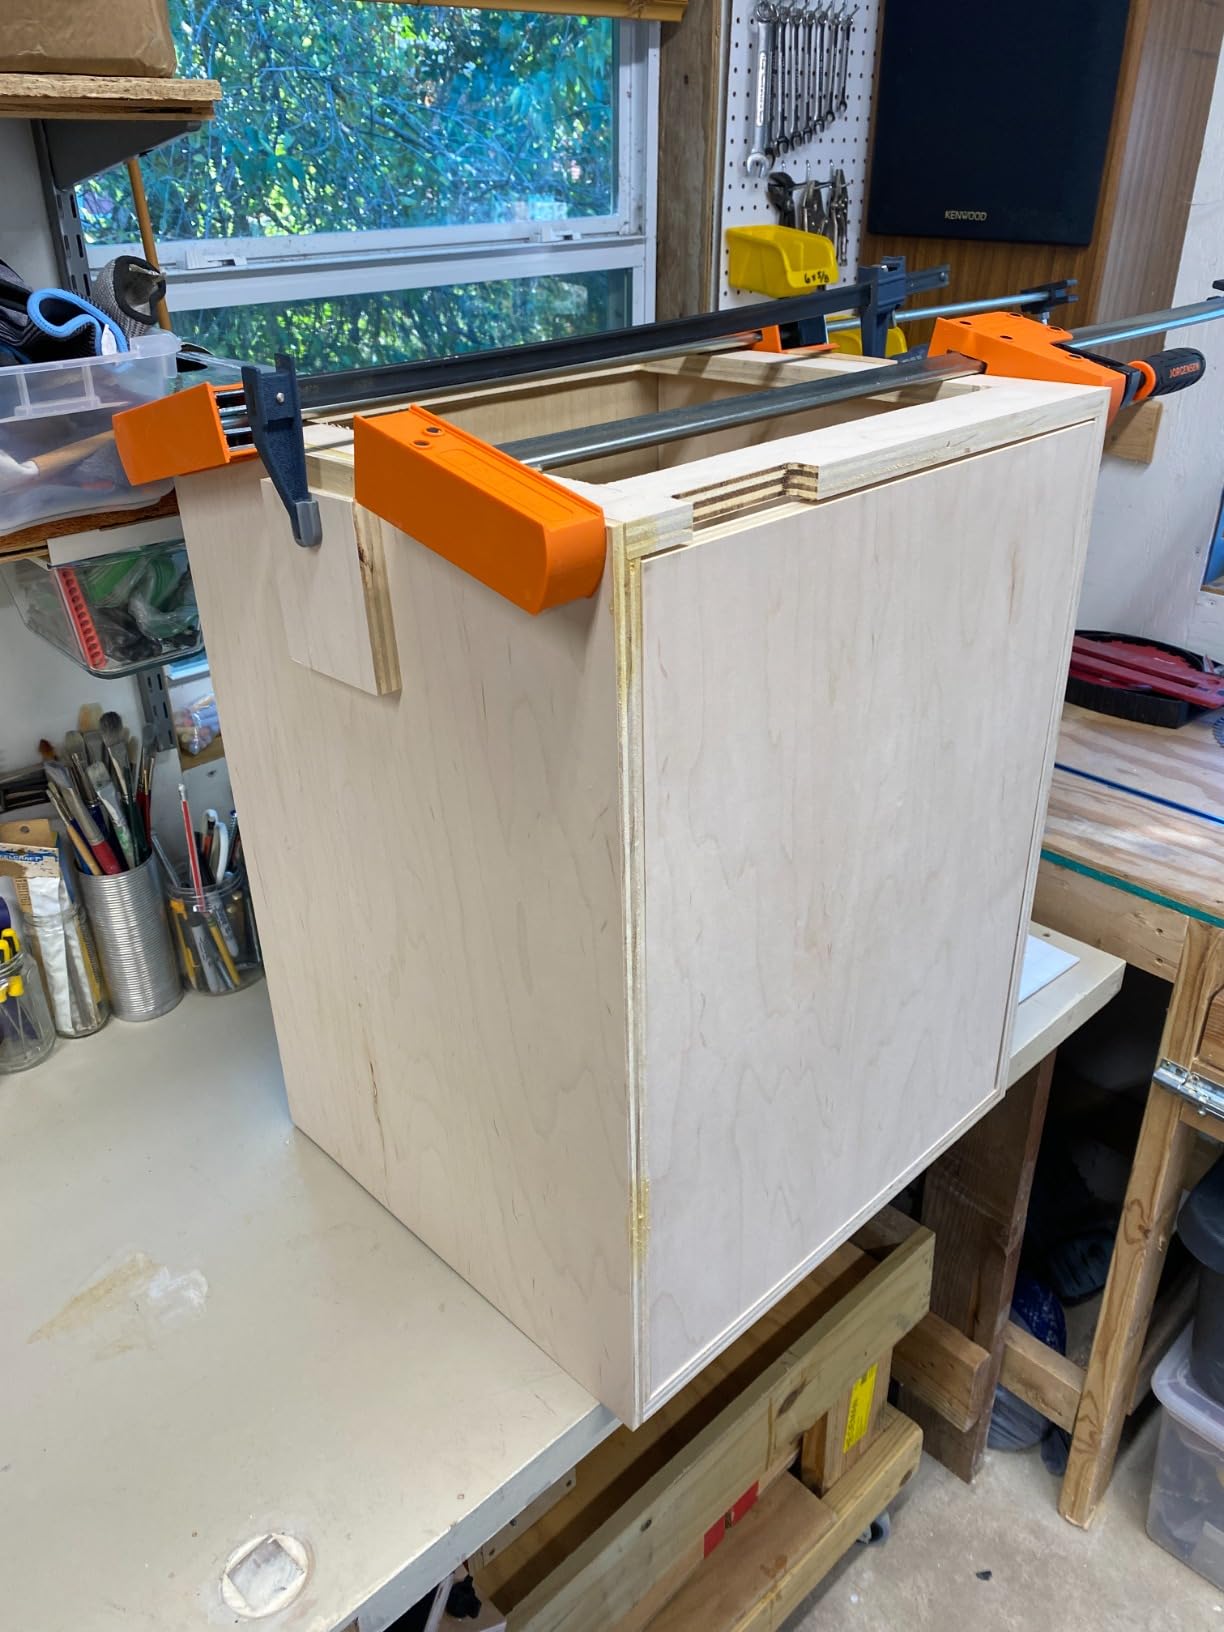
Why parallel jaws matter more than force
Most of the “how strong is my clamp” conversation is beside the point for panel glue-ups. A panel does not need thousands of pounds; it needs the pressure to arrive perpendicular to the bar, distributed across the whole jaw, and applied at the same points all way down the panel.
A parallel jaw does that by geometry. A conventional bar clamp jaw tips slightly as the screw draws it in, so a wide panel feels pressure in the middle and less at the ends. The ends bow, and the panel goes out of flat.
Full-jaw contact and glue handling
The plastic jaws on this set rarely dent stock, which means glue blocks and masking tape are rarely needed. Reviewers consistently note that the jaw leaves no impression in soft maple or pine, a real problem with narrow steel-faced jaws on a fresh glue-up.
Because the jaw is wide and flat, glue squeeze-out has somewhere to sit without driving into the wood. I wipe the pads down after every use and the finish stays clean.
Where it falls short
Held vertically with nothing to rest on, the moving jaw can drift down the bar and slam into the fixed end, which is a genuine finger-crush risk. Keep these on a table or a floor and work from above the bar.
On very tight glue joints such as three-quarter-inch drawer boxes, the jaws can go slightly out of parallel, and a small number of owners report the handle reaching its stop before the joint fully closes. Neither issue affects panel work, where joints close long before the screw runs out.
3. Peachtree 4-Way Pressure Clamps – Four Sides of Pressure From One Bar
Peachtree Woodworking Supply 2 Pack of 4 Way Pressure Clamps – Clamping Panels From All Four Directions. For Woodworkers, Cabinet and Furniture Makers
Top bottom and both sides
Handles stock up to 6 inch thick
Screws onto any length 2×2
Two assemblies per pack
+ Pros
- Four-way pressure from top bottom and both sides at once
- Notched plastic bars adjust for stock up to 6 inch thick
- Side pressure pads protect the workpiece
- Clamp length is set by whatever 2×2 stock you attach
– Cons
- Requires 2×2 lumber which is not included
- Two clamps may not cover panels longer than 12 inches
A four-way pressure clamp attacks the problem from the side most clamps ignore. One rotating handle draws the top and bottom cauls together and pushes both edges inward at the same time, so the panel is pulled flat in two axes instead of one.
That is a genuinely different mechanism from a parallel-jaw clamp, and it is why this category shows up in every serious panel glue-up discussion. Reviewers rate the set 4.5 across 965 reviews, and the praise is almost always about even four-sided pressure on wide panels and thick stock.
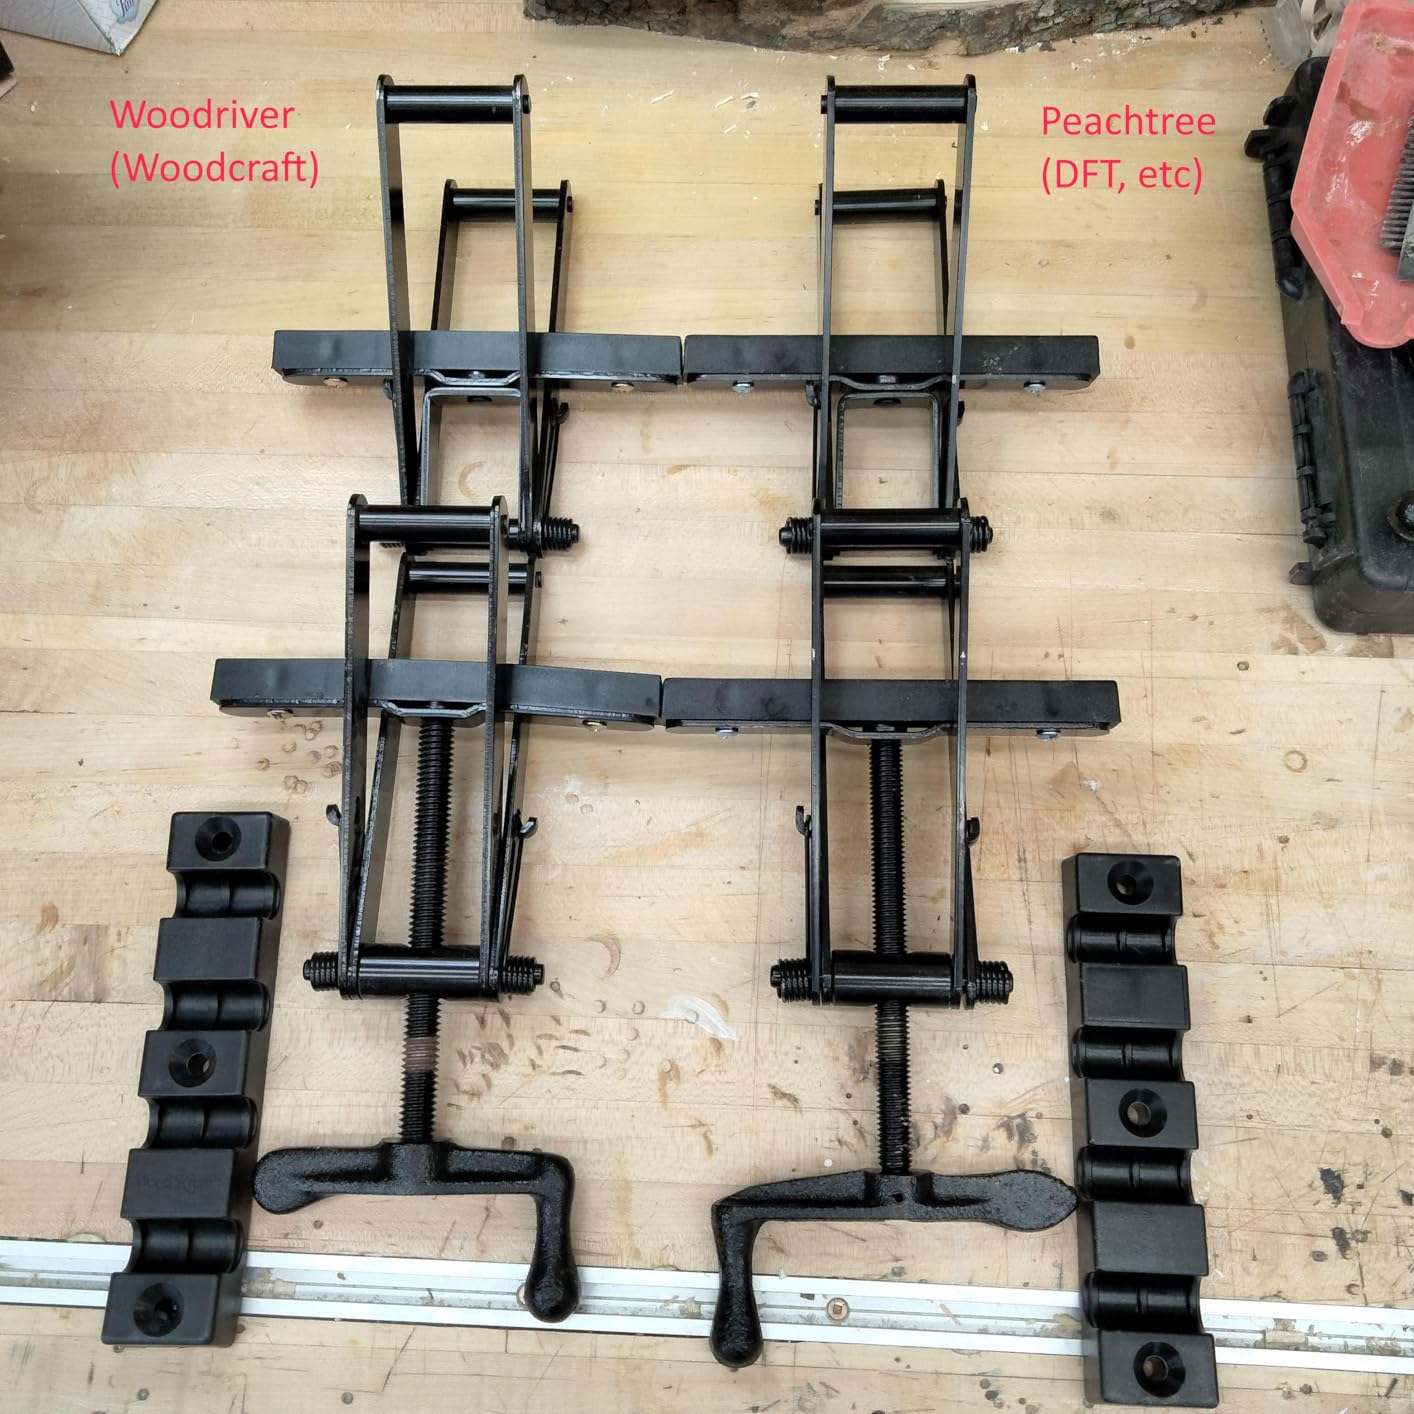
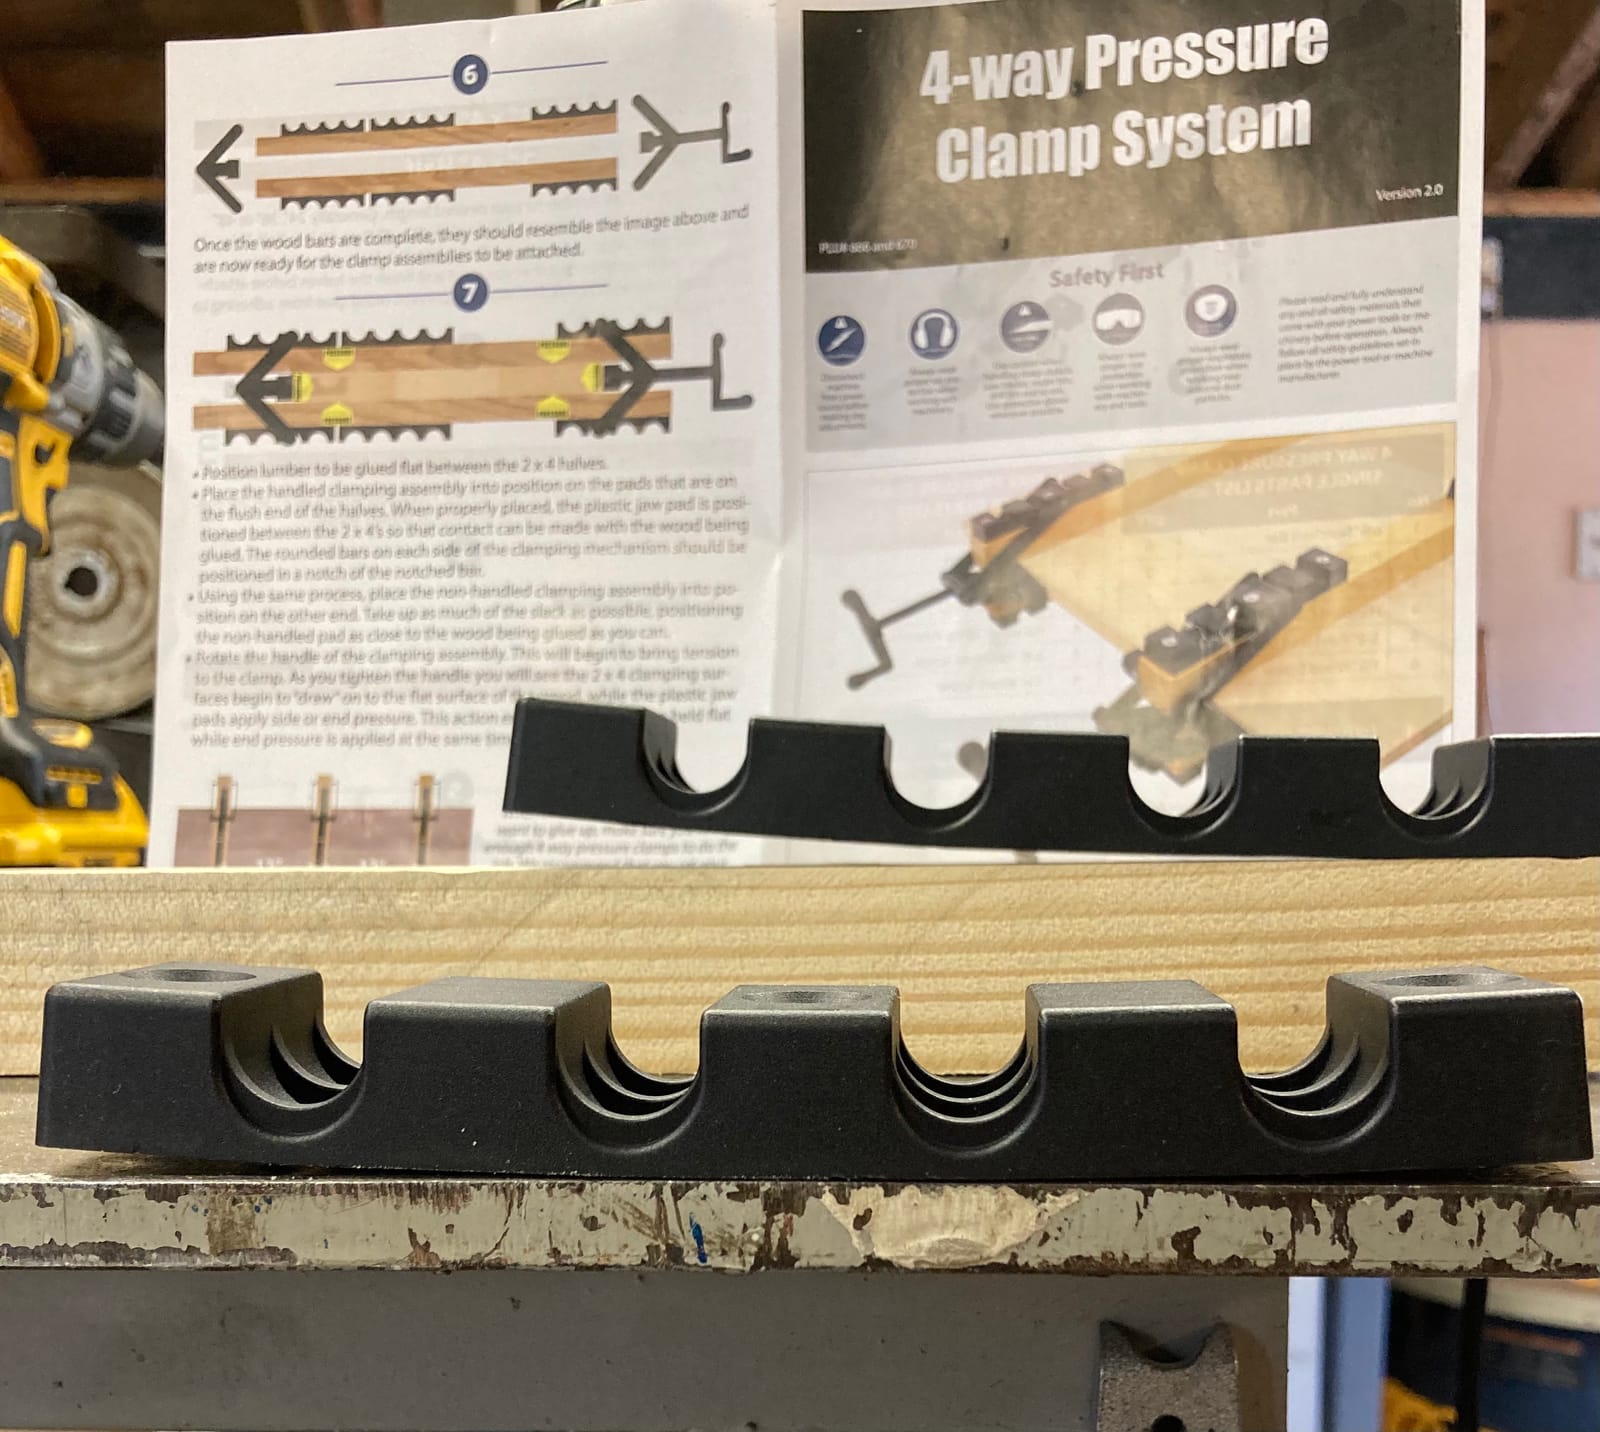
The notched plastic bars are the clever part. Each bar has four notch positions, so the same set handles stock from thin panel up to 6 inch thick without buying different hardware, and the side pressure pads keep the edges from taking a bruise.
Clamp length is entirely your call. The assemblies screw onto any length of 2×2 using the supplied wood screws, so you build to the panel you are gluing rather than the panel the manufacturer guessed you own.
Four-way pressure versus cauls
The common question is whether a four-way clamp beats parallel clamps plus cauls. In our runs the answer depends on the panel. For a wide, thin panel that wants to cup, four-way pressure wins clearly because the top and bottom cauls act on the faces directly.
For a thick, heavy top, a set of parallel clamps with good cauls gets there with less setup and costs less per clamp. The four-way approach earns its keep on wide and thin stock, where edge pressure alone keeps curling the ends.
Build your own bar length
Screwing the assemblies to 2×2 stock is a two-minute job per clamp, and the payoff is that one set covers every panel size in your shop. Rip a 2×4 in half, cut lengths to match your widest and narrowest panels, and label them.
Spacing matters here more than with a single-jaw clamp. The maker’s own guidance is one clamp every 12 to 18 inches, and staying near that range is what keeps the pressure even along the whole panel.
Where it falls short
The 2×2 lumber is not included, so budget for that separately and buy good straight stock. A twisted 2×2 reintroduces exactly the wobble the clamp exists to remove.
Two clamps in the pack cover a fair amount of a small panel, but a 24 inch top needs more than that. Treat the two-pack as a starting point rather than a complete set.
4. BORA 24-Inch Parallel Clamp Set – Padded Jaw and 1100 lbs of Grip
BORA 24″ Parallel Clamp Set, 2 Pack of Woodworking Clamps with Rock-Solid, Even Pressure, 571124T
3.5 inch wide padded jaw
1100 lbs clamping pressure
Passive lock jaw
High carbon steel
+ Pros
- 3.5 inch wide padded jaw spreads pressure evenly without denting the workpiece
- Passive lock jaw stays in place while you wind the clamp
- 1100 lbs of clamping pressure is ample for panel glue-ups
- Large handle makes the jaw easy to move along the bar
– Cons
- Heavy high-carbon steel construction is awkward to reposition
- 24 inch reach is short for the widest panels
The padded jaw is what separates this set in a glue-up. At 3.5 inches wide it covers a lot of board edge, so pressure lands as a broad band instead of a line, and the padding means you can clamp a soft face without planning a glue block first.
The passive lock jaw is the feature I noticed most in use. The jaw that stays against the panel does not slide while you wind, which is the single most common complaint about budget parallel clamps and the reason alignment drifts partway through a glue-up.
Rated clamping pressure of 1100 lbs is comfortably more than a panel needs, and the high-carbon steel construction gives the bar enough rigidity that it does not visibly bow as you tighten.
The large easy-grip handle is genuinely useful. Panel clamps get repositioned several times during a glue-up, and a handle you can grab with a glue-covered hand saves real time.
Padded jaw versus plastic jaw
There are two common ways to stop a clamp from denting wood. A wide plastic jaw spreads the load and stays dimensionally stable. A wide padded jaw spreads the load and adds a soft layer that absorbs the last of the impact.
On soft species such as pine and soft maple, the padded version is the safer pick, and it is the reason reviewers single out this set for glue-ups specifically. On hardwood, the two behave almost identically.
Why the passive lock jaw matters mid-glue-up
On a clamp with a free-sliding jaw, the jaw drifts as the screw draws in, so by the time the joint is closed the clamp is no longer square to the panel. A passive lock holds the jaw where you placed it and lets only the screw move.
That is the mechanical answer to a very common panel failure, and it is worth more than extra rated force. Extra force on a drifting jaw just racks the panel harder.
Where it falls short
The high-carbon steel build is heavy, and reviewers mention awkward one-handed repositioning as the main practical limit. On a wide panel you will be moving these clamps several times, so plan your stance before you start.
At 24 inches, this set is on the short side for the widest tops. Longer versions exist in the same line, and if your panels regularly exceed 24 inches, buy the longer set rather than stretching these.
5. FLK Tech 4-Pack Pipe Clamp Fixtures – A Full Set for Small Glue-Ups
FLKQC 4 Pack Wood Gluing Pipe Clamp Fixture for 3/4 Inch Pipe
Cast iron body
Fits 3/4 inch threaded pipe
Quick-release lever
Lead screw
+ Pros
- Cast iron body holds up under panel and welding fixture loads
- Four clamps per pack build out a full set in one order
- Spring-loaded quick-release lever repositions the jaw fast
- Adjustable length means one set covers many glue-up sizes
– Cons
- Threads under the wheel can bind or strip on lighter-gauge pipe
- Some units arrive with casting flaws and uneven screw threads
Four fixtures in a pack is the reason this one is on the list. Everyone starting a panel collection needs at least four clamps on a panel, and buying them one at a time means four separate orders and four separate pipe-cutting sessions.
The high-strength cast iron body is the part that impressed me. Reviewers regularly compare these to far more expensive name-brand pipe fixtures for clamping force, and for panel glue-ups the load is well within what the casting handles.
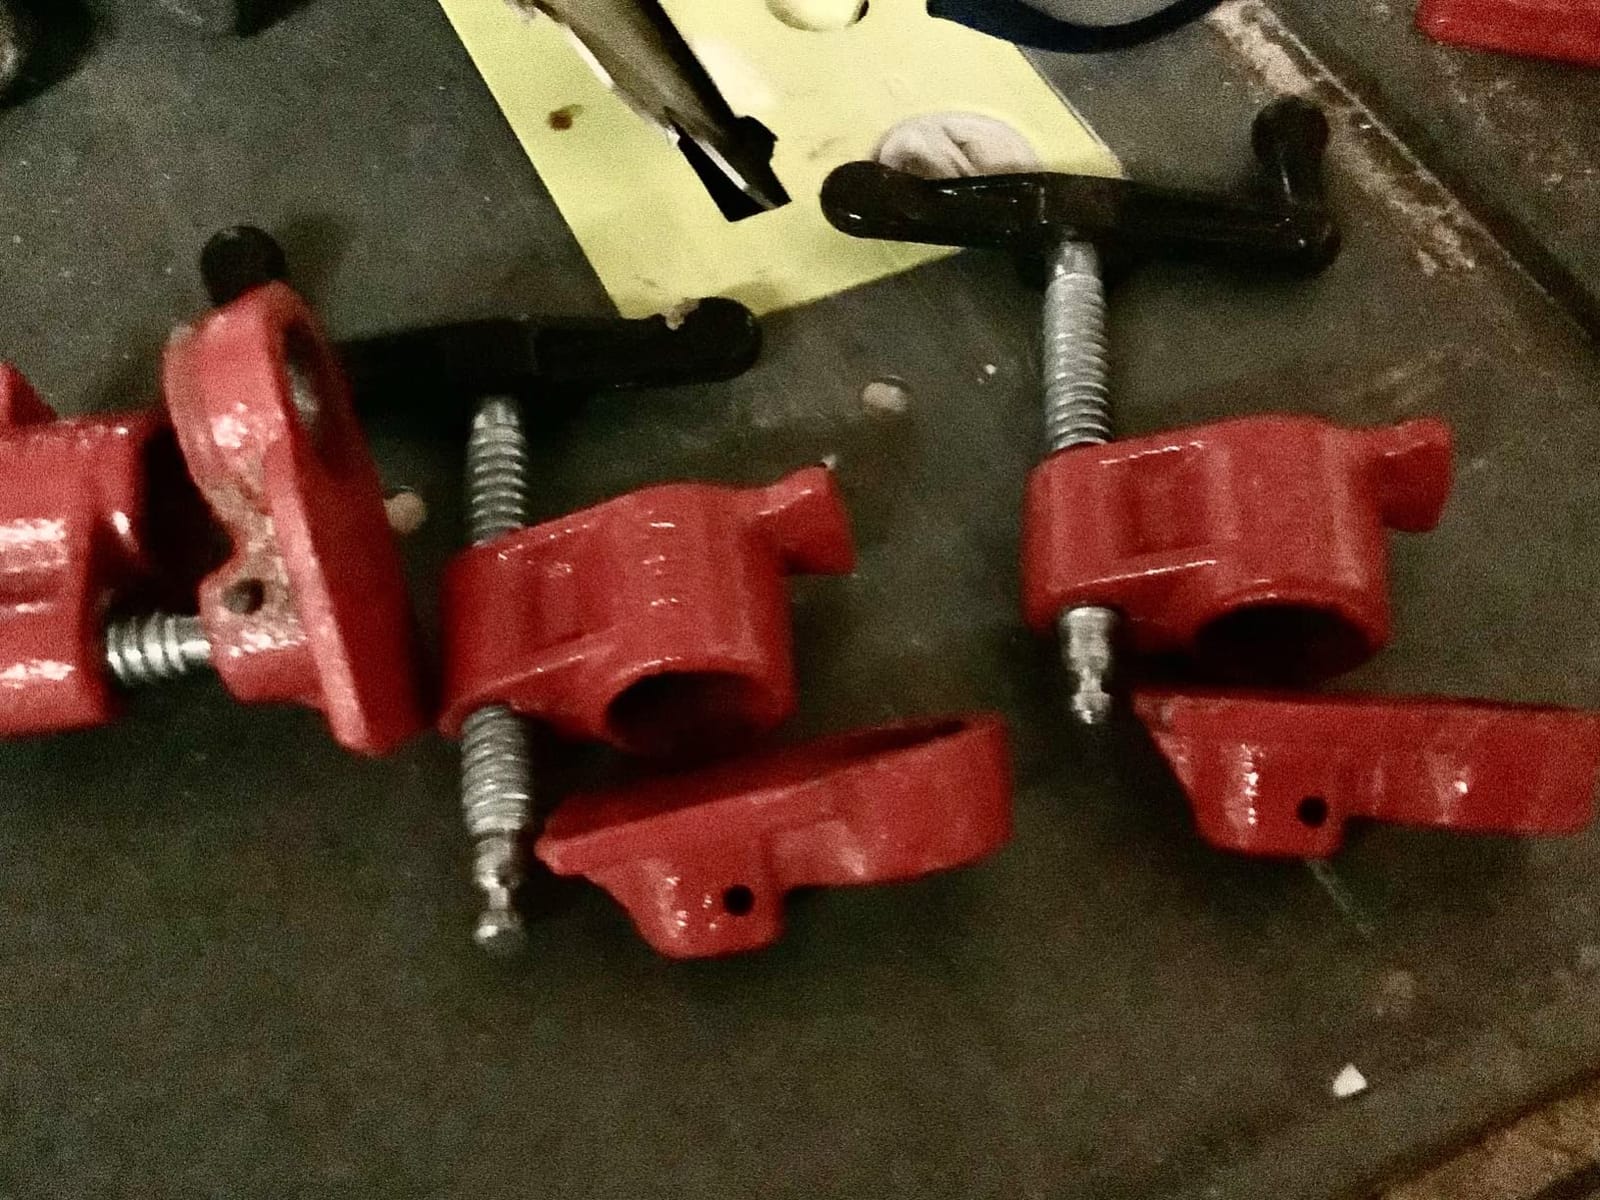
The spring-loaded quick-release lever is a real time saver over a plain thumbscrew. You can lock the jaw at any point along the pipe, reposition, and get back to spreading glue instead of fiddling with a handle under pressure.
Like every pipe fixture, clamp length is whatever pipe you supply. A set of standard 3/4 inch schedule 40 threaded pipe covers everything from a cutting board to a full-size top.
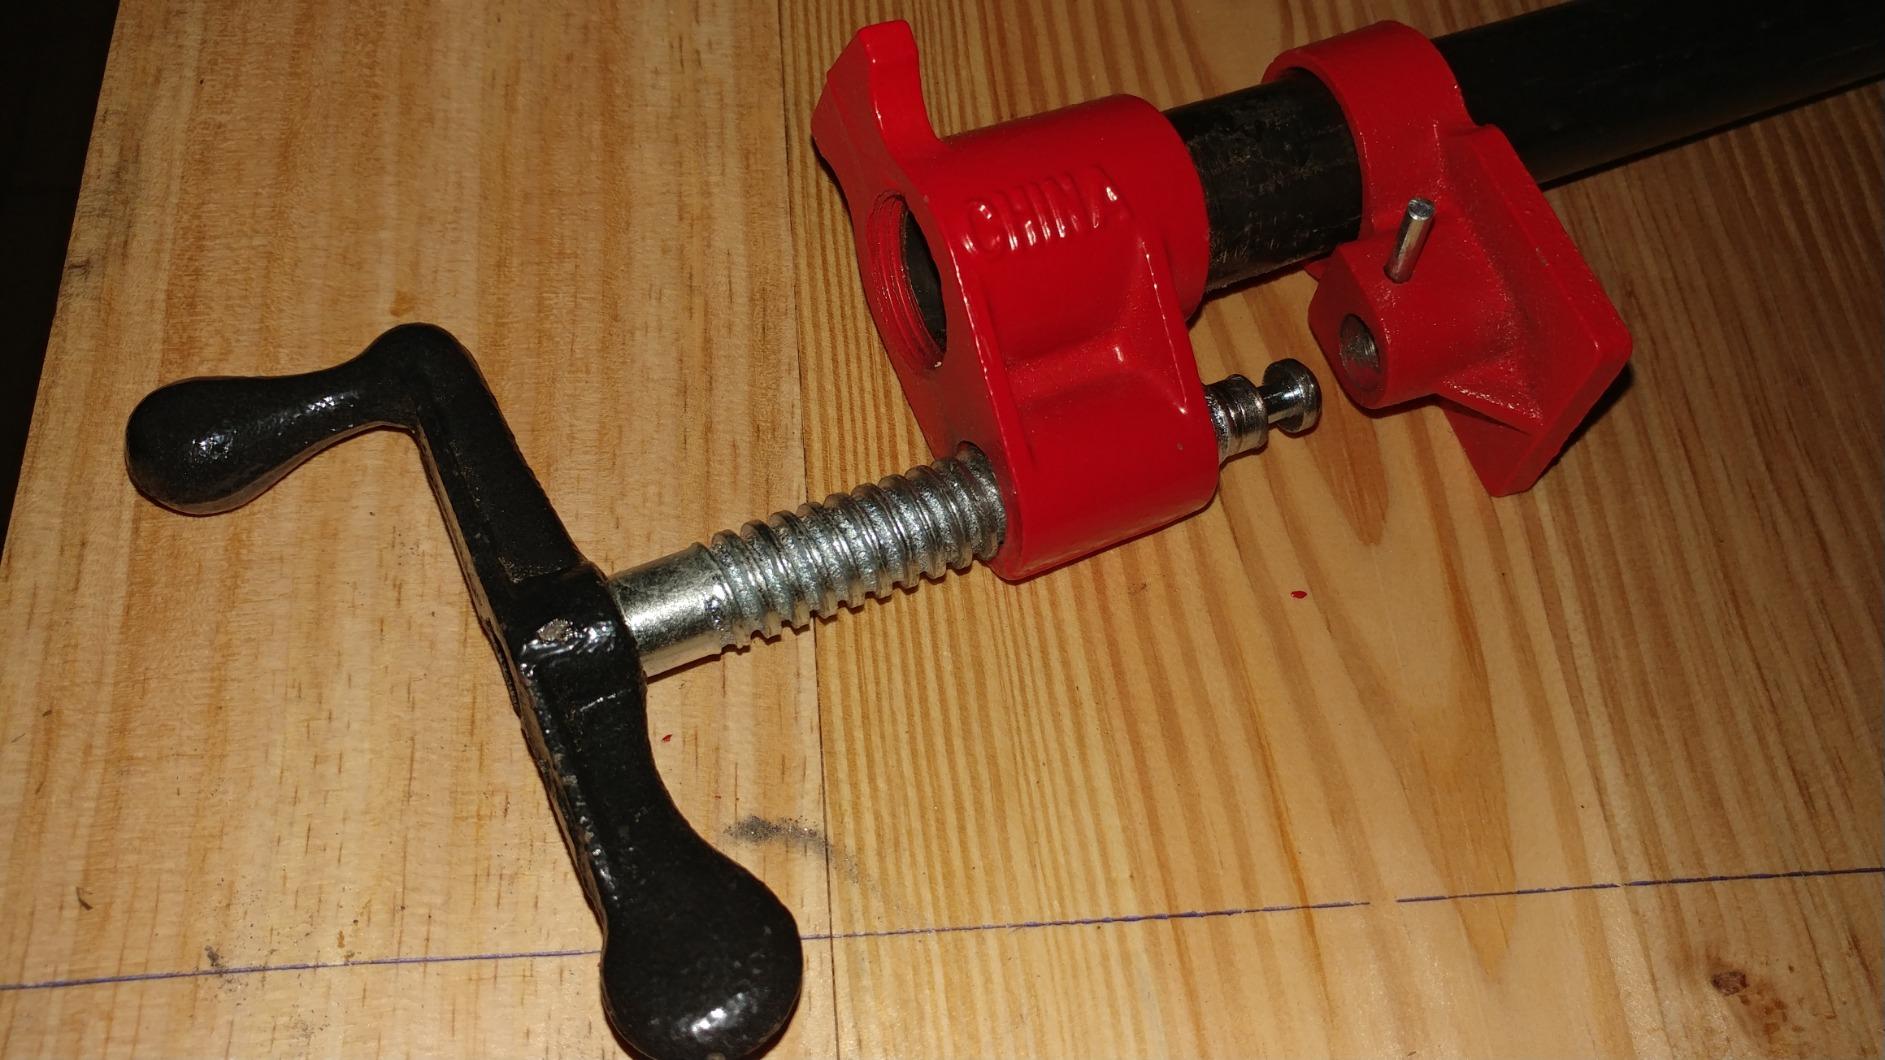
Cast iron versus stamped steel
Cast iron absorbs shock and does not flex, which matters when you land a clamp on a bar and then wind pressure. Stamped fixtures of the same nominal size can walk or crack at the jaw if the casting is thin.
At 4.3 across 1178 reviews, the set sits below the name-brand fixtures on rating, and the gap shows up in finishing consistency rather than in clamping ability.
The round weight on this set
The listed weight is 4.65 kg for the four-piece pack, which is heavy for hand repositioning during a long glue-up. Plan your clamp layout before you open the glue rather than moving them repeatedly.
Where it falls short
A minority of owners report threads under the wheel binding or stripping, especially with lighter-gauge pipe, and a few report casting flaws or an uneven screw out of the box. Buy good schedule 40 pipe and check each screw thread before the glue goes on.
Like any pipe fixture, the bar flexes on long spans. Use these on shorter panels or pair them with a caul.
6. Jorgensen 24-Inch 2200 lb Parallel Clamps – The Heavy-Duty Pair
JORGENSEN 24-Inch Parallel Clamps, 2-Pack Bar Clamps, 2200 lbs Load Limit
2200 lbs clamping force
Industrial grade steel bar
Soft Landing System
Glue separator included
+ Pros
- Very high 2200 lb clamping force keeps panels flat
- Rigid industrial-grade steel bar resists flexing
- Soft Landing System stops the sliding jaw falling when carried upright
- Bundled glue separator and clamp stand lift the bar off the work
– Cons
- Hefty weight makes them awkward to handle with one hand
- Best used resting on a table or the floor working from above the bar
This is the set for thick, heavy panels where a lighter parallel clamp feels under-powered. The upgraded steel screw thread delivers up to 2200 lbs, and the industrial-grade steel bar is stiff enough that it does not visibly flex under that load.
Rated 4.7 across 333 reviews with 86 percent five stars, and the owners who use them daily call out the grip and build quality specifically for edge gluing and panel work.
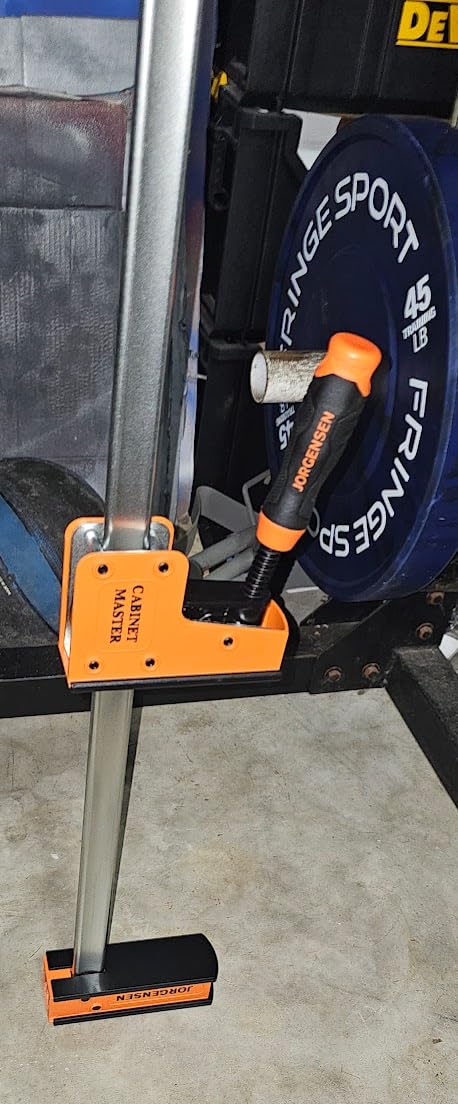
The Soft Landing System is a small feature with real safety value. When you lift a loaded clamp upright, the sliding jaw no longer free-falls down the bar into your hand.
Each bar includes a 2-in-1 glue separator and clamp stand that lifts the bar off the work surface and adds stability. On a panel glue-up that means the bar does not print a wet line into a soft face, and the clamp does not tip while you are reaching past it.
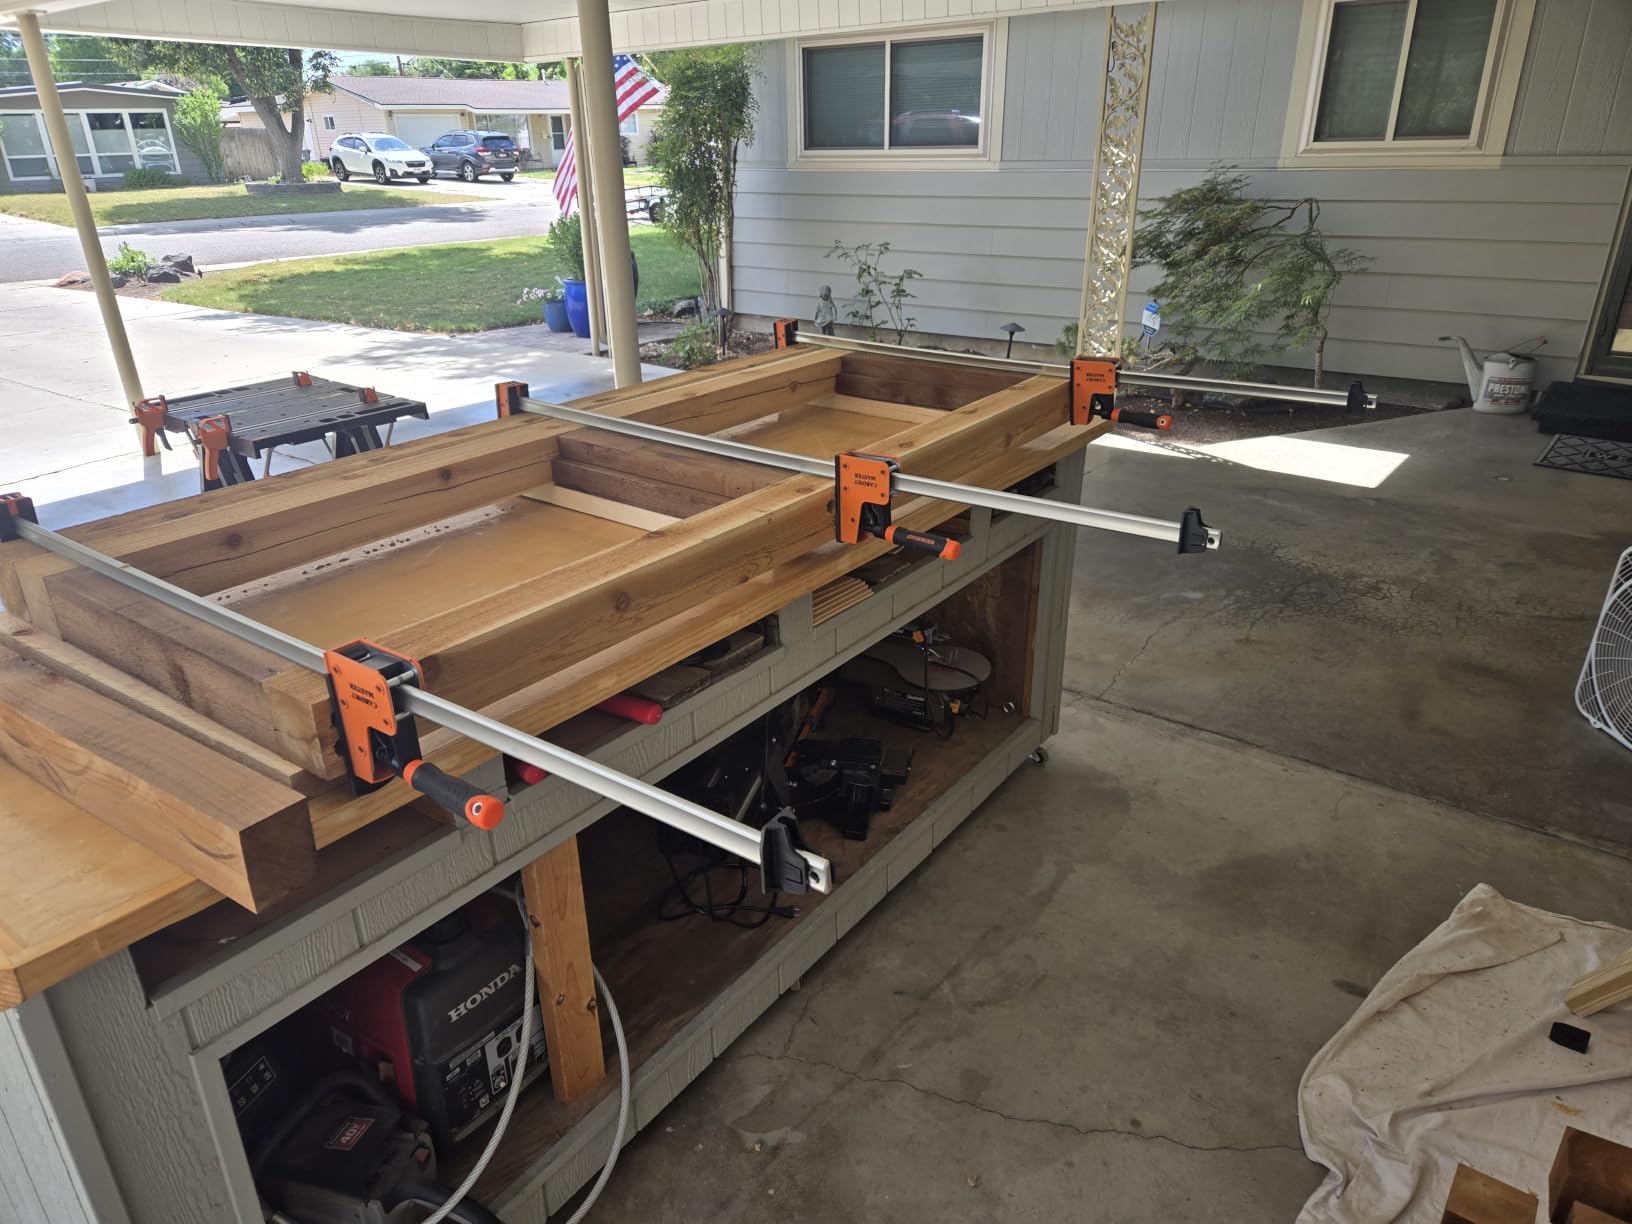
Jaw height and how far it reaches past the edge
The tall jaws hold wood evenly and reach roughly 3 inches past the workpiece edge. That reach is what lets the jaw bear on the full thickness of a panel edge instead of pinching at the top board only, which is a common cause of high spots along a seam.
For a thick panel where the edge is the problem, jaw height matters more than raw force. This set has both.
Quick release and spreader conversion
The soft-grip handle with quick-release trigger gives controlled tightening, and the sliding jaw reverses without tools to turn the clamp into a spreader. Replacement jaw pads are available if the originals take on glue.
On a 2200 lb clamp, control matters. A trigger lets you bring the jaw to the joint in small increments instead of dropping it into place, which is a gentler way to seat a fresh glue line.
Where it falls short
Weight is the recurring complaint. Reviewers note they are best suited to resting on a table or floor and working from above the bar, and at 3.3 kg per clamp that is fair.
Because they are built for real force, they are more clamp than a typical home shop panel needs. If your panels are thin and light, a lighter parallel clamp set is the better buy.
7. POWERTEC 24-Inch Parallel Clamps – Deep Throat for Tall Panels
POWERTEC 71368 24-Inch Parallel Clamps for Woodworking | 90 Degree Heavy Duty Steel Bar Jaw Clamp Spreader Tool | 2PK
3-5/8 inch deep throat
Over 1350 lbs force
Three removable jaw pads
Cold steel rail
+ Pros
- Deep 3-5/8 inch throat spreads pressure over a large area
- Over 1350 lbs of force holds panels and tops square
- Three removable non-marring jaw pads protect the workpiece
- Converts from clamp to spreader
– Cons
- Lighter alloy steel construction feels less solid than premium parallel clamps
- Some units have a noisier faster-moving screw
Throat depth is the spec most buyers ignore and most panel builders need. At 3-5/8 inches, this set reaches further past the workpiece edge than most clamps in its weight class, so a tall panel edge gets supported across more of its thickness.
That support is what stops a panel from pinching at the top board and leaving a ridge along the seam. For a thick edge, the extra throat does more for flatness than extra rated force does.
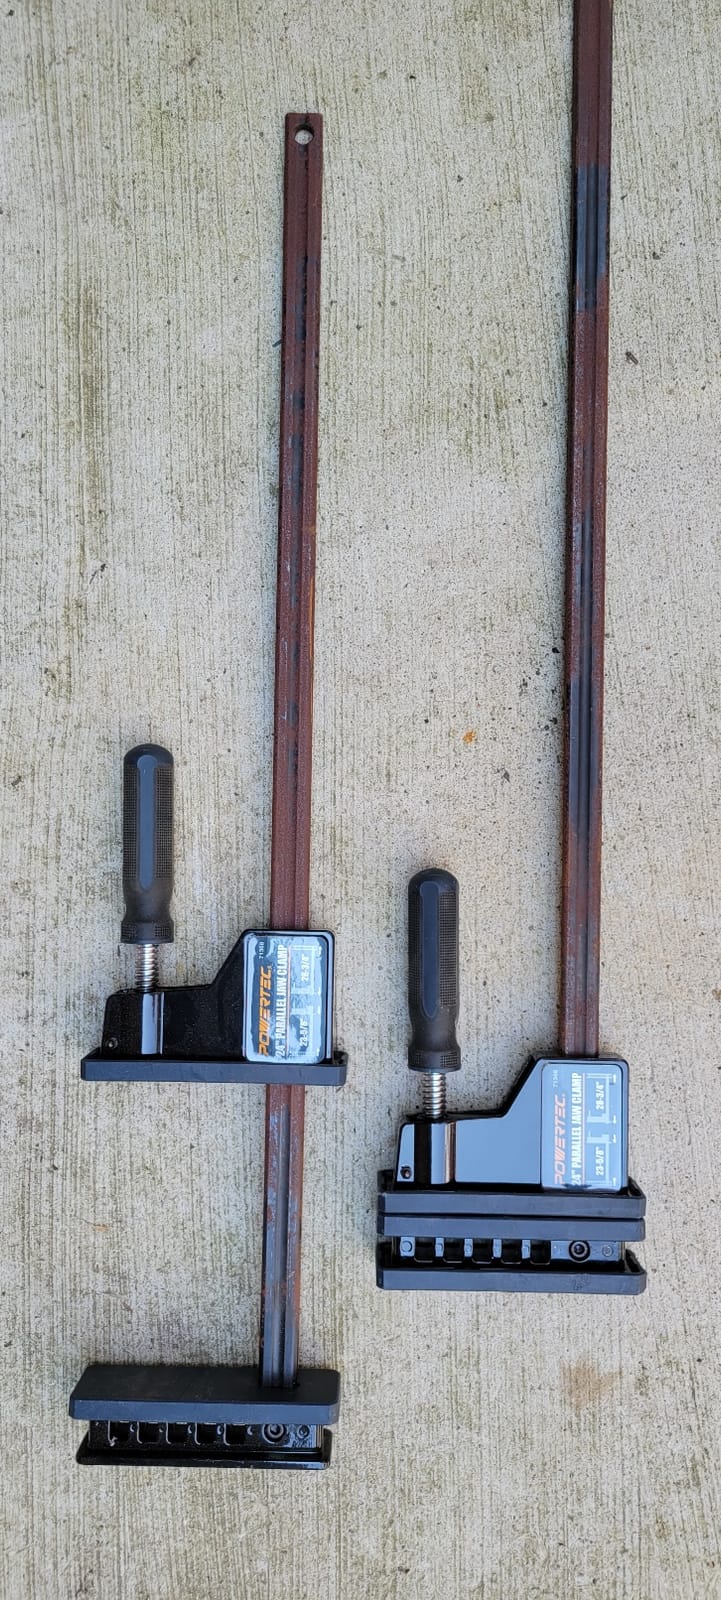
The cold steel rail carries three removable non-marring jaw pads. Removable pads matter more than they sound, because glue squeeze-out that soaks into a pad overnight will stain the board edge on the next glue-up.
Clamping force runs over 1350 lbs, which comfortably holds panels and tops square, and the clamp converts from clamp to spreader for the rest of your shop work.
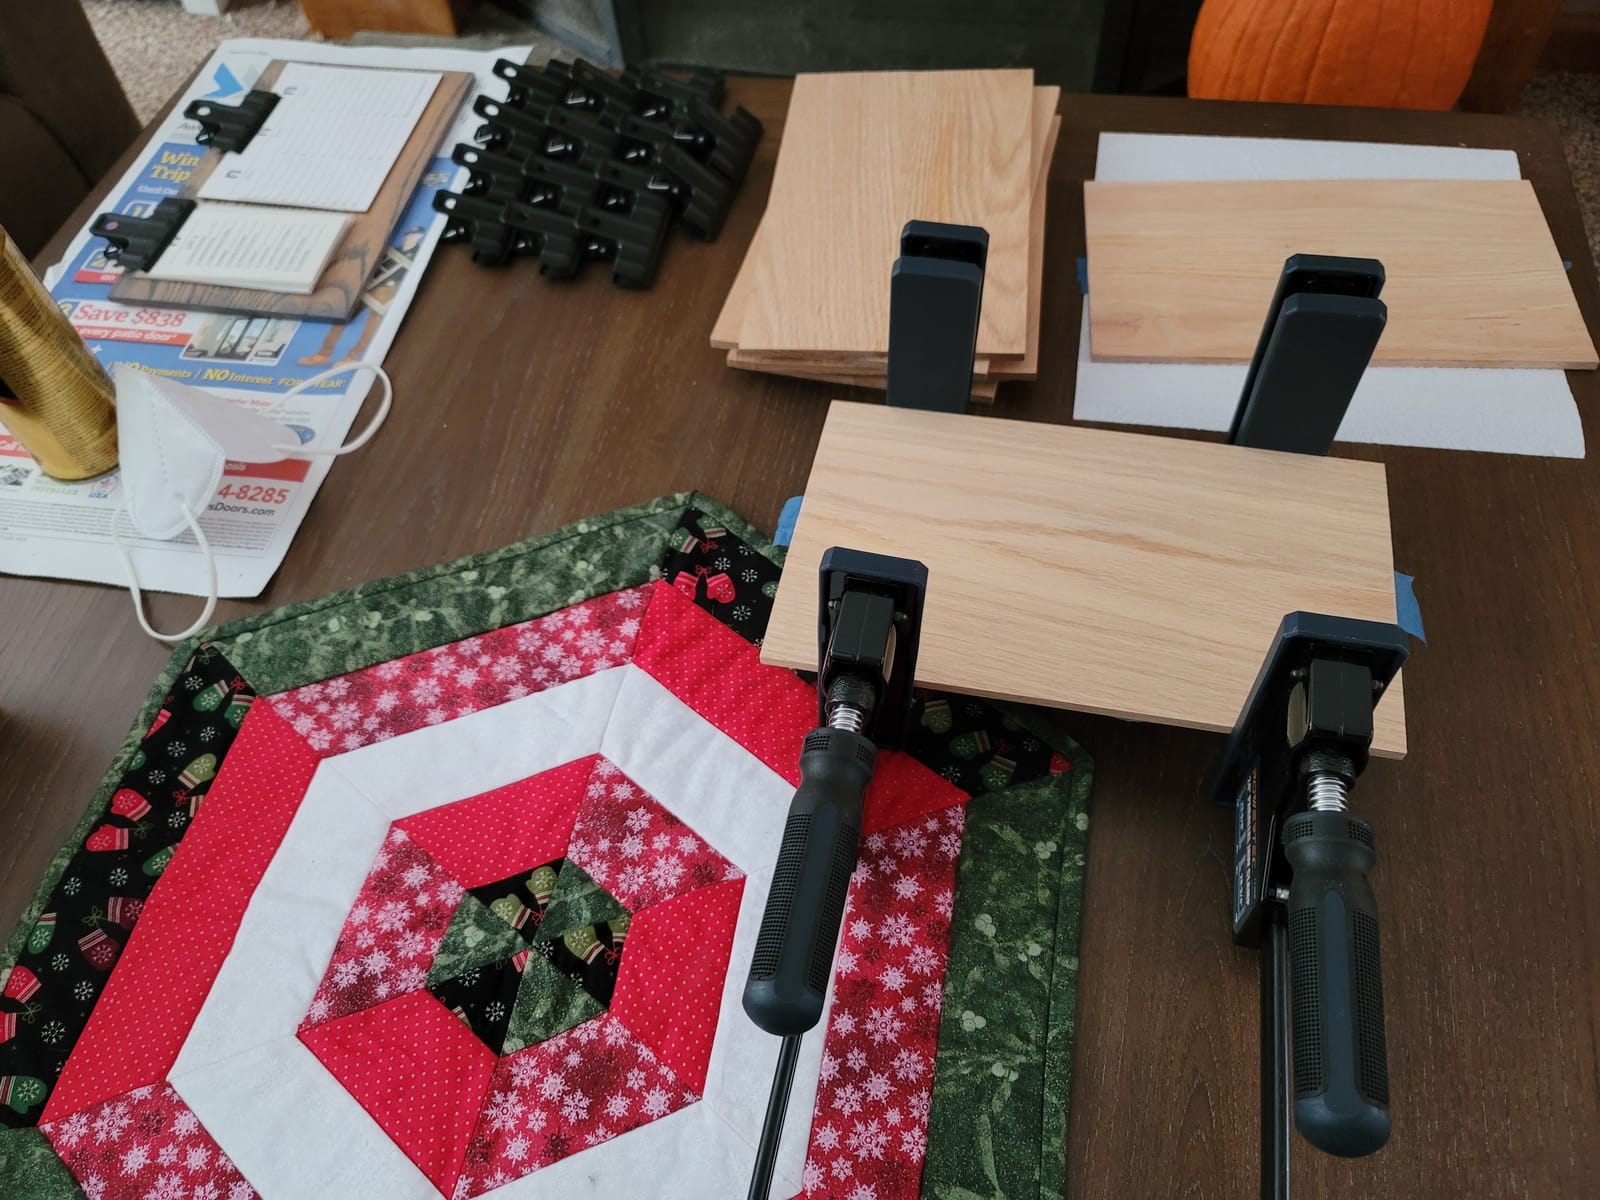
Throat depth versus jaw height
These are related but different measurements. Jaw height is how tall the pad is. Throat depth is how far the jaw reaches past the workpiece edge. Deep throat lets the jaw bear on a tall edge rather than clipping the corner.
If your panels are 1 inch thick or more, throat depth is the number to compare. If your panels are thin, jaw width matters more than throat.
Removable pads and long glue-ups
Three removable non-marring pads per clamp means you can keep a spare set on hand and swap in seconds. It also means a damaged pad is not a reason to replace the clamp.
On soft species, the non-marring surface is the difference between a clean edge and a row of small dents along the seam. Pad quality is a bigger factor in finished panel quality than most buyers expect.
Where it falls short
Reviewers note the lighter alloy steel construction feels less solid in the hand than premium parallel clamps, and some units have a faster, noisier screw. Neither affects clamping performance noticeably, but the feel is distinctly lighter.
At 4.5 across 191 reviews, this is a smaller-reviewed option than the other parallel clamps here. The design is sound; the long-term record is just shorter.
8. Rockler Mini Deluxe Panel Clamps – Four-Way Pressure at Cutting-Board Scale
Rockler Mini Deluxe Panel Clamps (2-Pack) Four-Way Pressure Clamp Set
Rigid steel cauls
Handles panels up to 16 inch wide
1.8mm powder-coated rails
Storage rack included
+ Pros
- Rigid steel cauls force panels flat and joints flush
- Four-way pressure means no staggered top and bottom clamps
- Powder-coat finish resists binding with wood glue and wipes clean
- Includes a wall-mount storage rack
– Cons
- Bars are hard to slide through the end clamps once glue starts to set
- Small format suits cutting-board scale work rather than full-size panels
This is a scaled-down version of Rockler’s larger panel cabinet clamp, and the rigid steel cauls are the point. Instead of a thin jaw pressing an edge, a rigid caul sandwiches the panel, which is what forces it flat and keeps joints flush.
Reviewers consistently report that the finish saves sanding time. Once the panel comes out, the joints sit flush enough that a light skim is usually all it needs.
It handles panels from 1/2 inch to 1-1/2 inches thick and up to 16 inches wide. That range covers cutting boards, small panels and frame-and-panel doors, which is a different job from gluing a full-size top.
The set includes two pairs of clamp rails, two clamp headstocks with handles, two tailstocks and a storage rack, so the whole thing hangs on the wall between uses instead of occupying a bench drawer.
Scissor-action couplers versus top and bottom alternation
The scissor-action couplers apply pressure from all sides, which means you never have to stagger clamps above and below the panel. Forum advice for pipe clamps frequently calls for alternating top and bottom placement, and this design simply removes that step.
For a small panel that is a real convenience. The panel goes down, the couplers close, and the pressure is already even in both directions.
Powder coat and glue
The rails are 1.8mm steel with a durable powder-coat finish that resists binding with wood glue and wipes clean. That matters in a category where clamps often get set down glue-wet and used again within the hour.
Where it falls short
There is a genuine learning curve, and the specific complaint is that the bars are hard to slide through the end clamps once glue starts to set. Set the panel up before the glue goes on, not after.
Two clamps on a 24 inch board may not hold the long slats perfectly even, and the lower caul can catch the screw handle while you are tightening. Practice on a small panel first.
9. VEVOR 24-Inch Parallel Clamp Set – Workable Pressure at a Lower Spend
VEVOR Bar Clamps for Woodworking, 2-Pack 24 inch Parallel Clamp Set, F-Clamp with 1500 lbs Load Limit, Even Pressure, High-strength Plastic and Carbon Steel, for Woodworking Metal Working, Orange
1500 lbs load limit
24 inch parallel jaw
45# carbon steel bar
PA6+GF30% handle
+ Pros
- 1500 lbs load limit is plenty for panel and furniture glue-ups
- 24 inch length offers extra adjustment range for positioning
- PA6+GF30% handle resists cracking
- 45# carbon steel bar resists cracking under load
– Cons
- Generic construction with less refinement than premium parallel clamps
- Heavier handling than quick clamps for small work
The numbers here are better than the price suggests. A 1500 lbs load limit, a 24 inch jaw opening and a 45# carbon structural steel bar is a capable panel clamp, and it is the option I point people toward when they want a two-pack without stepping up to a premium brand.
The handle is PA6+GF30% high-strength plastic, which is tougher than the ABS used in cheaper clamps and is the detail most likely to affect how long these survive in a shop.
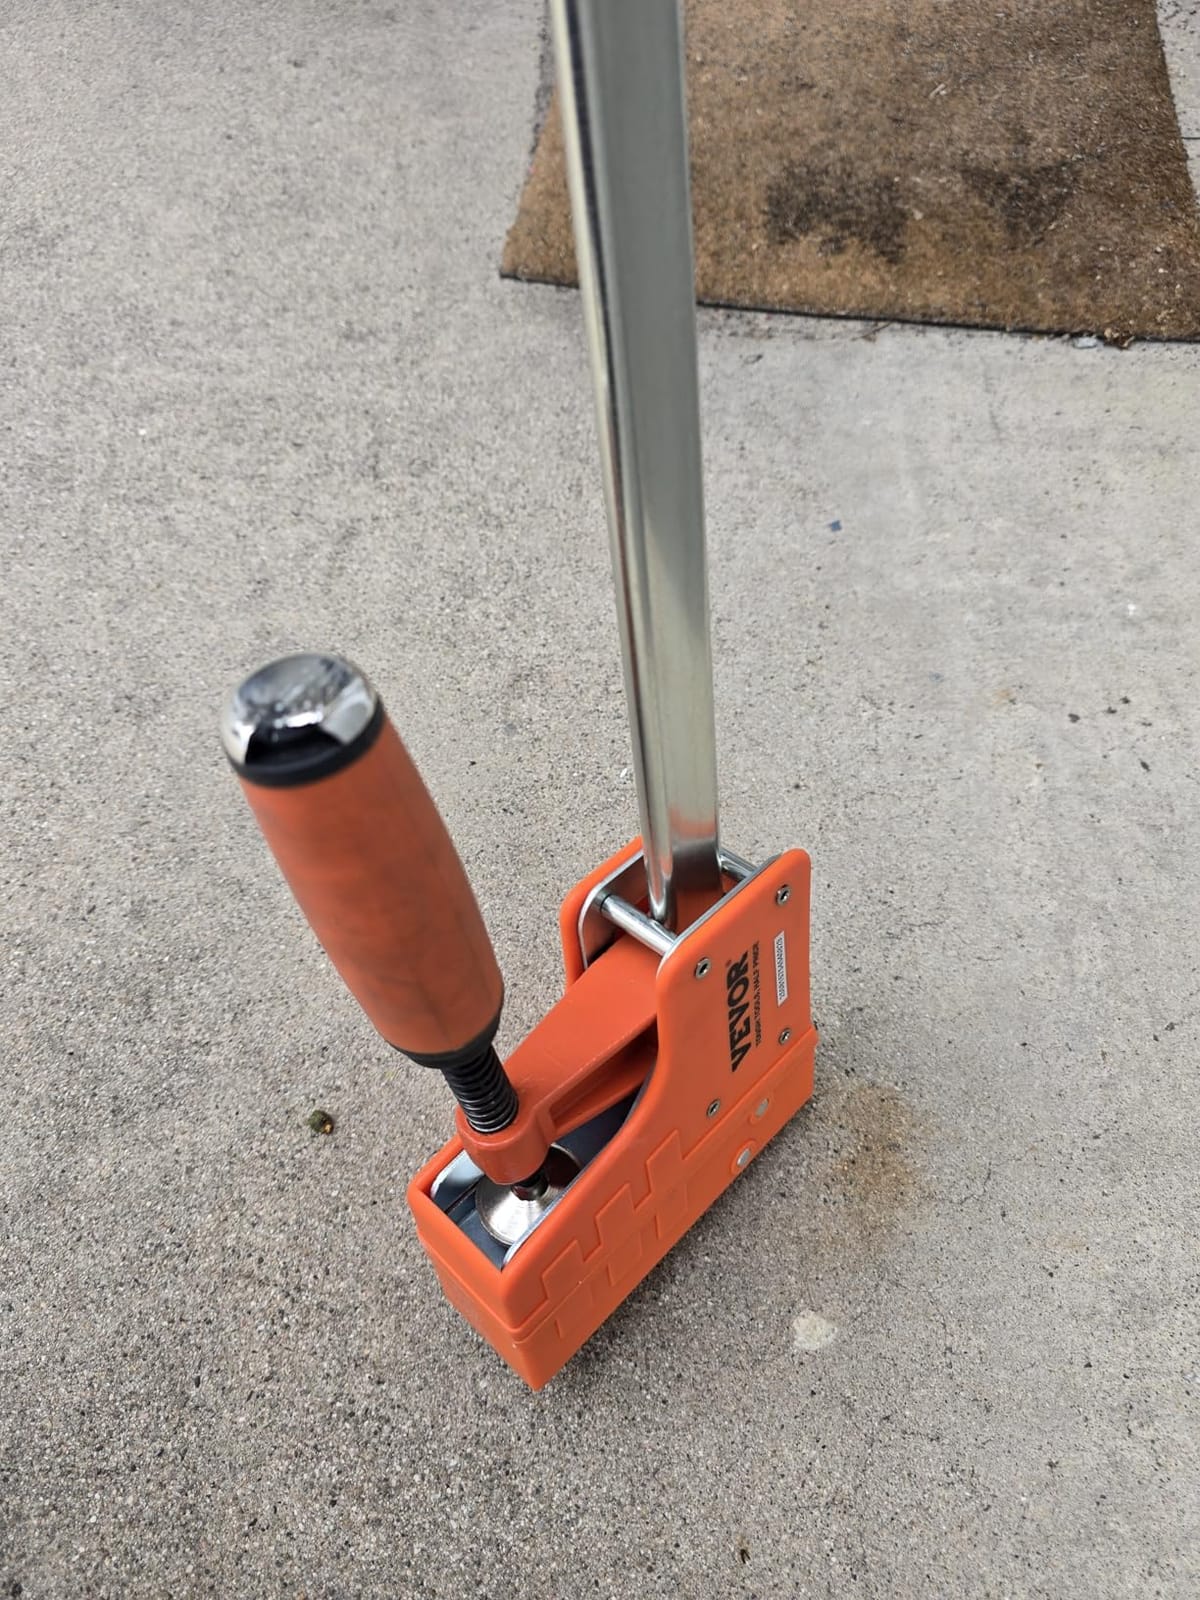
The extended rod design covers a wide range of workpiece thicknesses, and the parallel clamp jaw is what keeps the pressure square through the whole stroke rather than tipping as the screw draws in.
Rated 4.6 from 356 reviews with 75 percent five stars, and buyers consistently describe it as a capable value option rather than a compromise.
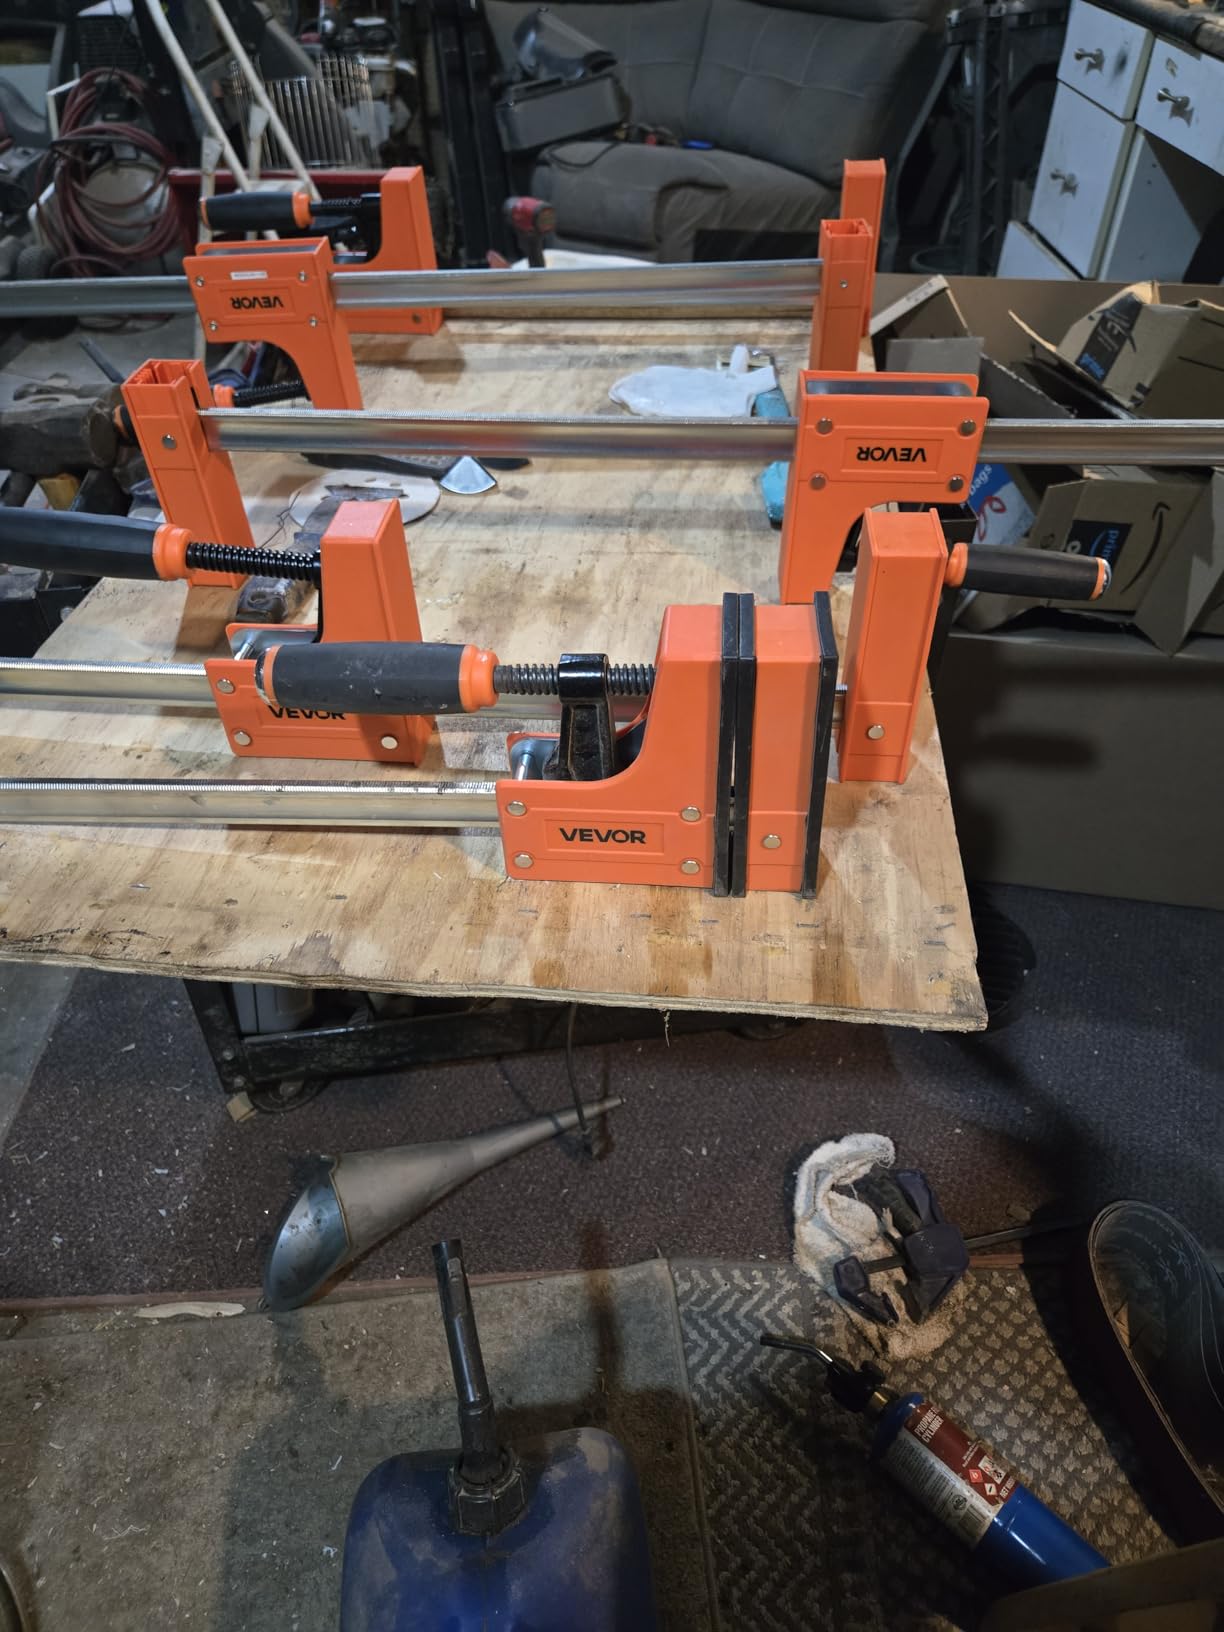
Where the materials actually matter
Clamp bars fail in two places: the bar itself and the handle connection. A carbon structural steel bar resists the flexing that turns even pressure into a curve, and a glass-filled nylon handle resists the snap that ends a cheaper clamp’s life.
Those two choices are where most of the durability lives, and they are the reason a lower-priced parallel clamp can still outlast a pricier one with better marketing.
What you give up
Refinement. Buyers describe the finish and hardware as functional rather than premium, and there is no passive lock jaw or quick-release trigger on this set. You position the jaw by hand, which takes a little more care on a live glue-up.
Handling is on the heavier side for small work, at 6 kg for the pair. These are panel clamps, not general assembly clamps, and using them on light picture frames is more effort than it is worth.
Where it falls short
The 24 inch opening is the limit for wide panels, and the jaw is narrower than a padded parallel jaw, so on soft species you will want a glue block or a caul. On hardwood, it is straightforward.
10. Bessey KREK2440 K Body REVO Kit – The Full Cabinet Glue-Up Set
BESSEY KREK2440 K Body REVO Clamp Kit, 2 x 24 In., 2 x 40 In. and 1 set of KP Blocks – 1700 lbs Nominal Clamping Force. Spreader, and Woodworking Accessories – Clamps and Tools for Cabinetry
Two 24 and 40 inch clamps
1700 lbs nominal force
Three replaceable pressure caps
KP blocks included
+ Pros
- Very heavy rigid build that holds glue-ups dead square
- Allen head in the handle adds extra torque beyond hand strength
- Replaceable pressure caps and rail protection pieces protect finished surfaces
- Mix of 24 and 40 inch clamps plus framing blocks covers a full cabinet glue-up
– Cons
- Considerably heavier and more expensive than budget parallel clamp sets
- Handle takes a moment to figure out if you have never used this style
This kit is the one to buy if you glue up carcasses regularly. Two 24 inch and two 40 inch K Body REVO parallel clamps plus a set of KP framing blocks is a working cabinet glue-up set out of the box, and the two lengths mean you can size a job without hunting for a different clamp.
Owners who buy this kit generally conclude that the stiffness and clamping force keep panels perfectly square, and they report durability over many years. Bessey backs the set with a lifetime warranty against manufacturing defects.
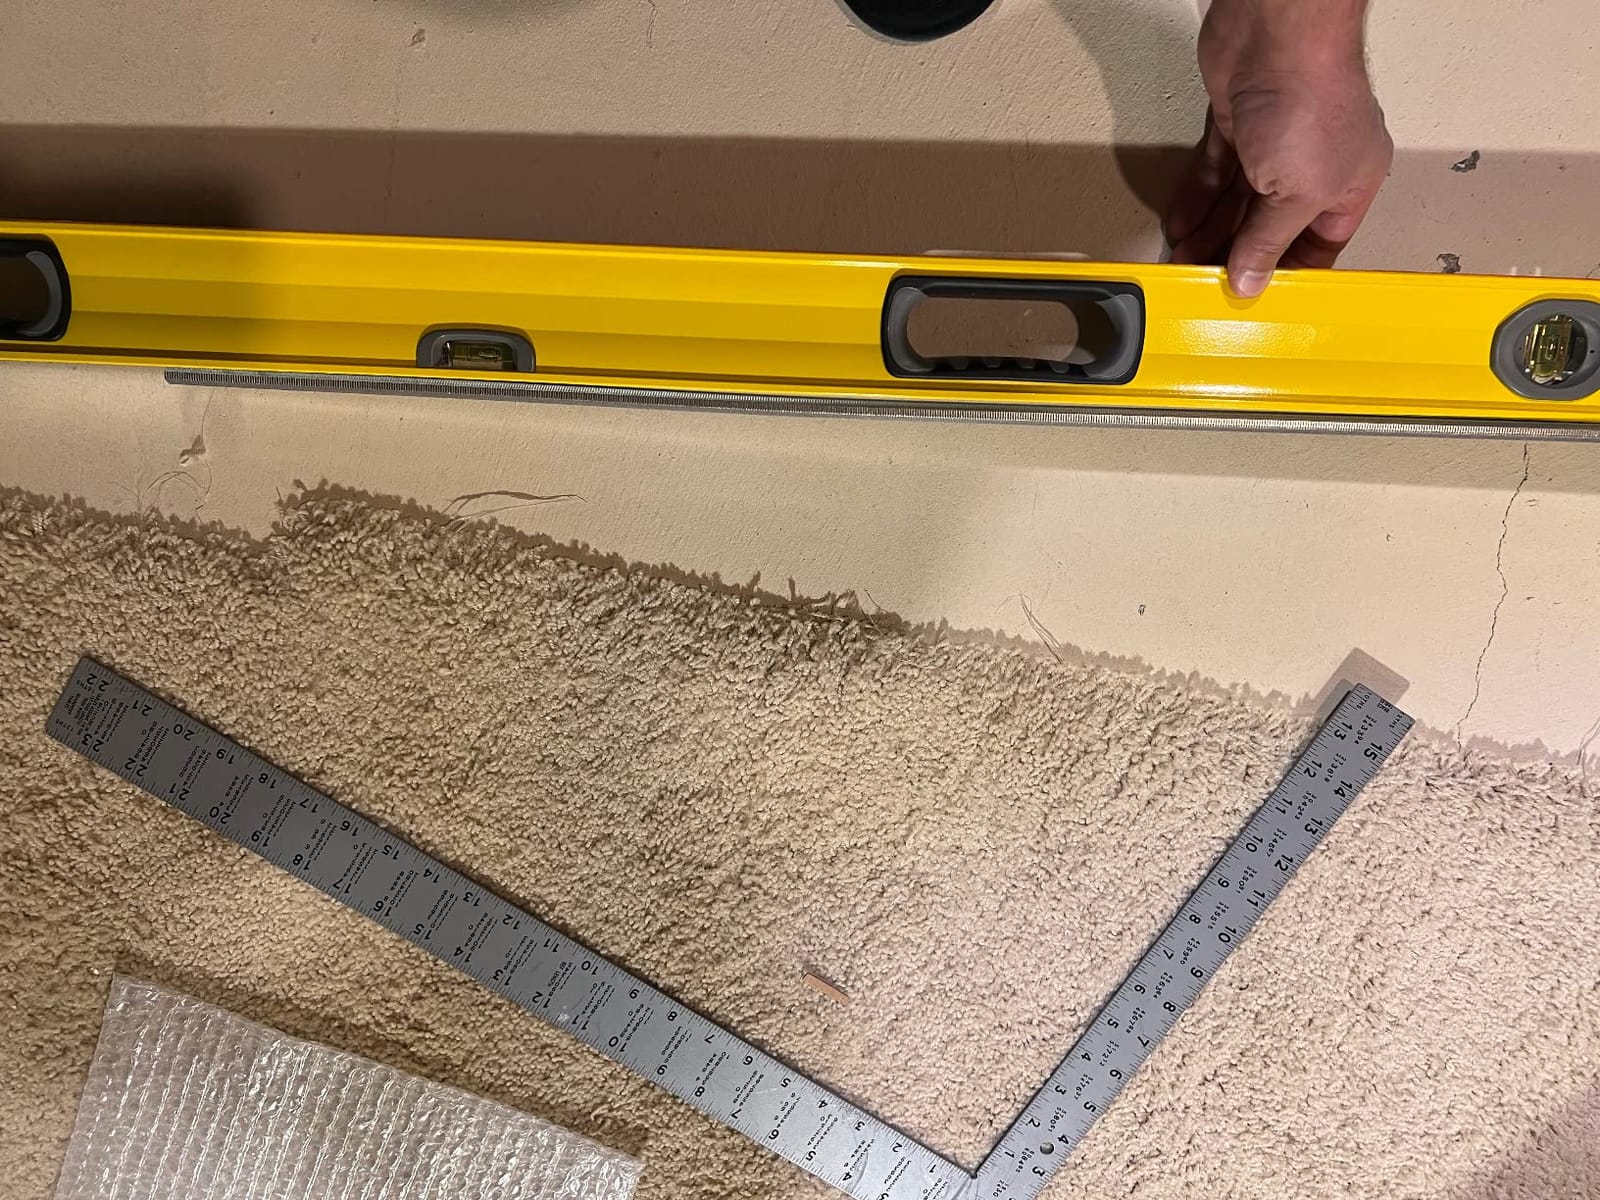
Up to 1700 lbs nominal clamping force is distributed over a large jaw surface, and the parallel jaw design holds 90 degrees nominal with no slip. That combination is the whole argument for a K-Body on panel work.
The two-component ergonomic handle has a steel socket that accepts a hex key for up to 17 Nm of extra torque. On a dense hardwood glue-up, that extra leverage is the difference between a fully closed joint and a gap you are scraping out tomorrow.
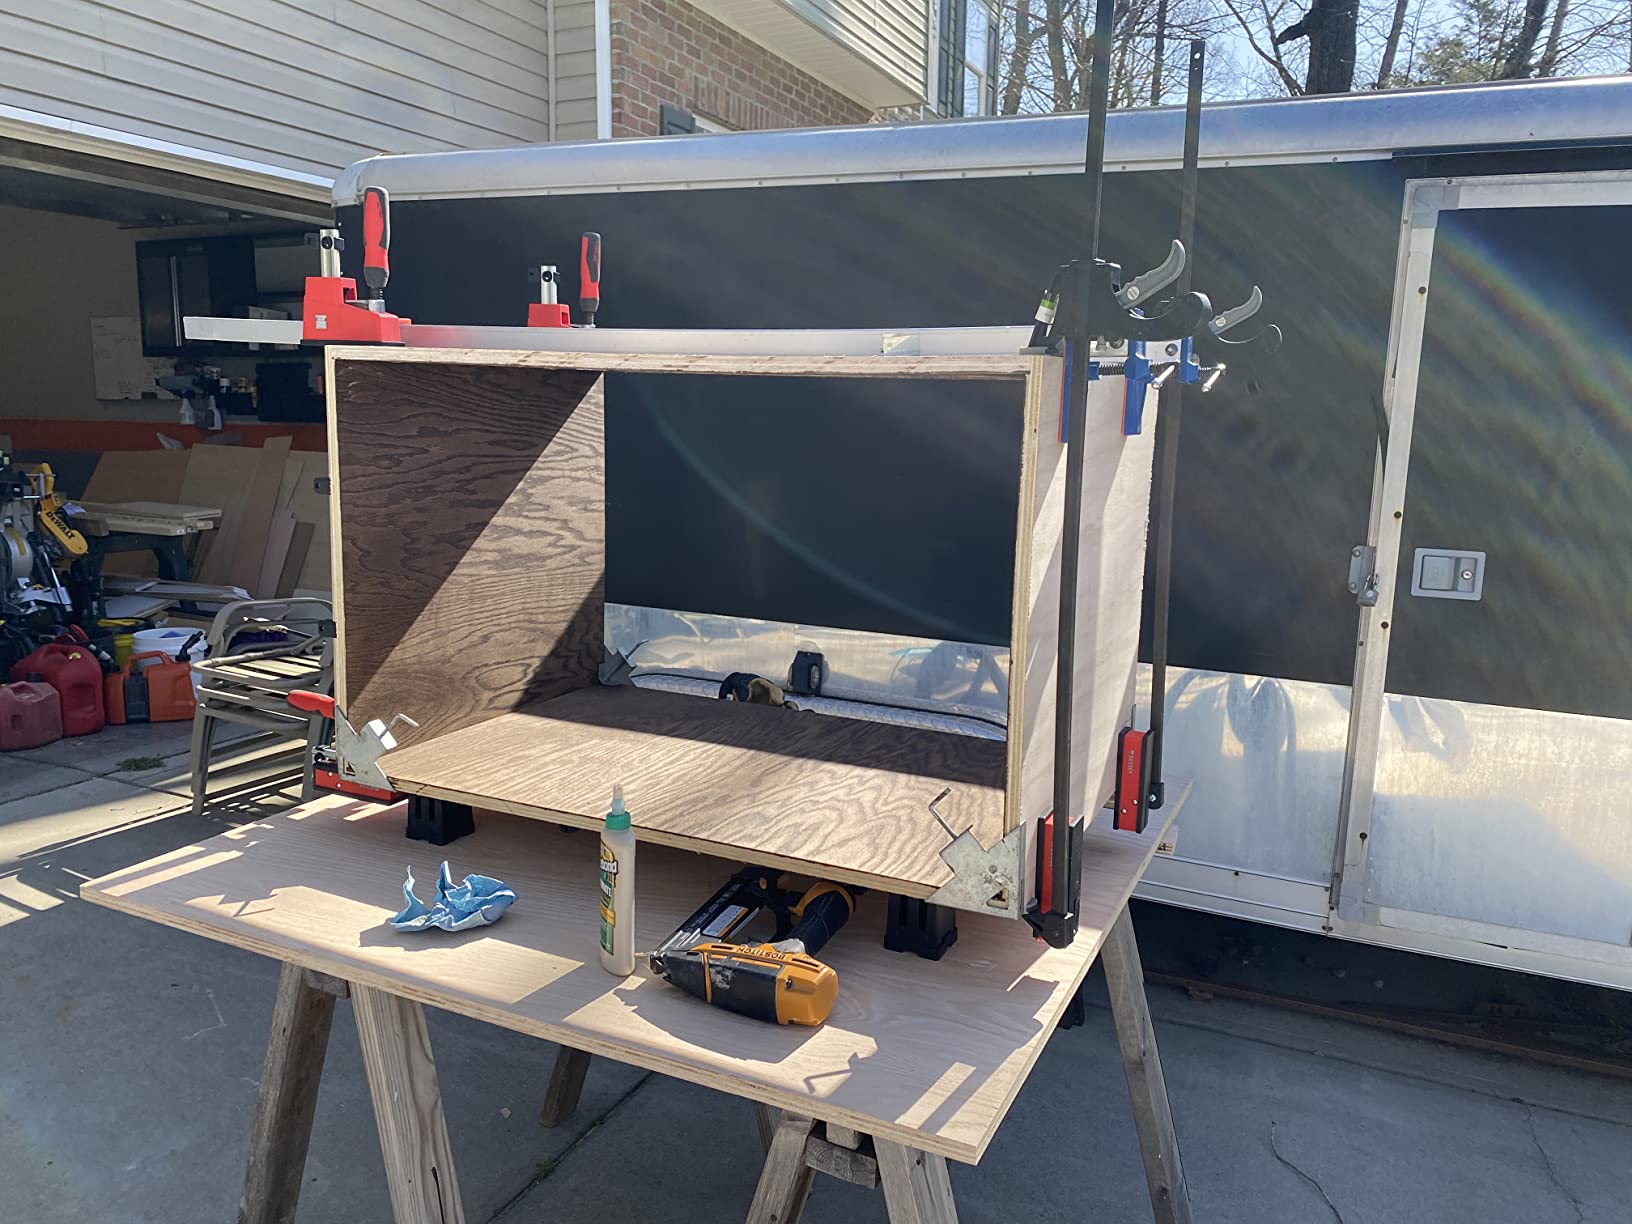
Framing blocks and rail protection
The 90-degree clamping blocks let you set pressure separately for each corner of a frame, and the rail protection pieces stop the workpiece from touching the rail at all. On a finished or veneered face, that is the difference between a clean glue-up and glue prints along the seam.
Three replaceable pressure caps protect both the clamp and the workpiece, and the cold drawn steel rail is built for long service.
Who this kit is not for
If you glue up a few cutting boards a year, this is far more clamp than the job needs, and the weight at 12.5 pounds for the kit makes it a harder set to move around than a lighter parallel clamp.
The handle style also takes a moment to get used to if you have never run a K-Body. Budget one practice assembly to learn the feel before you do it for real.
How Many Clamps a Panel Needs at Each Width
Clamp count is the question that catches new builders, and the answer is simpler than most people expect. You need enough clamps to place pressure roughly every 12 to 18 inches along the panel, with the ends of the panel covered.
That spacing rule comes straight from a four-way pressure clamp maker’s guidance, and it is a good general rule for any clamp type. Below 12 inch spacing you are mostly adding clamps for the ends; much beyond 18 inches and the middle of the panel starts to go unsupported.
Here is the practical math for the panel widths that come up most often.
Up to 24 inches wide: 2 clamps at the ends, 2 in the middle. A two-pack covers the whole job.
24 to 36 inches wide: 3 to 4 clamps. One clamp roughly every 12 inches, with an extra at the far end.
36 to 48 inches wide: 4 to 5 clamps. This is where a four-way clamp set starts earning its keep.
48 to 60 inches wide: 5 to 6 clamps, ideally a mix of lengths so the ends get full coverage.
Over 60 inches wide: 7 or more, or split the panel into sections. Long panels are better handled in stages.
Two numbers from experienced woodworkers are worth keeping. One Sawmill Creek regular recommends four 24 inch parallel clamps for most cabinet carcasses and two 50 inch clamps for a table top. Another, on the Lumberjocks panel thread, notes that pipe clamps are mainly what cabinet shops use for panels because the count scales cheaply.
For a one-person shop, staging sub-panels is the strategy most people land on. Rather than gluing a full 48 inch panel in one pass, glue two or three boards at a time, let that set, then join the sub-panels. The glue-up is faster, the panel is flatter, and you only ever need four clamps in your hand at once.
How to Choose Clamps for Panel Work
Once you know your panel widths and how often you glue up, the choice narrows quickly. These are the decisions that actually change how a panel comes out.
Pressure and capacity
Rated force matters less than most product pages suggest. A panel glue-up is not a structural joint, and moderate pressure closes the seam long before a heavy clamp runs out of travel. What matters is that the pressure is even and does not shift as you wind.
The rule of thumb repeated across woodworking forums is worth keeping: if a small child could not apply the pressure needed to close the joint, something went wrong somewhere.
What pressure does do is make problems worse. Cranking a parallel clamp to its maximum on a thin panel adds bowing, and crushing the edges of soft species, rather than improving the glue line.
Throat depth and jaw height
Throat depth is how far the jaw reaches past the workpiece edge. Jaw height is how tall the pad is. Both decide how much of your panel edge actually gets supported instead of pinched at the corner.
For panels 1 inch thick or more, compare throat depth first. The POWERTEC set at 3-5/8 inches and the Jorgensen set reaching about 3 inches past the edge are built for exactly that, and a tall panel edge pinned at the top board is one of the most common causes of a seam ridge.
Bar rigidity
A bar that flexes turns a straight line of pressure into a curve, and a panel under a curved line of pressure bows. Industrial-grade steel bars resist flexing better than alloy steel, which is the trade-off in lighter sets.
Pipe clamps sit at the opposite extreme, where length is the feature. You accept flex as the price of arbitrary reach, and you manage it with cauls and shorter spans.
Jaw pads and glue contact
The jaw surface is the only part of the clamp that touches your board. Padded jaws and removable non-marring pads are worth paying for because they are what keep a soft face clean under real clamping pressure.
Field-replaceable pads on the Bessey pipe fixture and three removable pads on the POWERTEC set both mean a glue-stained pad is a two-minute swap rather than a damaged panel.
Bar and jaw finish that tolerates glue
Glue squeeze-out is unavoidable, and some finishes let it bond to the clamp so the next setup is a fight. Powder-coated rails that wipe clean, like the Rockler Mini Deluxe rails, and plastic jaws that shed glue drips save real cleanup time.
Sawmill Creek members recommend Bessey K-Bodies for panel glue-ups specifically because the plastic jaws shed glue drips easily. That is a small detail that shows up on every single glue-up.
Build versus buy for four-way systems
You do not have to buy a dedicated four-way clamp. One popular forum build uses construction channel or UniStrut with spring-loaded strut nuts, tightened down over a bowed caul to keep large panels flat. It is more work to set up and it holds less elegantly, but it scales to any panel size.
The simpler version of the same idea is a 3/4 inch half-round placed between a pipe clamp and the board. It protects the edge and puts the pressure in the center of the board, which makes buckling much harder.
Building a set over time
Nobody buys a full panel clamp collection in one order. Buy a two-pack of parallel clamps first, add a pair of pipe fixtures for reach, and add a four-way clamp when your panels get wide enough to need it. A mixed set of clamp types covers more panel shapes than any single type.
That start-small-then-upgrade habit is the same one we use when sizing a lithium battery bank for a van build: buy the core component first, then add capacity once the real draw is known. For reference, our background on panel output ratings and how measurement works follows the same build-first-then-upgrade logic, and the buying frameworks read similarly.
Clamp Placement, Pressure and Glue-Up Technique
Clamps only do what your placement allows. Most bowed panels I have seen came from a correct clamp used in the wrong spot, not from the wrong clamp.
Where to put the clamps
Space clamps roughly every 12 to 18 inches and make sure the outermost clamps sit close to the panel ends. The ends are where a panel cups first, and an end with no pressure is an end that lifts when the glue sets.
Align the point of pressure with the center of the board edge, not the corner. This single rule prevents the buckling that makes a glued panel look wrong from across the room.
When using clamps that press from one side only, alternate them top and bottom. A panel held entirely from below will crown, and the same panel held entirely from above will cup.
Spacer strips and keeping the face clean
Use spacer strips so your boards sit above the bars rather than on them. That keeps a wet panel face from printing a line into the bar, which is the most common way a glue-up damages an otherwise good face.
One regular on the Fine Woodworking panel thread tightens bottom clamps first, then adds just enough top clamps to pull the panel flat, checking as he goes. That sequence keeps the panel in the plane you want while you add the final pressure.
Cauls and when you actually need them
A clamping caul is a sacrificial board that spreads clamp pressure and flattens a panel. It is not a joint reinforcement tool, and it will not give you edge-to-edge alignment. If your boards are not fitted, fix that with a jointer or a planer before the glue-up.
Shop-made cauls beat dedicated panel clamps for most glue-ups. Straight, well-seasoned stock with a slight bow works in your favor, because the bow pushes the panel flat as the clamp draws it in.
Keep cauls flat across the panel and spaced under each clamp. If your panel is wide enough that one caul leaves a gap in the middle, use two.
How tight is tight enough
Tighten until glue squeeze-out appears at the joints and the seam closes fully, then stop. Excess pressure drives out too much glue, can crush soft edges, and increases bowing rather than preventing it.
Forum consensus is that you should crank the clamps a good bit but not to full strength. If you are leaning your whole body into the handle, you are past the point that helps the glue line.
Glue-up sequence for a one-person shop
Glue two or three boards at a time rather than the whole panel. Assemble a sub-panel, let it set, then join sub-panels. This is the single most repeated piece of advice across every panel glue-up thread we read, and it is the reason a four-clamp collection can handle a 48 inch panel.
Have your cauls cut, your bars cut and your clamp layout decided before the glue bottle opens. Once PVA starts to tack, the window for placement closes fast.
Glue squeeze-out and cleanup timing
Chase squeeze-out while it is gelled but not hard, with a chisel or a cabinet scraper. Once it fully cures it needs a scraper and elbow grease, and on figured wood it can stay visible long after the glue-up.
Species matters here. Softer wood lets you clean up a little later without a mark; harder and more figured wood wants the chisel sooner. Scraping hardened glue off a panel edge is how people sand through a good joint.
On an assembly where both faces are visible, work the visible side first and leave the underside for last, since it takes the most cleanup and you want maximum working time on the face that shows.
Frequently Asked Questions
How long should I clamp a panel glue-up?
Leave a typical PVA panel glue-up in the clamps until the glue has fully cured, which is usually 24 hours for solid wood panels. You can remove the clamps once the glue is firm to light pressure and the panel no longer flexes, but re-clamp it overnight if you want zero risk of the panel relaxing. Oily hardwoods and thick laminations benefit from a longer set. Remove the clamps before any squeeze-out fully hardens so cleanup stays a chisel job rather than a sanding job.
Are bar clamps or parallel clamps better for panel glue-ups?
Parallel clamps are better for panel glue-ups. Their jaw stays square to the bar through the entire tightening stroke, so pressure lands perpendicular to the board edge instead of racking the panel as you crank. A conventional bar clamp jaw tips slightly as the screw draws in, which is exactly how a wide panel ends up bowed. Bar clamps are still useful at end seams and for assembly, just not as your primary panel clamp.
How tight should you clamp glued wood?
Tighten until glue squeeze-out appears and the seam closes fully, then stop. Excess pressure is not better: it drives out too much glue, can crush the edges of soft species, and increases bowing instead of preventing it. A widely repeated rule of thumb is that if a small child could not apply the pressure needed to close the joint, something went wrong. Crank firmly, but never lean your body into the handle.
What are the three main types of clamps for panel glue-ups?
The three main types are parallel-jaw clamps, 4-way panel clamps and pipe clamps. Parallel-jaw clamps hold both jaw faces square to the bar so pressure goes straight into the board edge. 4-way panel clamps push on the top, bottom and both edges at once, pulling the panel flat in two directions. Pipe clamps let you set the clamp length to any span you need, which makes them cheap and flexible, though the bar flexes under load.
Where should I place clamps when gluing a panel with three or more clamps?
Space clamps roughly every 12 to 18 inches along the panel, with the outermost clamps set close to the panel ends, since the ends cup first. Align the point of pressure with the center of the board edge rather than the corner, which is what prevents buckling. If your clamps only press from one side, alternate them above and below the panel so the pull stays balanced in both directions.
Who makes the best parallel clamps for woodworking?
Bessey K-Body and Jorgensen Cabinet Master are the two standards most woodworkers compare, and both hold 90 degrees through the full stroke. Bessey is generally chosen for stiffness and for plastic jaws that shed glue drips, and Jorgensen for its flat table-friendly end and reversible clamp-to-spreader head. For panel work specifically, the deciding factors are rated force, jaw pad condition and bar rigidity rather than brand alone.
Do I need cauls for a panel glue-up?
Cauls help on wide panels, and they are close to essential past about 4 feet. A caul is a sacrificial straight board that spreads clamp pressure and flattens the panel, and it works in your favor if it has a slight bow since the bow pulls the panel flat as the clamp draws in. Keep in mind a caul flattens, it does not align. Boards still need to be fitted properly before the glue-up.
How many clamps do I need for a panel glue-up?
Work out one clamp roughly every 12 to 18 inches along the panel, with extra coverage at the ends. A panel up to 24 inches wide needs 2 to 4 clamps, 24 to 36 inches needs 3 to 4, 36 to 48 inches needs 4 to 5, and anything past 48 inches needs 5 or more. In a one-person shop, gluing 2 or 3 boards at a time in sub-panels means you only ever need four clamps in your hand at once.
Which Clamps to Buy for Your Next Panel
If you want one answer, start with the Bessey BPC-H34 H-style pipe clamp and a set of pipe in the lengths you need. It is the fixture we trust most, and the dual-axis H-style foot keeps pressure on the center of the board edge where a panel needs it.
For wide tops and cabinet doors, the Jorgensen 24-inch 1500 lb parallel clamps are the strongest single buy. The jaw holds 90 degrees through the whole stroke, the plastic jaws rarely dent stock, and the flat end lies on your table while the panel cures.
On a tighter budget, the BORA 24-inch set gives you the two things that matter most: a 3.5 inch padded jaw and a passive lock jaw that does not drift while you wind. The VEVOR set is the option if you want more rated force per clamp and can live without a padded jaw.
For panels wider than 4 feet, or any panel that wants to cup, add a four-way pressure clamp. The Peachtree set handles stock up to 6 inch thick and lets you build the bar length yourself, and the Rockler Mini Deluxe is the right four-way option for cutting boards and frame-and-panel doors rather than full-size tops.
Whichever route you take, decide your clamp layout before the glue opens, space the clamps every 12 to 18 inches with the outermost ones near the panel ends, and stop tightening once the seam is closed and squeeze-out appears. That is the difference between a panel that comes out of the clamps flat and one that spends the next day in the planer. We will keep updating this roundup as new clamps land, so check back through 2026 for the latest picks.
Leave a Reply