
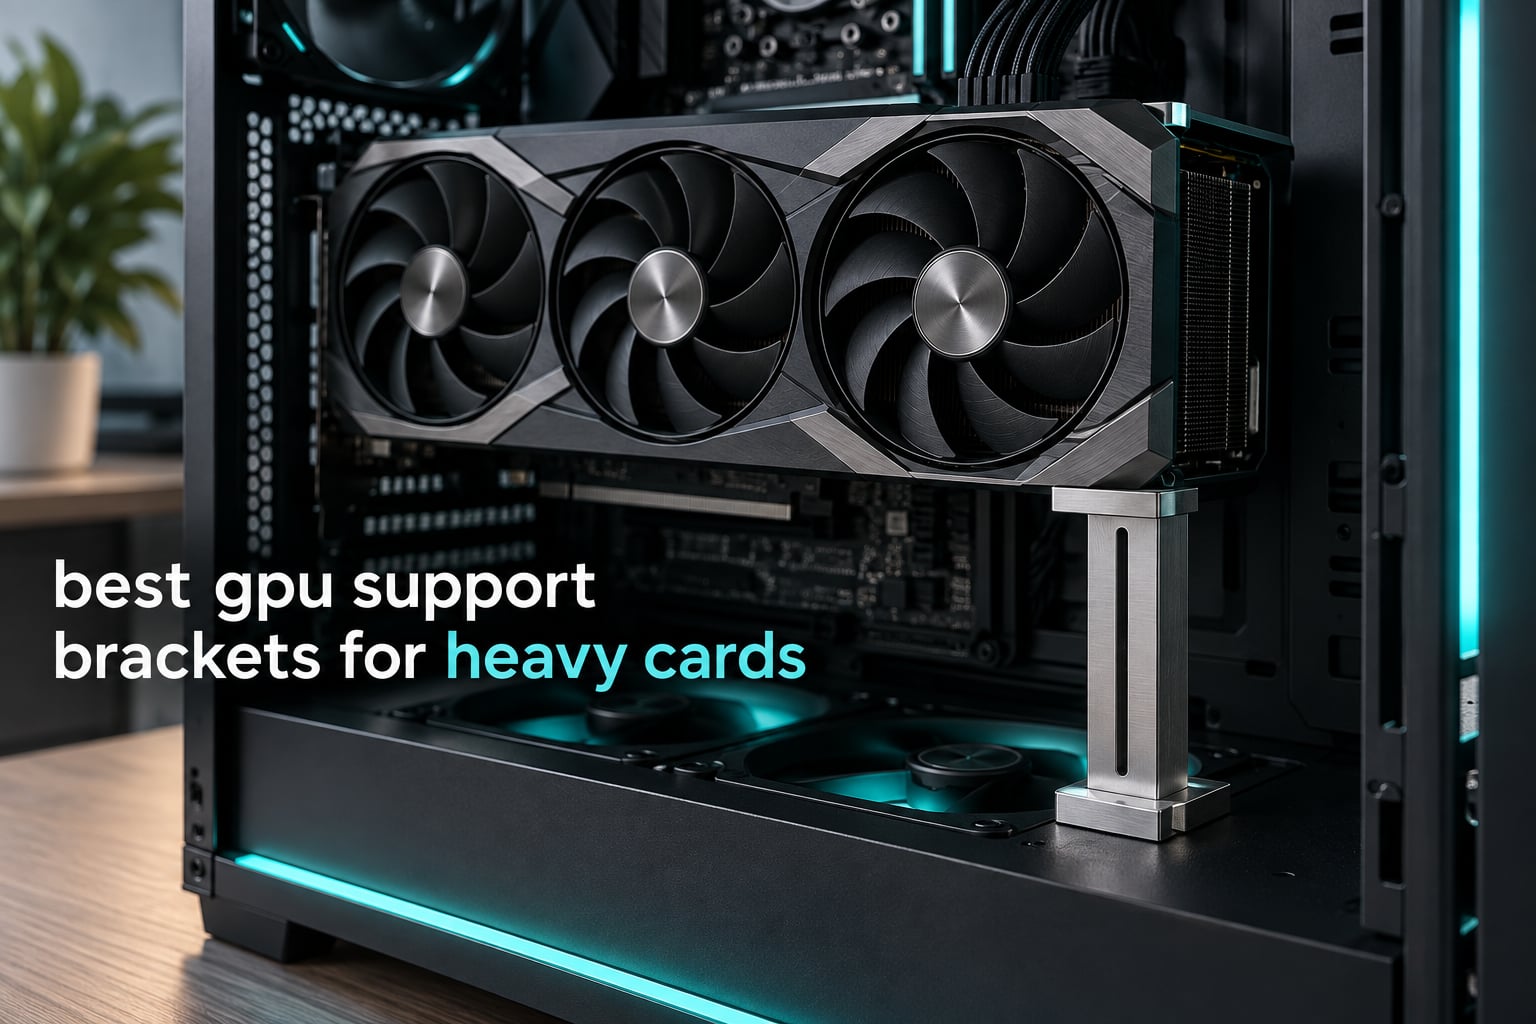
Are GPU support brackets worth it? For any card at 2.5 kg or above, yes. The PCIe x16 connector is a short, stiff plastic tongue that was never designed to carry the front end of a three-fan cooler for years, and a good bracket moves that weight onto the case floor in five minutes of work. That is why this list of the best gpu support brackets for heavy cards exists, and why we read thousands of owner reviews across the twelve models below before ranking them.
GPU sag is the slow droop of a long graphics card in its slot. The card’s weight bends the PCB and the connector over months until the far end drops by a few millimetres. A bracket is a rigid arm that meets the underside of the card near its tail and holds it level.
Build communities already narrowed the field. In a Tom’s Hardware forum thread on defending against sag, builders specifically recommended the horizontal upHere braces. On r/PcBuildHelp the recurring question is not which brand wins but which bracket reaches a wide gap when bottom intake fans are in the way. Both concerns shaped the ranking.
If you are still choosing a card, our graphics card ranking and GPU company brand guide are worth a look, because a heavier card changes how much support you need.
Our Top 3 GPU Support Brackets for Heavy Cards in 2026
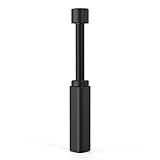
nkomax Aluminum Brace (SSZJ-L)
- All-aluminum build
- Tool-free fixing module
- Hidden base magnet

Comparing All 12 GPU Support Brackets Side by Side in 2026
Most listings never state a load rating or a real height range, so this table puts every pick next to every other pick. You can rule out anything that cannot physically reach your case floor or cannot brace a three-slot card.
| Product | Details | Action |
|---|---|---|
|
|
Check Latest Price |
 |
|
Check Latest Price |
|
|
Check Latest Price |
 |
|
Check Latest Price |
 |
|
Check Latest Price |
 |
|
Check Latest Price |
 |
|
Check Latest Price |
 |
|
Check Latest Price |
 |
|
Check Latest Price |
 |
|
Check Latest Price |
 |
|
Check Latest Price |
 |
|
Check Latest Price |
What Causes GPU Sag and What It Actually Damages
The physics is unkind. A heavy card is a lever: the seated end of the PCIe x16 slot is the pivot, and every gram of cooler overhangs the far end. Once the card is three slots thick, the torque on the connector is continuous rather than momentary. Four things follow.
- The PCIe x16 connector takes the load. The gold fingers and housing flex slowly, and the first symptom is usually intermittent signal loss under load rather than a dramatic failure.
- Thermal pad separation follows PCB flex. As the board bows, the gap between the die and the cold plate changes. On r/pcmasterrace, builders describe exactly this failure: sag pulls the thermal compound away from the core and creates hot spots that look like a cooling fault but are a structural one.
- Mounting hardware takes the side load. Card retention brackets and the screws at the I/O end can loosen, and the slot can creak audibly as the machine changes temperature.
- Cooler overhang accelerates it. A top-mounted fan, a top-mounted power connector, or a water block with a full backplate puts more mass behind the slot than a plain two-slot board ever will.
None of this happens in a week. But the repair path runs through a replacement motherboard, which is why the fix costs so little relative to the problem.
1. nkomax Aluminum Brace (SSZJ-L) – The Most Proven Everyday Fix for a Drooping Card
Graphics Card GPU Brace Support, Video Card Sag Holder Bracket, GPU Stand (L, 74-120mm)
Aluminum body
74-120mm adjustment
Hidden base magnet
Tool-free module
+ Pros
- Most reviewed bracket in the group
- All-aluminum instead of plastic
- Tool-free fixing module with anti-scratch pad
- 74-120mm range fits most mid-towers
- Hidden magnet in the base
– Cons
- Light 0.03 kg single-column design
- Weak base magnet on the heaviest cards
This is the bracket I recommend to anyone who wants the sag gone without a project. At 8588 reviews averaging 4.7, it has the largest body of long-term owner feedback in the category, and that is why it outranks heavier nameplates here. The build is all aluminum, with a three-stage anodized and CNC edge finish and a cushioning anti-scratch pad where the arm meets the card.
The 74-120mm range covers the gap between the card tail and the case floor in most ATX builds, and the screw adjustment is compatible with traditional and long power supply bays, which is the most common reason a cheap bracket fails to seat.
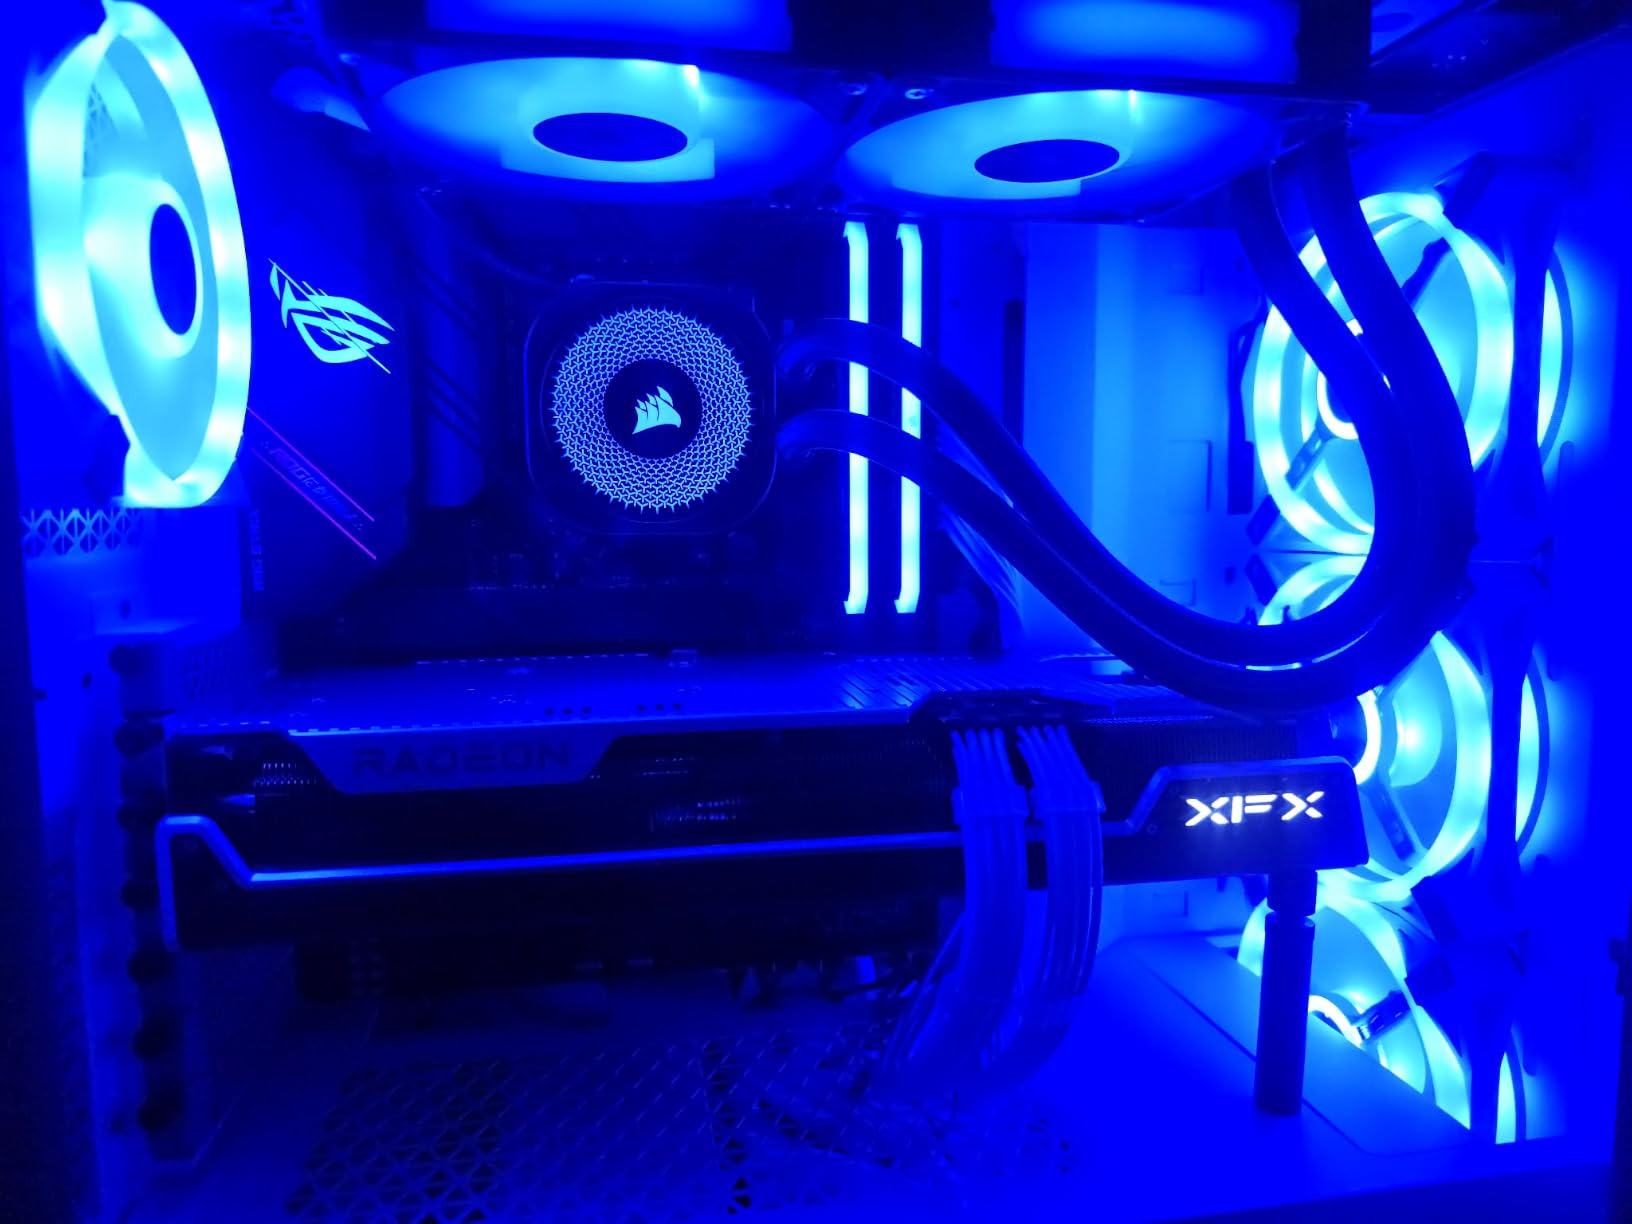
Load Behaviour of a Single-Column Design
At 0.03 kg this is a light bracket with a single support point. On a two-slot or 2.5-slot card the load path is short and the arm sits under solid PCB, so the job is easy. On a 3.5-slot card the contact point can land between components, and owners running the heaviest cards report the base magnet as the weak link.
Fit, Magnet Base and Case Compatibility
The hidden magnet in the base grips the shroud or floor without screws, and the tool-free fixing module clamps quickly once the height is set. Small, medium and large variants exist, and the large one here is the 74-120mm model. If your case has a raised floor, check the card tail sits inside the 120mm ceiling before ordering.
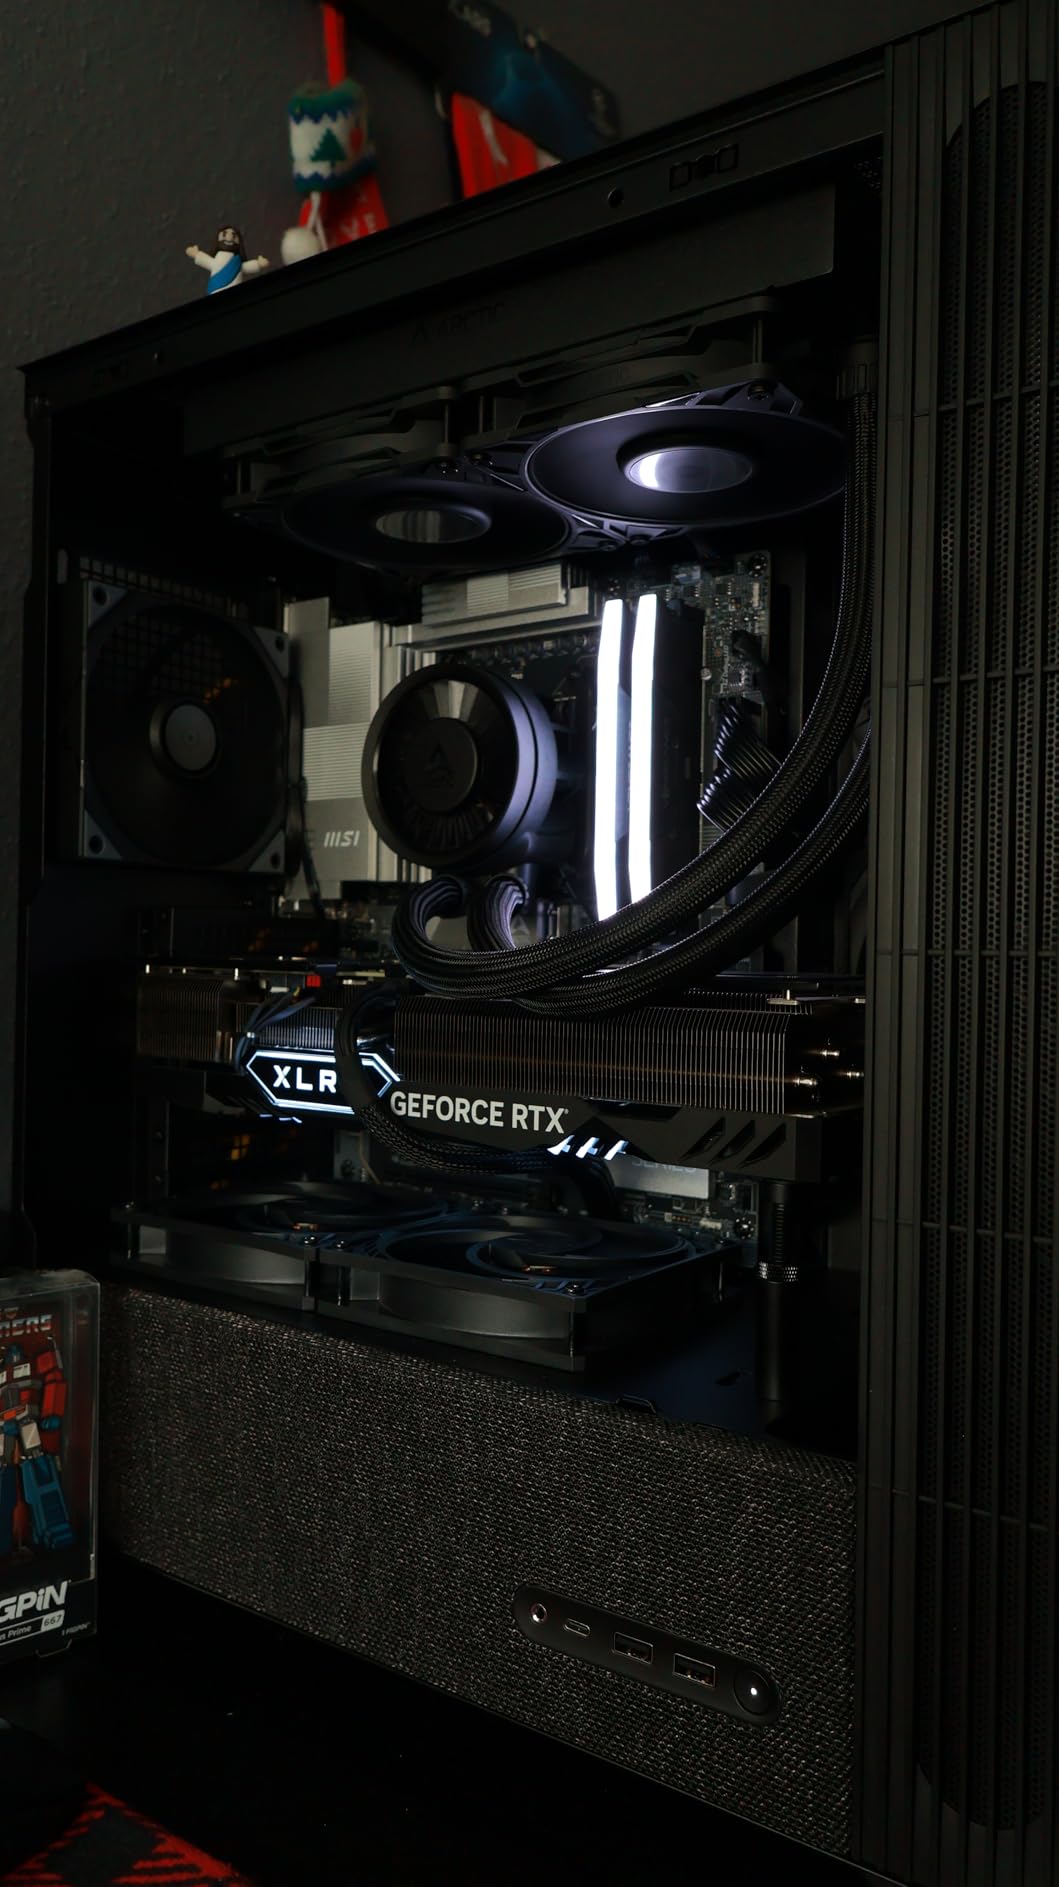
Who It Suits and Who Should Look Elsewhere
Suits anyone with a two-slot to three-slot card in a mid-tower who wants a no-fuss fix. Look elsewhere if you run the heaviest flagships in a full tower, where you need a taller arm or a second contact point. The dual-brace pick later in this list handles that case properly.
2. ASUS ROG Herculx – Spirit Level, Aura Sync and a Zinc Alloy Body in One
ASUS ROG Herculx GPU Anti-Sag Holder, Solid Zinc Alloy Construction, Easy Toolless Installation, Included Spirit Level, Adjustable Height, Wide Compatibility, Aura Sync RGB, 2 Year Warranty
Zinc alloy body
72-128mm height
Spirit level included
Aura Sync ARGB
+ Pros
- Solid zinc alloy construction
- Tool-free setup with release button
- Detachable spirit level included
- 72-128mm covers most mid-towers
- Aura Sync ARGB integration
– Cons
- Premium price against aluminum rivals
- Needs a free 5V ARGB header
- Bottom-fan cards can crowd the foot
This is the only bracket in the set with a built-in spirit level, and after working through the top picks that is what wins ties. Level is the most common installation error: a brace set by eye sits a degree or two off, and the card still looks uneven. Owners also describe it as the best-looking holder in the category.
The zinc alloy body is rigid and heavy in the hand at 1.2 pounds, and 83% of 1920 reviews are five-star, with most of the praise aimed at build quality and tool-free installation.
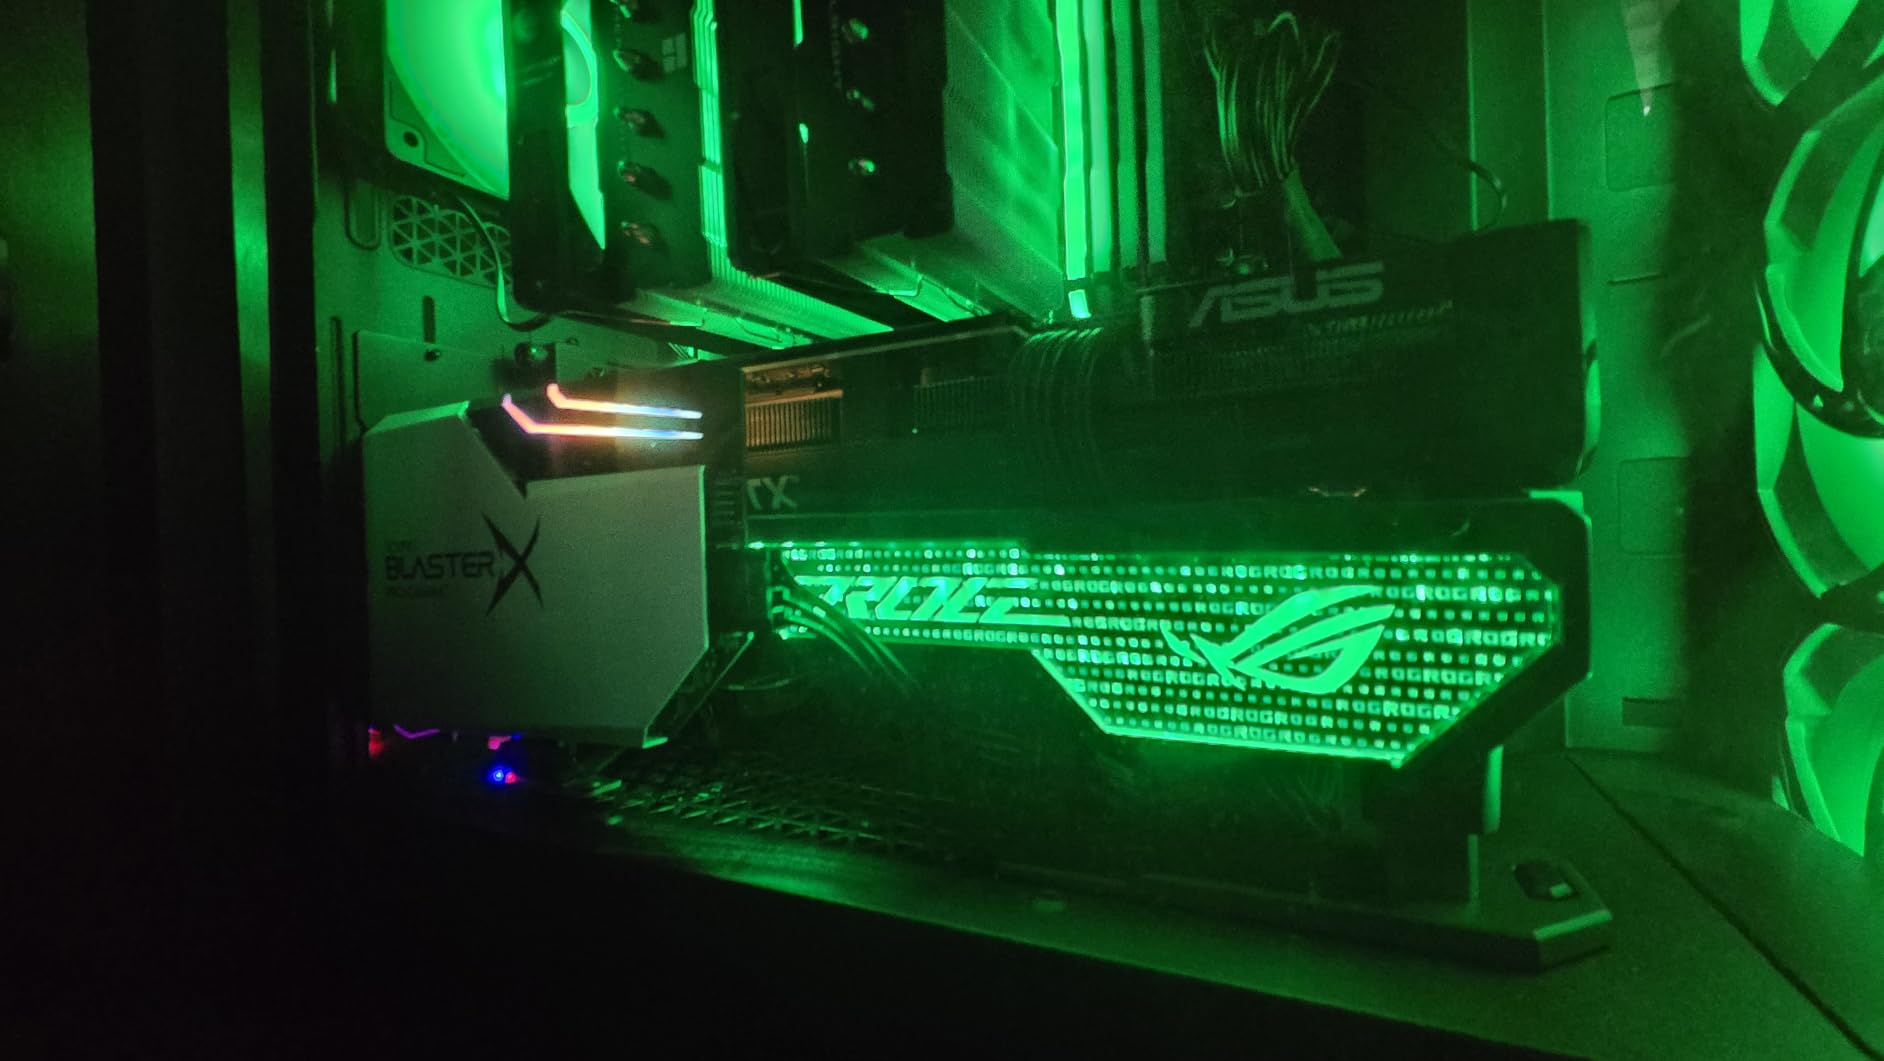
Tool-Free Adjustment and the 72-128mm Window
An adjustable wheel sets the height and a quick-release button removes the whole unit for a card swap. That matters more than it sounds, because many builders swap graphics cards more often than they expect and a fixed-screw bracket turns every swap into a tool job. The 72mm minimum is narrower than some rivals, so measure the floor gap first.
Aura Sync and Header Requirements
The embedded 3D ARGB element runs on a 5V 3-pin addressable header, so it needs a free header on the motherboard. If the board is fully populated the lighting is simply unavailable, and you have one less thing to plan around during the build.
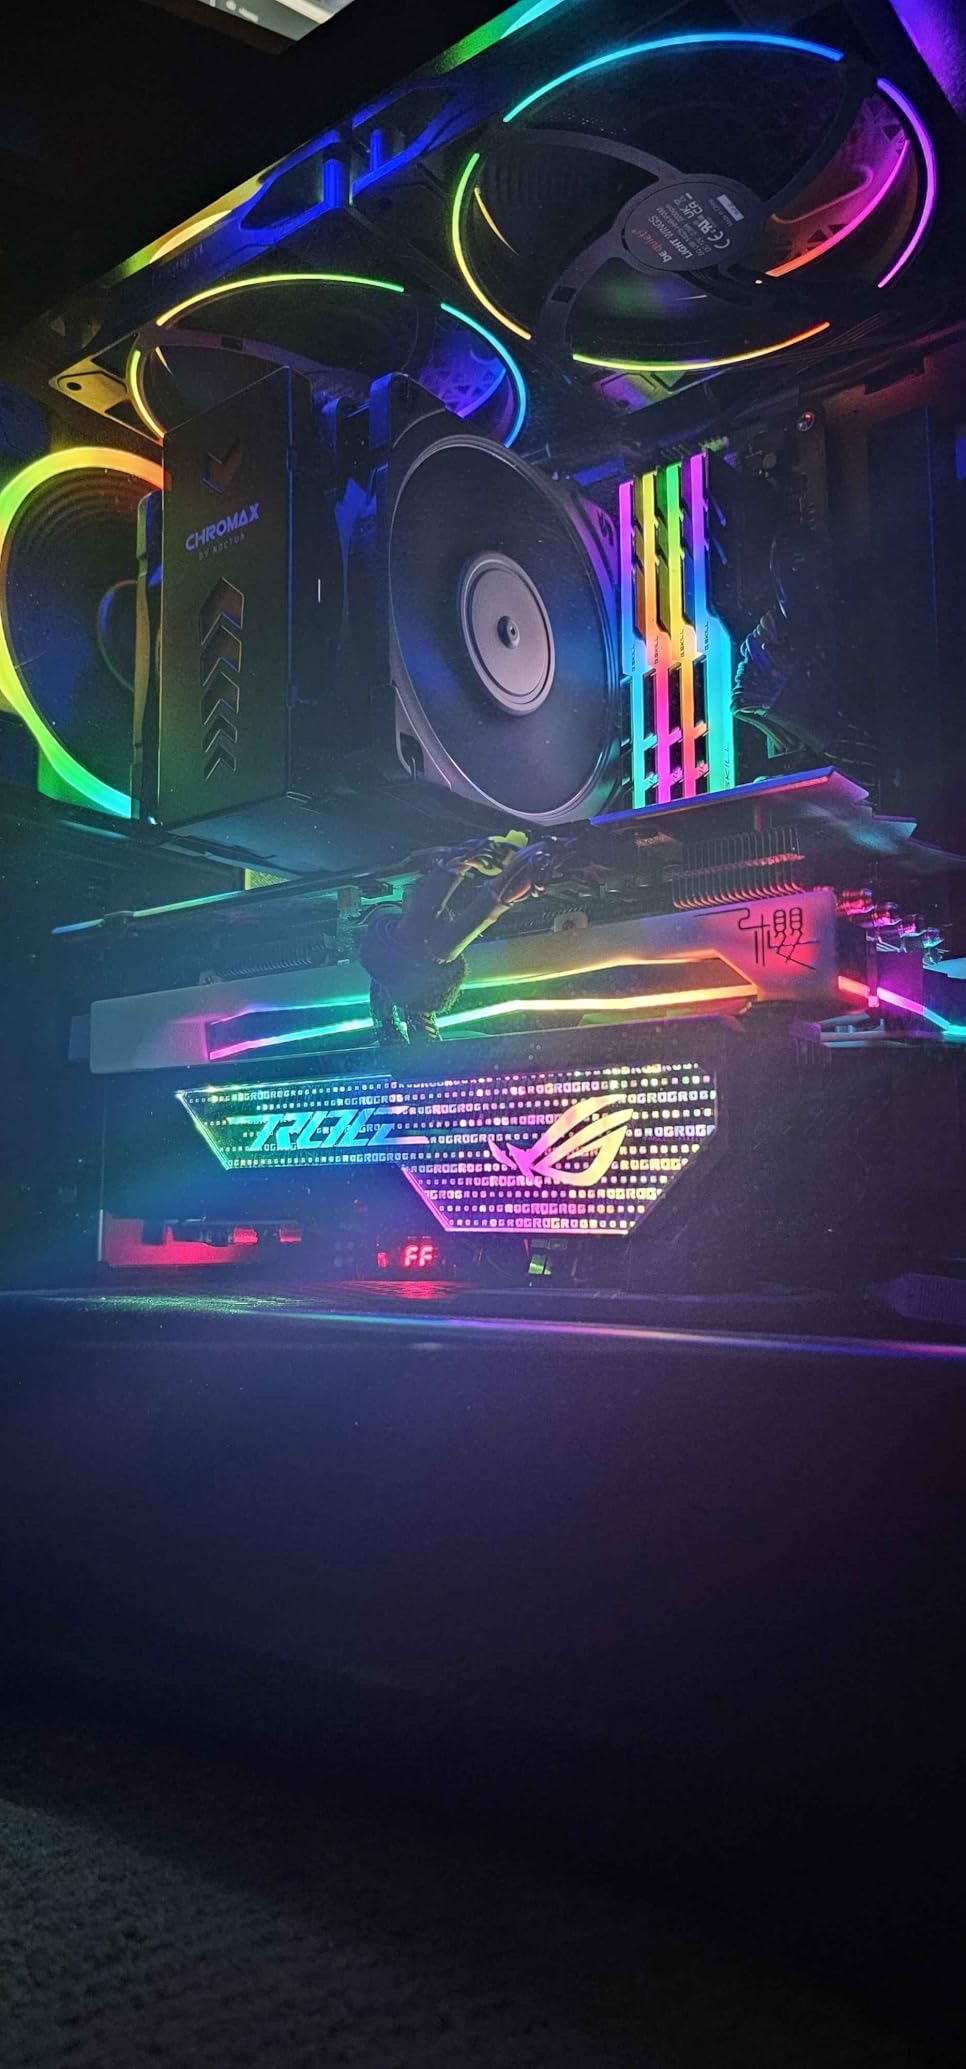
Clearance Problems With Bottom-Mounted Fans
This is the caveat that recurs: cards with a row of underside fans can leave too little room for the support foot to seat without touching a fan. Check that gap before ordering. A two-year warranty is included, which is reassuring on a premium bracket.
3. upHere G276 ARGB – Steel-Core Brace With a 5V Addressable RGB Strip
upHere 5V 3PIN Addressable RGB Graphics Card GPU Brace Support Video Card Sag Holder,Built-in 5V ARGB Strip,Adjustable Length and Height Support,G276ARGB
Iron core structure
5V 3-pin ARGB
Two-way slide adjust
+ Pros
- Iron main structure resists bending
- Two-way slide adjustment
- ARGB syncs with common motherboard software
- Foam cushioning pads protect the card
– Cons
- Riser can creep without firm tightening
- Bulky side attachment blocks lower slots
- Tight for micro-ATX cases
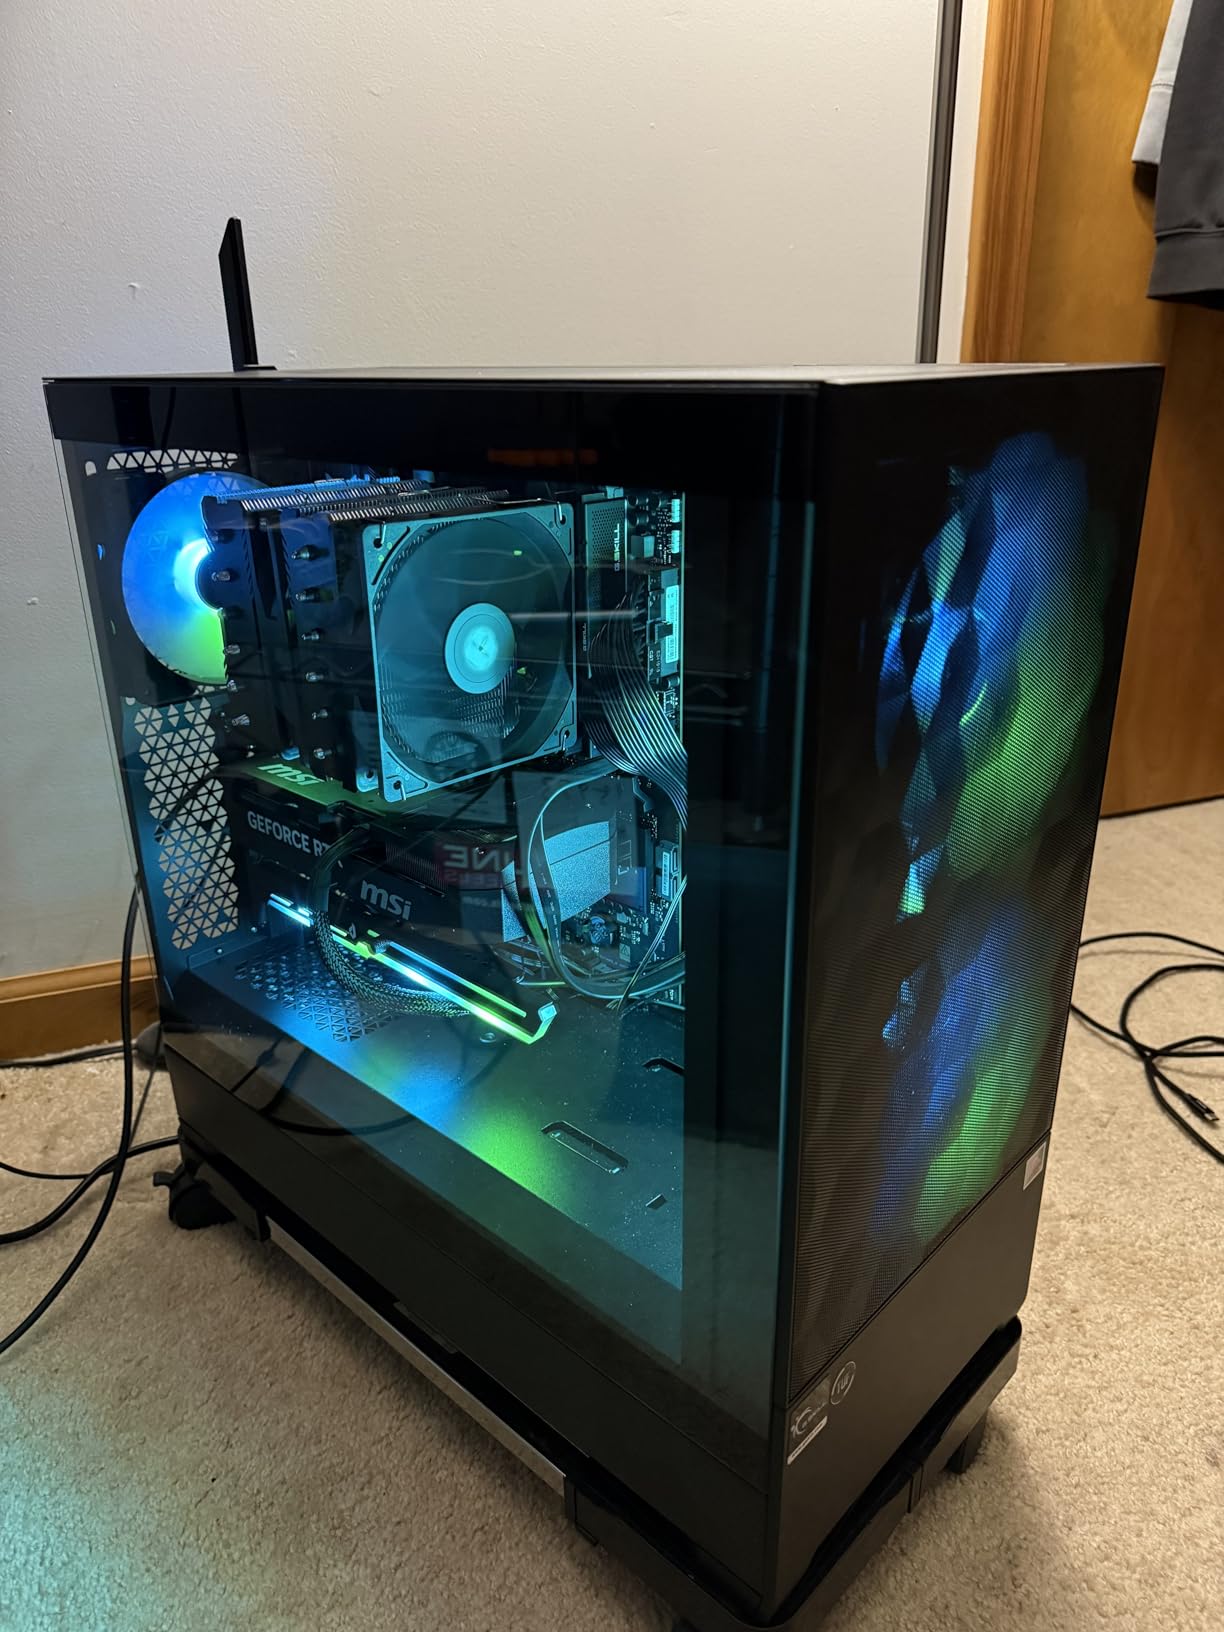
upHere is the brand most often named when builders ask which brace survives contact with real hardware, and the G276 is the lit version of that recommendation. It is the only steel-core design in this list, and at 0.2 kg that core is obvious in the hand.
Two-way slide adjustment is the useful part. Most brackets only change height; this one also slides along its axis, which helps when the card tail does not sit over the natural contact point.
Iron Core Versus Aluminum Rods
Aluminum deforms slowly and permanently under sustained load, while steel is stiffer and heavier. For a card under load for years the stiffer core holds position as the case warms and everything expands a fraction of a millimetre. Owners of mid-weight cards report it stops sag cleanly, though some found the riser creeps downward unless the fixing screw is tightened firmly.
5V 3-Pin ARGB and Lighting Sync
The built-in 5V ARGB strip syncs with iCUE, Mystic Light and RGB Fusion without extra drivers, and 76% of 1454 reviews are five-star with another 13% at four stars. Check the connector standard carefully: 5V 3-pin is not the same as 12V 4-pin. A 12-month warranty is included.
Clearance and Slot Access in Compact Cases
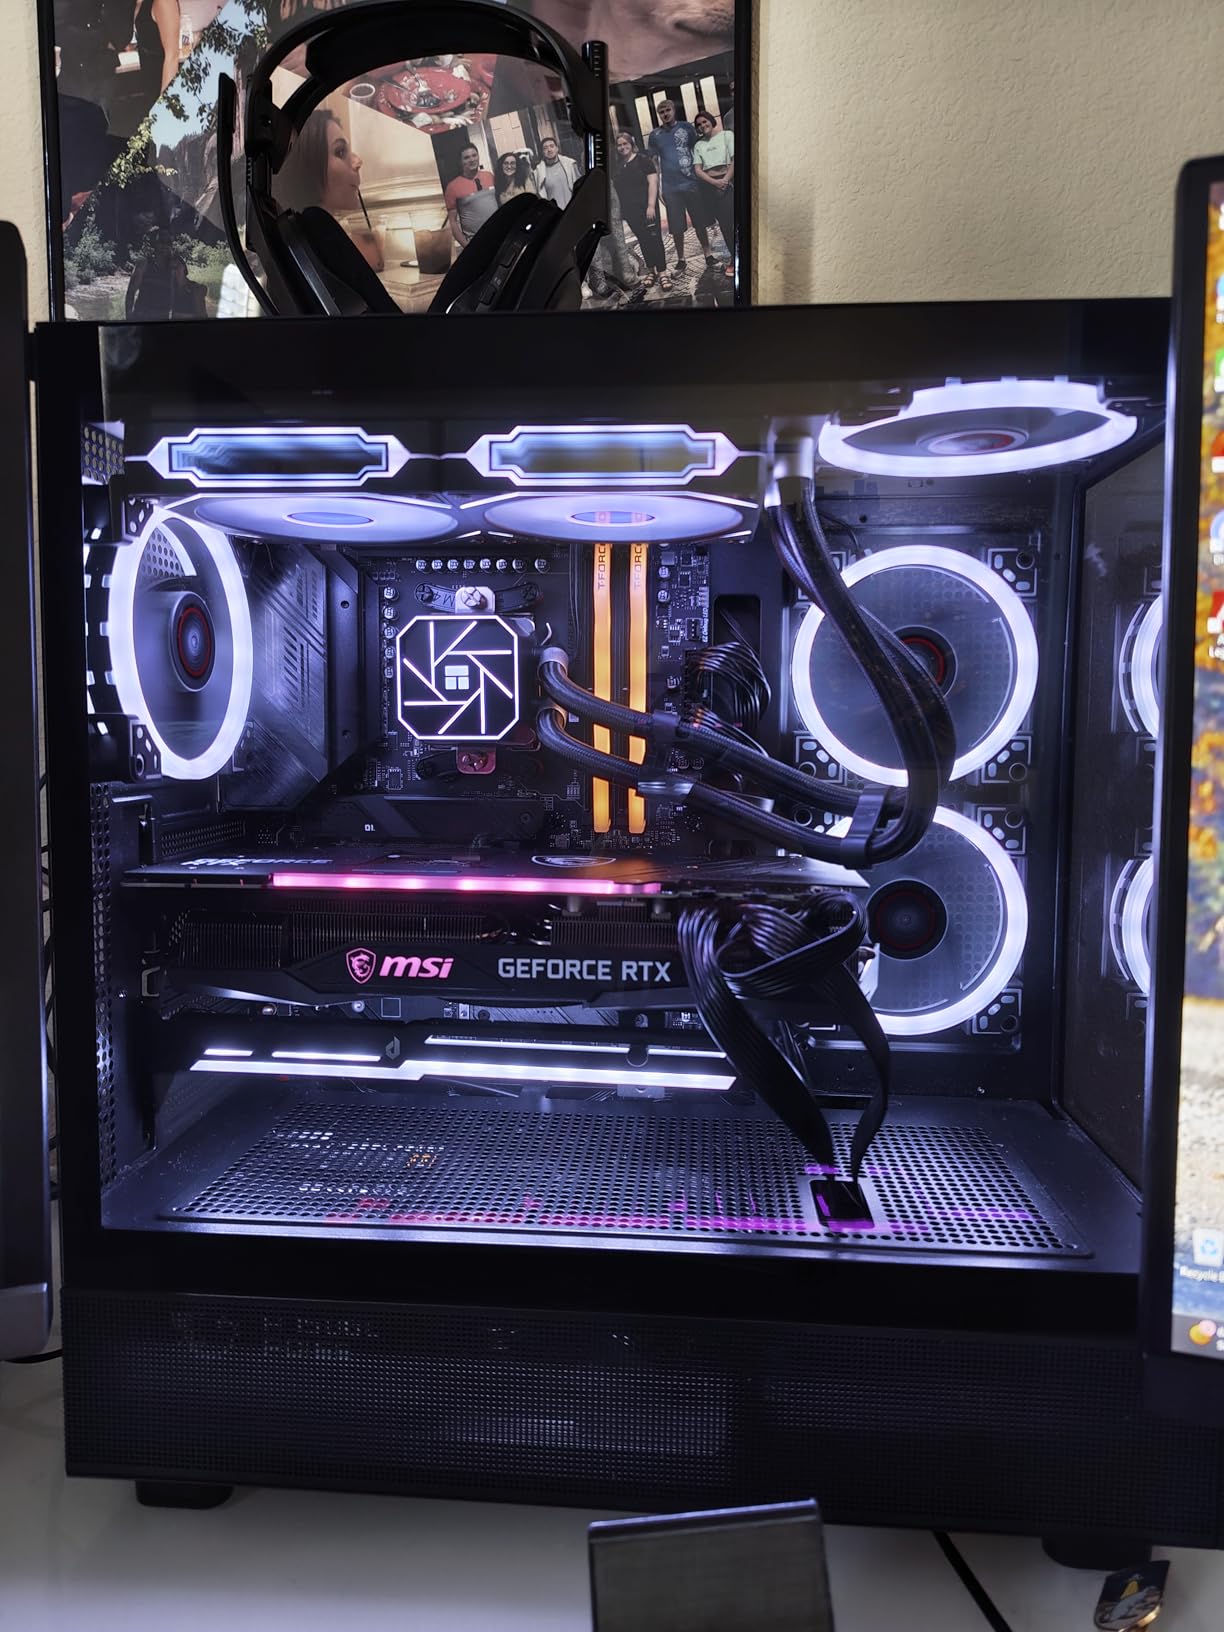
Two fitment limits are worth stating plainly. The bulky attachment on one side can block lower PCIe expansion slots, and it does not fit micro-ATX cases comfortably. In a full tower with spare expansion slots, you get a stiff steel brace with synced lighting and no compromise.
4. upHere G205 – The Anodized Aluminum Classic That Also Holds a Second Card
upHere Graphics Card GPU Brace Support Video Card Sag Holder/Holster Bracket, Anodized Aerospace Aluminum, Single or Dual Slot Cards Black (G205)
Anodized aluminum alloy
Segmented slide design
Concealed magnet base
+ Pros
- Segmented slide fits mATX and ITX cases
- Two poles and two wedges can support a second card
- Rubber-coated arms prevent scratches
- Low-profile anodized finish
- Generous protective packaging
– Cons
- Flexible sheet base magnet is weak by design
- Arms creep down the pole without a tool
- Occasional damaged or bent post on arrival
The G205 has been on sale long enough to have a deep pool of long-term reports, and 79% of 1219 reviews are five-star. That history is worth more than a spec sheet here, because sag damage shows up over years rather than weeks.
What sets it apart is the two-pole, two-wedge layout. It can support two graphics cards or a pair of CPU fans, which covers older dual-card and multi-fan air cooler setups that are still common.
Segmented Slide Fitment Across Case Sizes
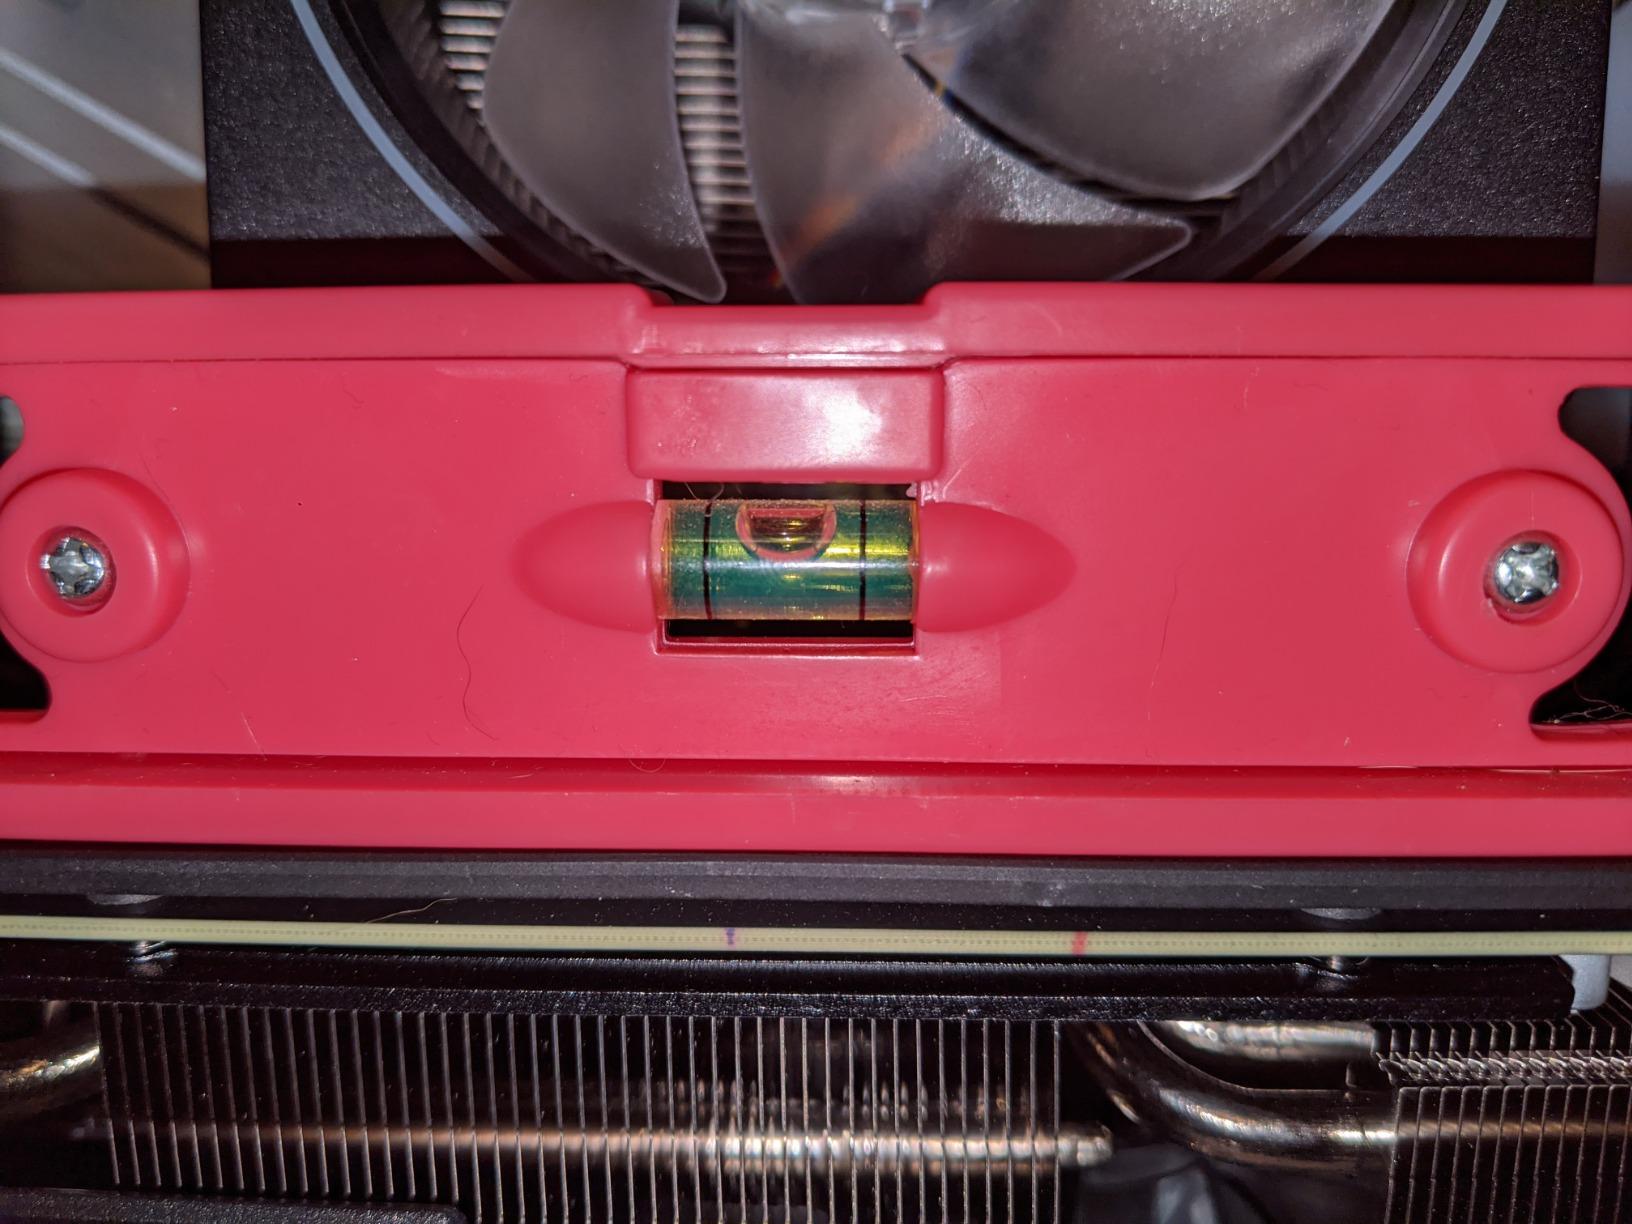
Rather than a telescoping tube, the arms are sliding segments that lock at different points. That is why it works in mATX and ITX cases where floor height is limited, and in cases with a long power supply bracket where a fixed-length arm would fall short. It also lets the arm sit lower on the card where the PCB is thickest.
Rubber Arms and Surface Protection
Rubber coating on the contact arms prevents scratching the backplate, which matters on cards with soft-touch or transparent panels. The anodized black finish is low-profile and disappears into a dark build, and 0.15 kg gives it more presence than the light budget rods.
Where the Weak Magnet and Creeping Arms Bite
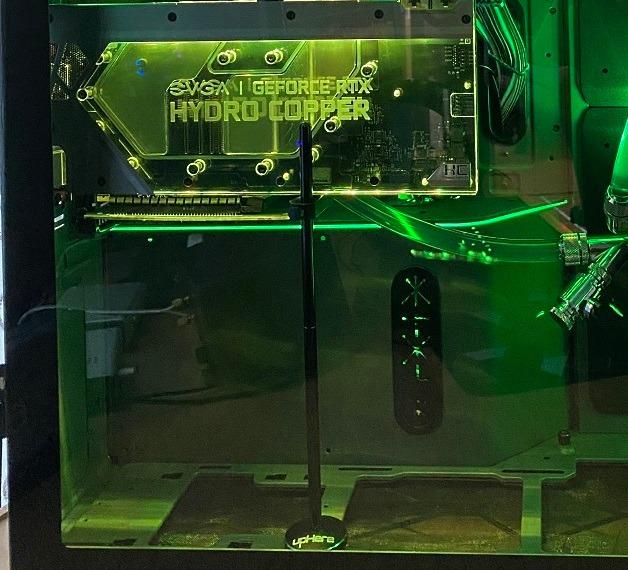
The base magnet is a deliberately weak flexible sheet rather than a neodymium magnet, so it relies on the card’s own weight, and the arms can slide down the pole without a tool, meaning pliers are occasionally needed for a firm clamp. Inspect the post on arrival too, since a few units arrive bent.
5. Aivalas Magnetic Brace – The Quickest Way to Level a Mid-Size Card
Aivalas GPU Support Bracket, Graphics Video Card Brace with Height Adjustable, Anti Sag Holder for Universal Graphics Card Sag, GPU Stand with Magnet and Rubber Pad (Black)
Aluminum body
74-121mm twist-nut range
Magnetic non-slip base
+ Pros
- Fixes visible sag in seconds
- Twist-nut height adjustment over a wide range
- Magnetic base grips the PSU shroud
- Rubber ends prevent slippage
- Five color options
– Cons
- Not sized for full-tower cases
- Can sit too close to GPU fans if placed badly
- Can work loose if the case is moved
This is the fastest repair in the list: no screw, no tool, no drilling. Twist the collar, stick the magnetic base on the power supply shroud or the floor, and the card is level. 84% of 1177 reviews are five-star and owners call it a value pick.
The twist-nut adjustment runs from 2-7/8 inches to 4-3/4 inches, covering a compact micro-ATX case through to a mid-tower with a raised floor.
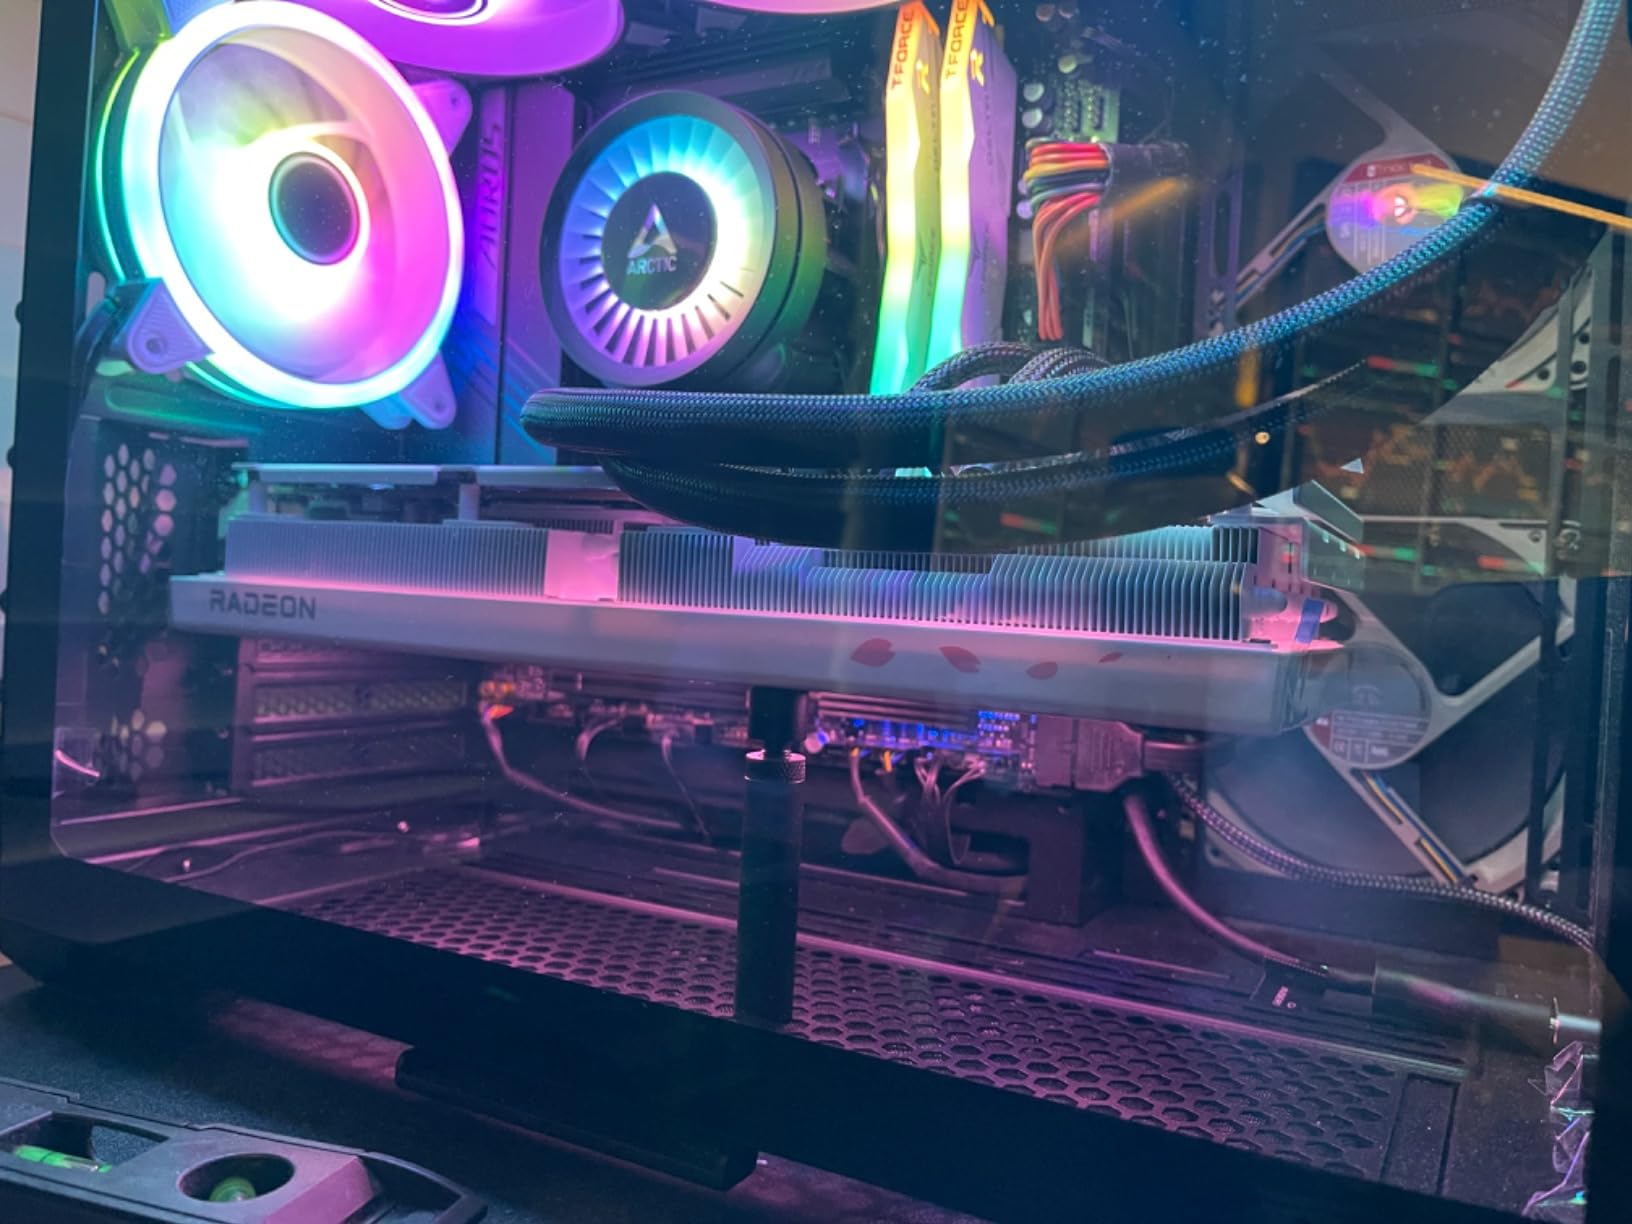
Magnetic Base on the PSU Shroud
The magnetic non-slip base grips the shroud directly, with rubber ends that stop it sliding when the case is bumped. This is the mount style most builder forums recommend for a reason: it puts the load into the steel shroud rather than a thin floor panel.
Airflow, Footprint and Placement
At 0.51 by 0.51 by 4.72 inches and 0.03 kg the arm is small and does not disturb case airflow. Placement does matter: set it too close to the card’s own fans and you crowd the intake, so rotate the base until the arm sits under solid PCB. Red, white, pink and blue variants are available for themed builds.
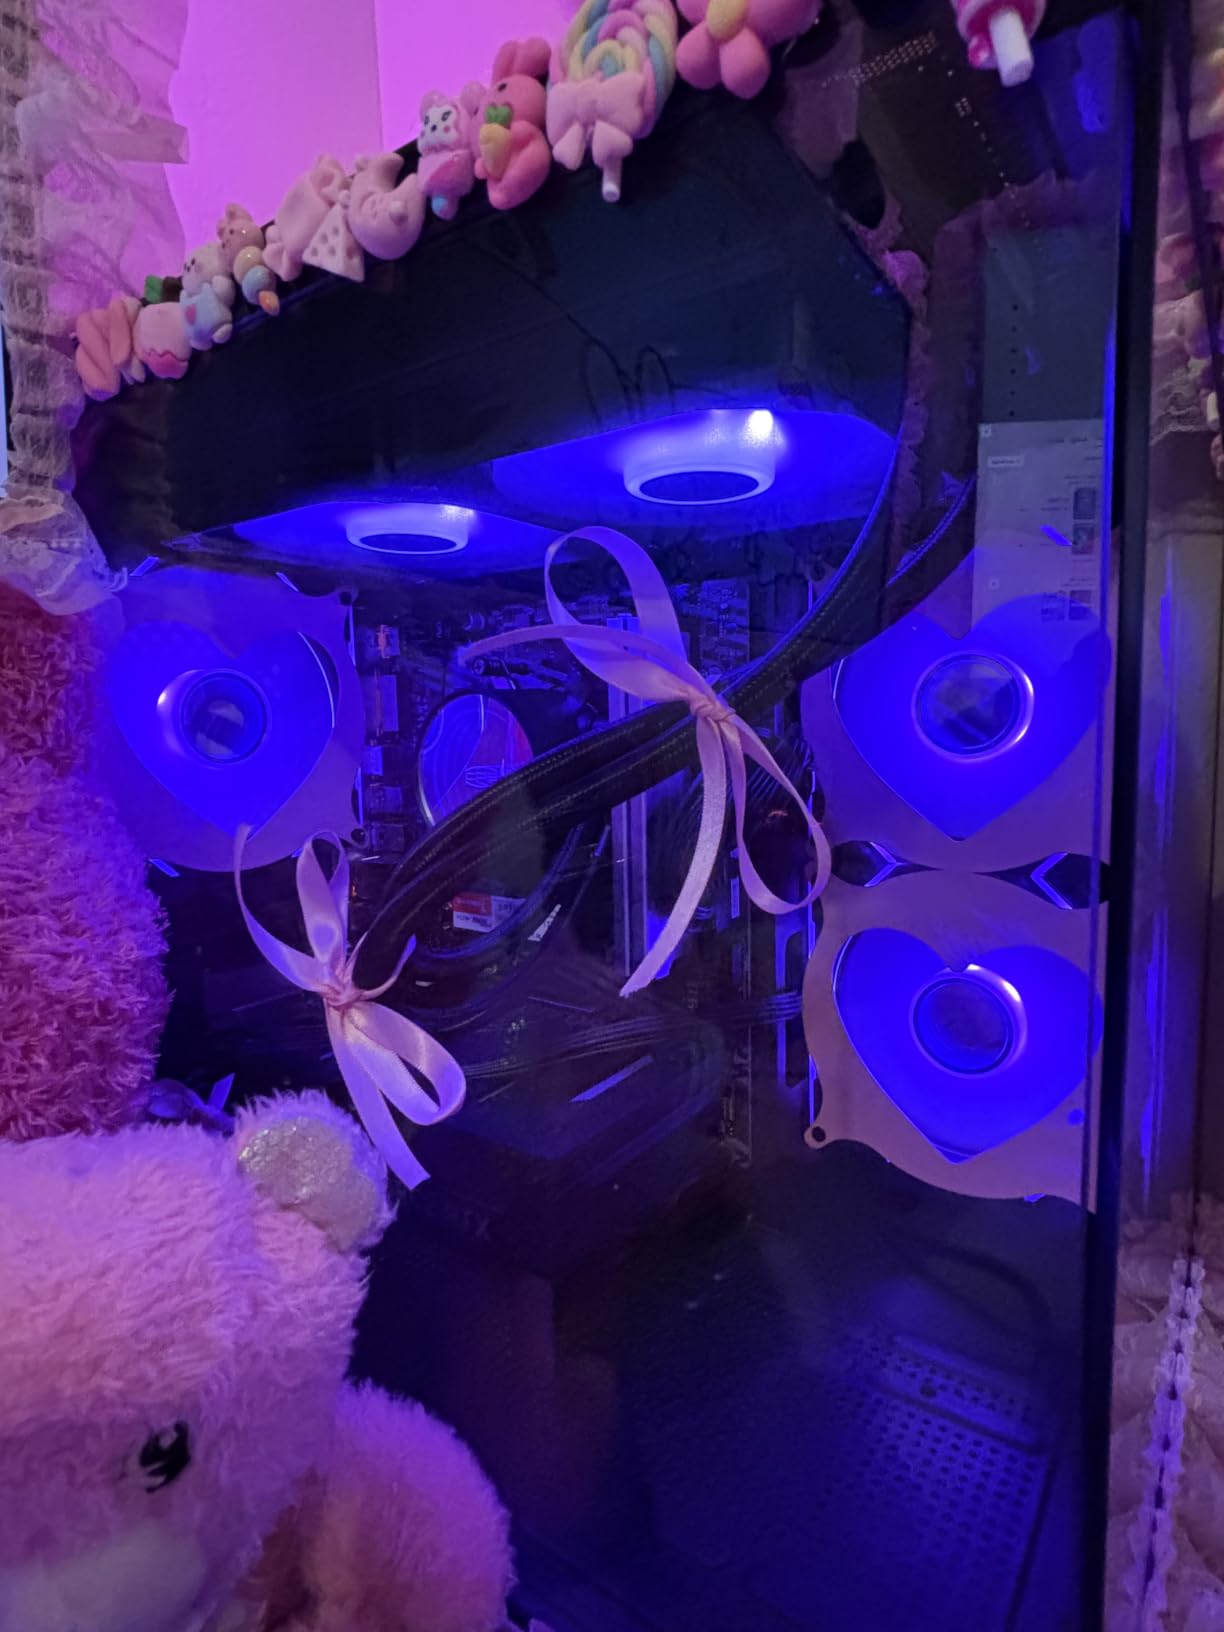
Where It Falls Short
It is not sized for full-tower cases or very large cards with bottom fans, and it can work loose if the tower is carried or tilted. For a machine that moves regularly, pick a screw-mounted option instead. In a mid-size case with a mid-weight card it is compatible with ATX, m-ATX and ITX chassis and takes under a minute to fit.
6. Uyubao Anti-Sag Bracket – A Budget Rod That Ships With a Bubble Level
Uyubao GPU Support Bracket, Gpu Anti Sag Bracket, Graphics Card GPU Brace Support, Video Card Sag Holder Bracket, GPU Stand with Magnet & Non-Slip Sheet, L(74-120mm)
Aluminum alloy
74-120mm screw adjust
Included mini level
+ Pros
- Stops mild to moderate sag quickly
- Anodized aluminum resists rust
- Useful 74-120mm adjustment range
- Includes a small spirit level
- Magnetic base with anti-slip pad
– Cons
- 0.03 kg body has limited reserve
- Slim single-rod design sways laterally
- No printed instructions
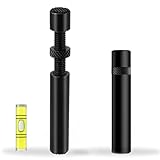
Including a bubble level at this level of the market is unusual, and it makes the Uyubao a useful pick for first-time builders. A level lets you confirm the card is square in the slot rather than guessing, and that habit prevents a lot of future stress on the connector.
The screw adjustment covers 7.4cm to 12cm for most mid-tower builds, and the anodized aluminum alloy resists rust and discoloration.
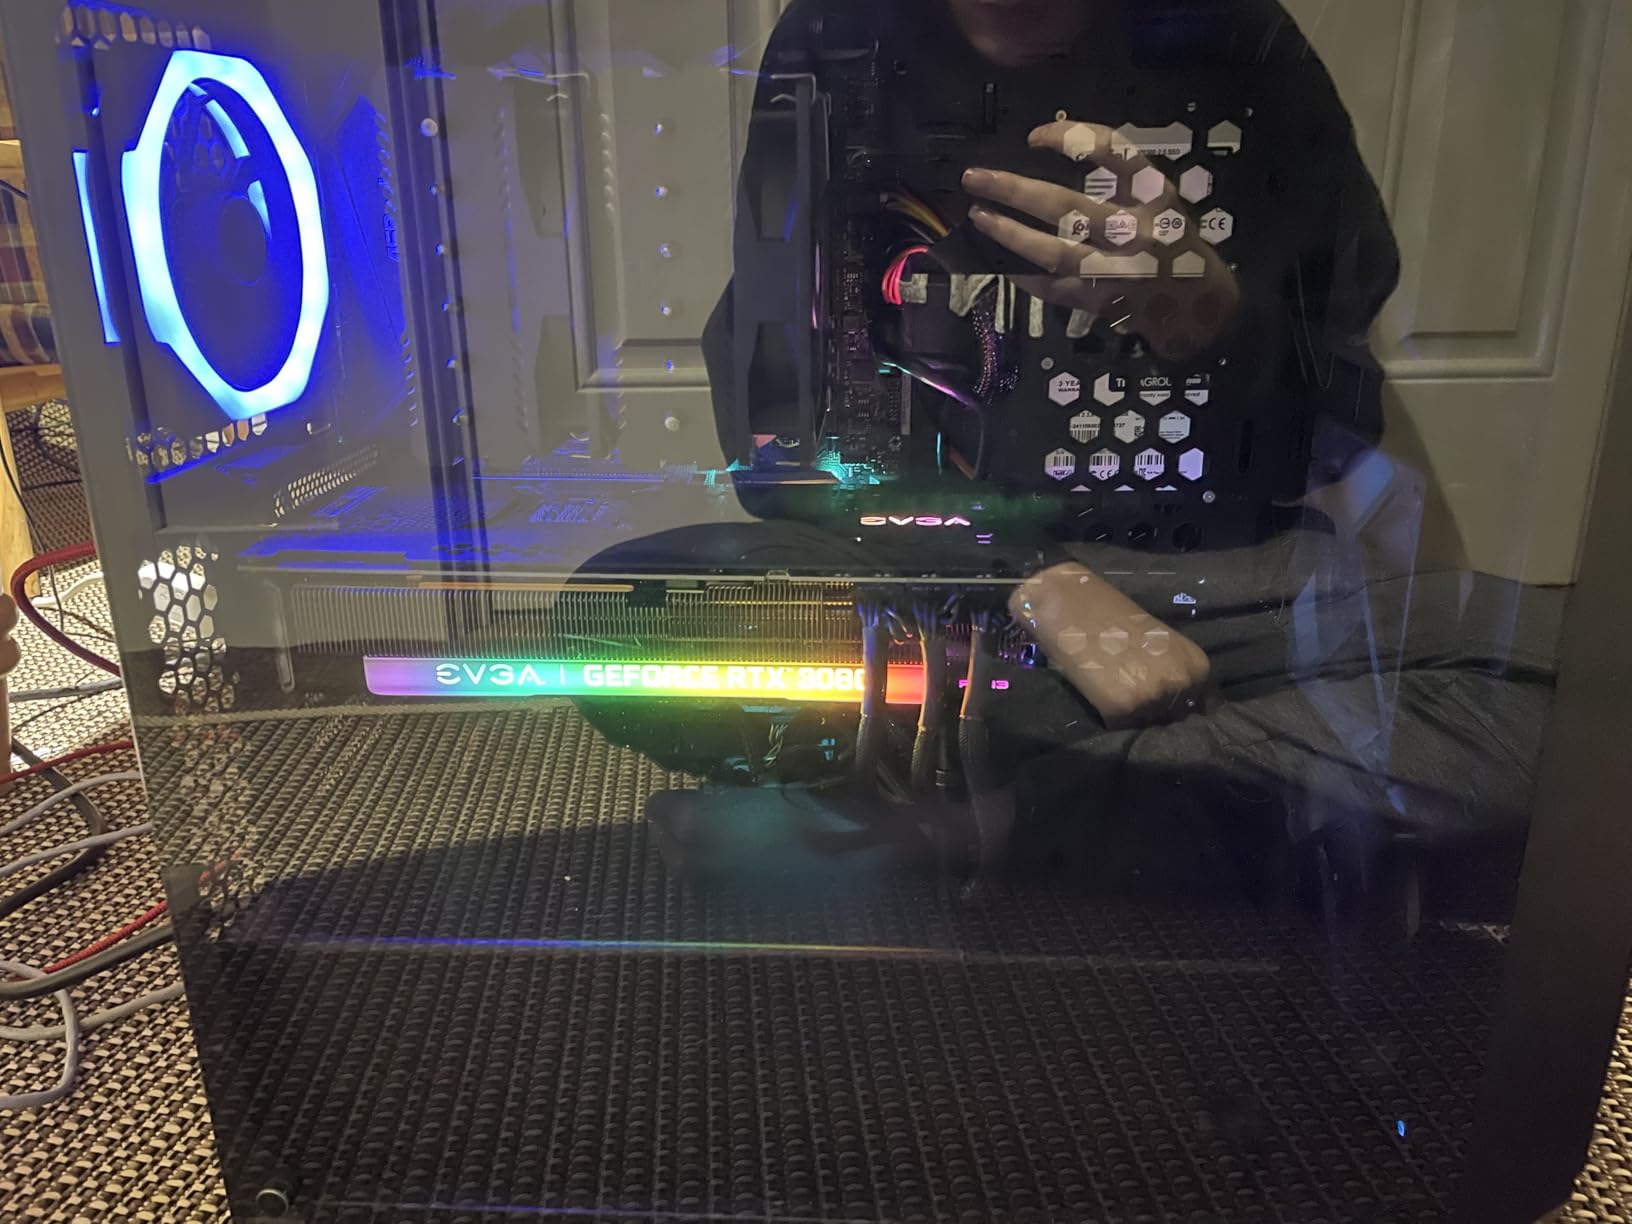
Single-Rod Rigidity and Lateral Sway
At 0.03 kg with a slim rod, the honest limitation is lateral sway. A single rod can flex sideways even while holding the weight well vertically, which is why we would not pair it with a card this list calls heavy. For two-slot and 2.5-slot cards it takes up the droop and stays there, and 81% of 651 reviews are five-star.
The Magnetic Foot and the Tool-Free Module
The magnetic non-slip base is hidden in the foot, and the tool-free fixing module includes an anti-scratch pad at the contact point. A two-year warranty is listed, which is longer than most competitors offer, and black and white variants both cover the 74-120mm range.
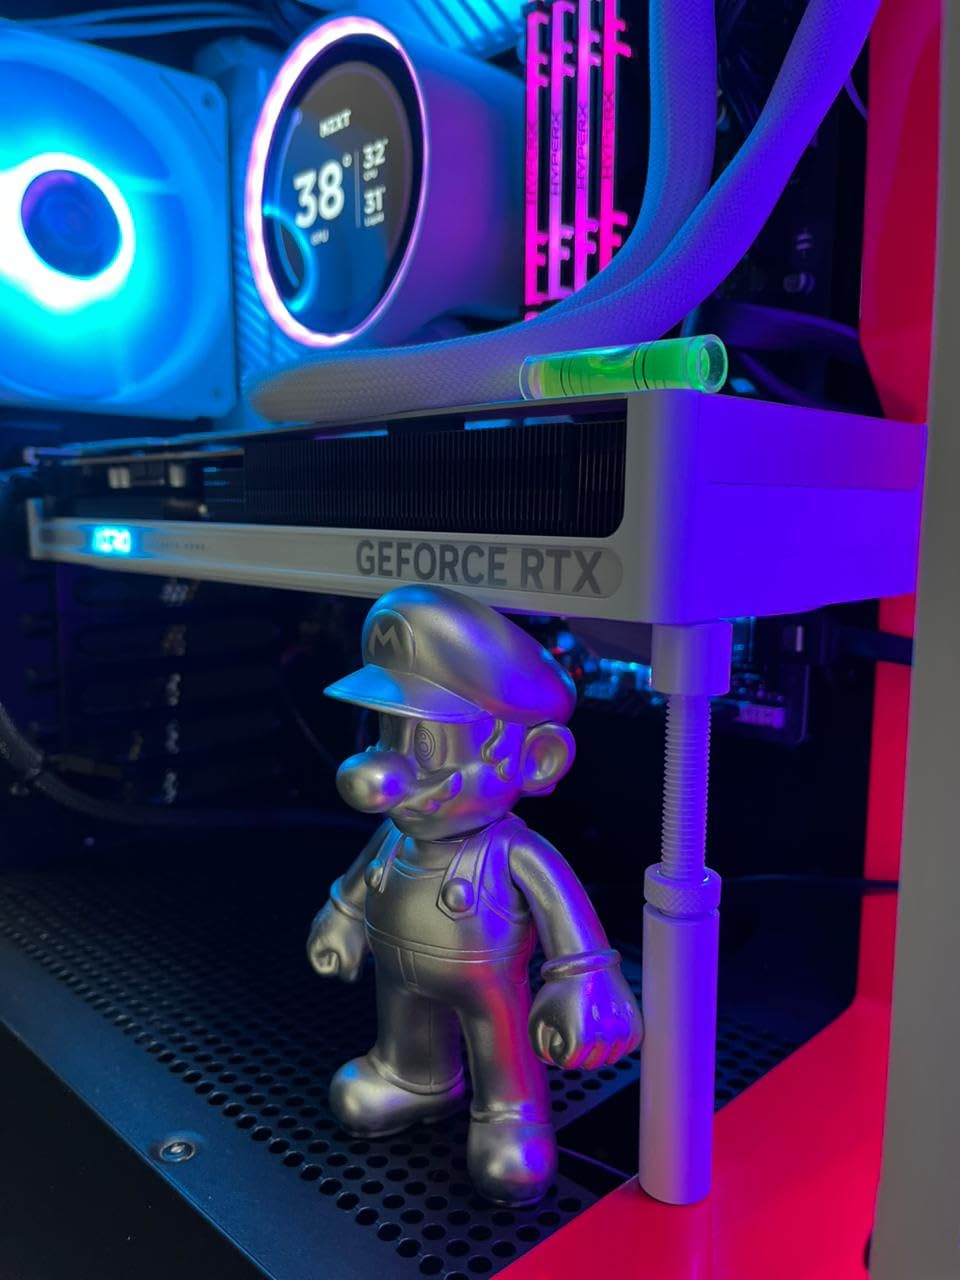
Who Should Buy This and Who Should Not
Buy it for a two-slot to 2.5-slot card in a mid-tower, or as a second bracket for a compact case where the larger options will not fit. Skip it for the heaviest cards, where the single-rod design gives way to a dual-brace or thicker-rod alternative instead. There are no printed instructions, so expect to work the install out by feel.
7. California JOS Large Brace – The Straightforward Aluminum Starter
California JOS GPU Support Bracket Graphics Card Brace Anti-Sag Holder Height Adjustable Video Card Stand Large(1 PCAK, Black)
All-aluminum alloy
Height adjustable
1-pack large black
+ Pros
- Full all-aluminum build at an entry price
- Height adjustment fits different card sizes
- Compatible with ATX m-ATX and ITX cases
- Tool-free setup with a stable base
- QC-checked and packaged in the USA
– Cons
- No lighting and no included level
- 0.03 kg body is a light-duty fix
- Only black and white finishes
This is the bracket to buy when you want an aluminum brace and nothing else. It does one job competently, and 81% of 531 reviews are five-star, which is a good signal for a component that will sit untouched for years. The height adjustment works in ATX, m-ATX and ITX cases and the setup is tool-free.
It arrives in an ESD bag, and the manufacturer states the unit is QC-checked and packaged in the USA, which is unusual detail at this level.
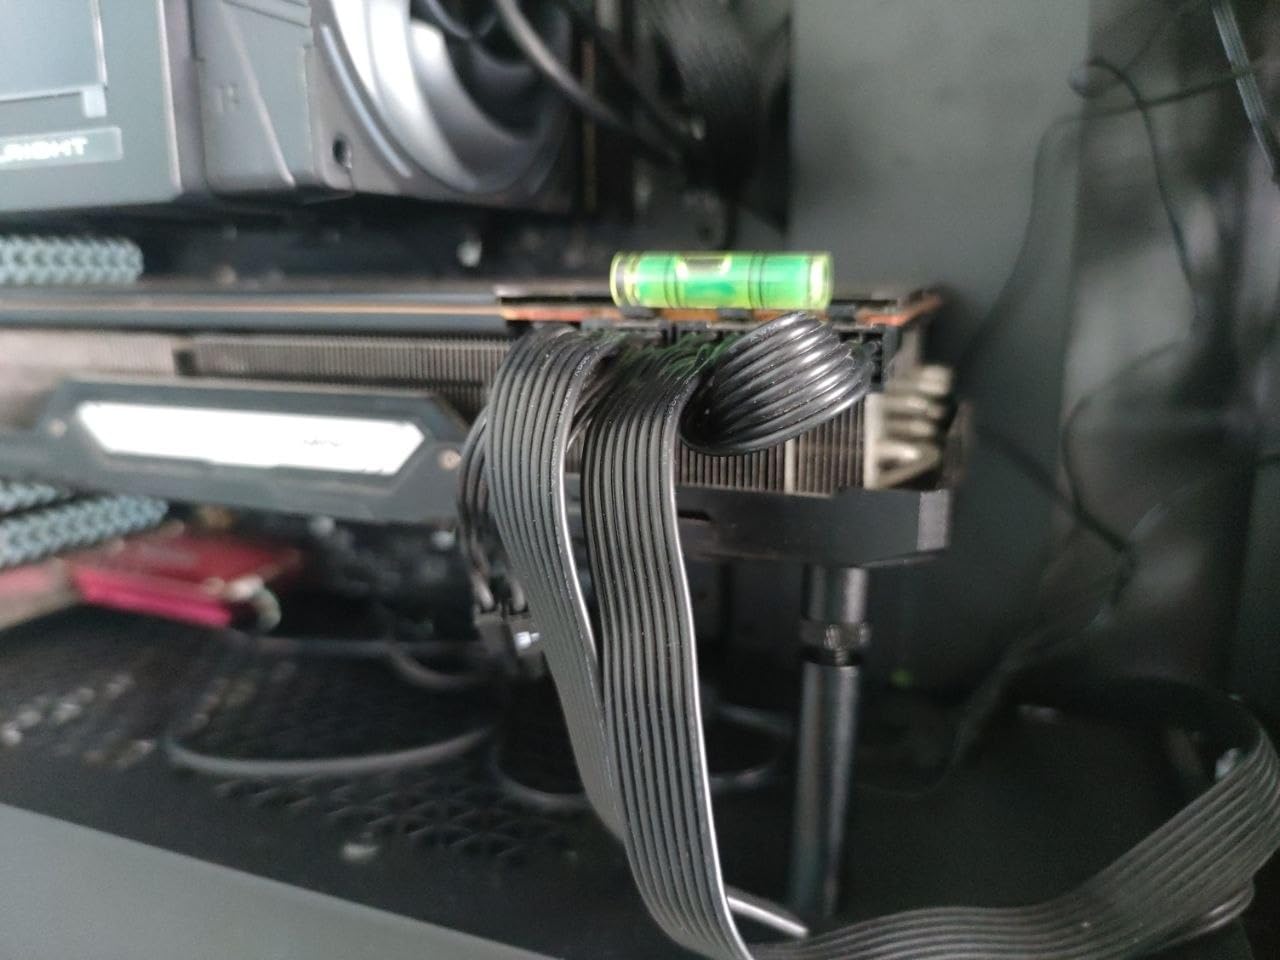
What a No-Frills Design Gives Up
There is no RGB, no bubble level, and no finish beyond black or white. None of those matter for a card behind a mesh front panel, but in a tempered glass showcase build you will notice them. The polished finish and 6 by 4 by 0.6 inch package read as a straightforward accessory.
Where the Light Body Shows
At 0.03 kg this is a light-duty fix rather than a heavy-duty brace, and we would not put it under a full-size flagship. It is well matched to two-slot and 2.5-slot cards, where the load path is short and the contact point lands on solid PCB.
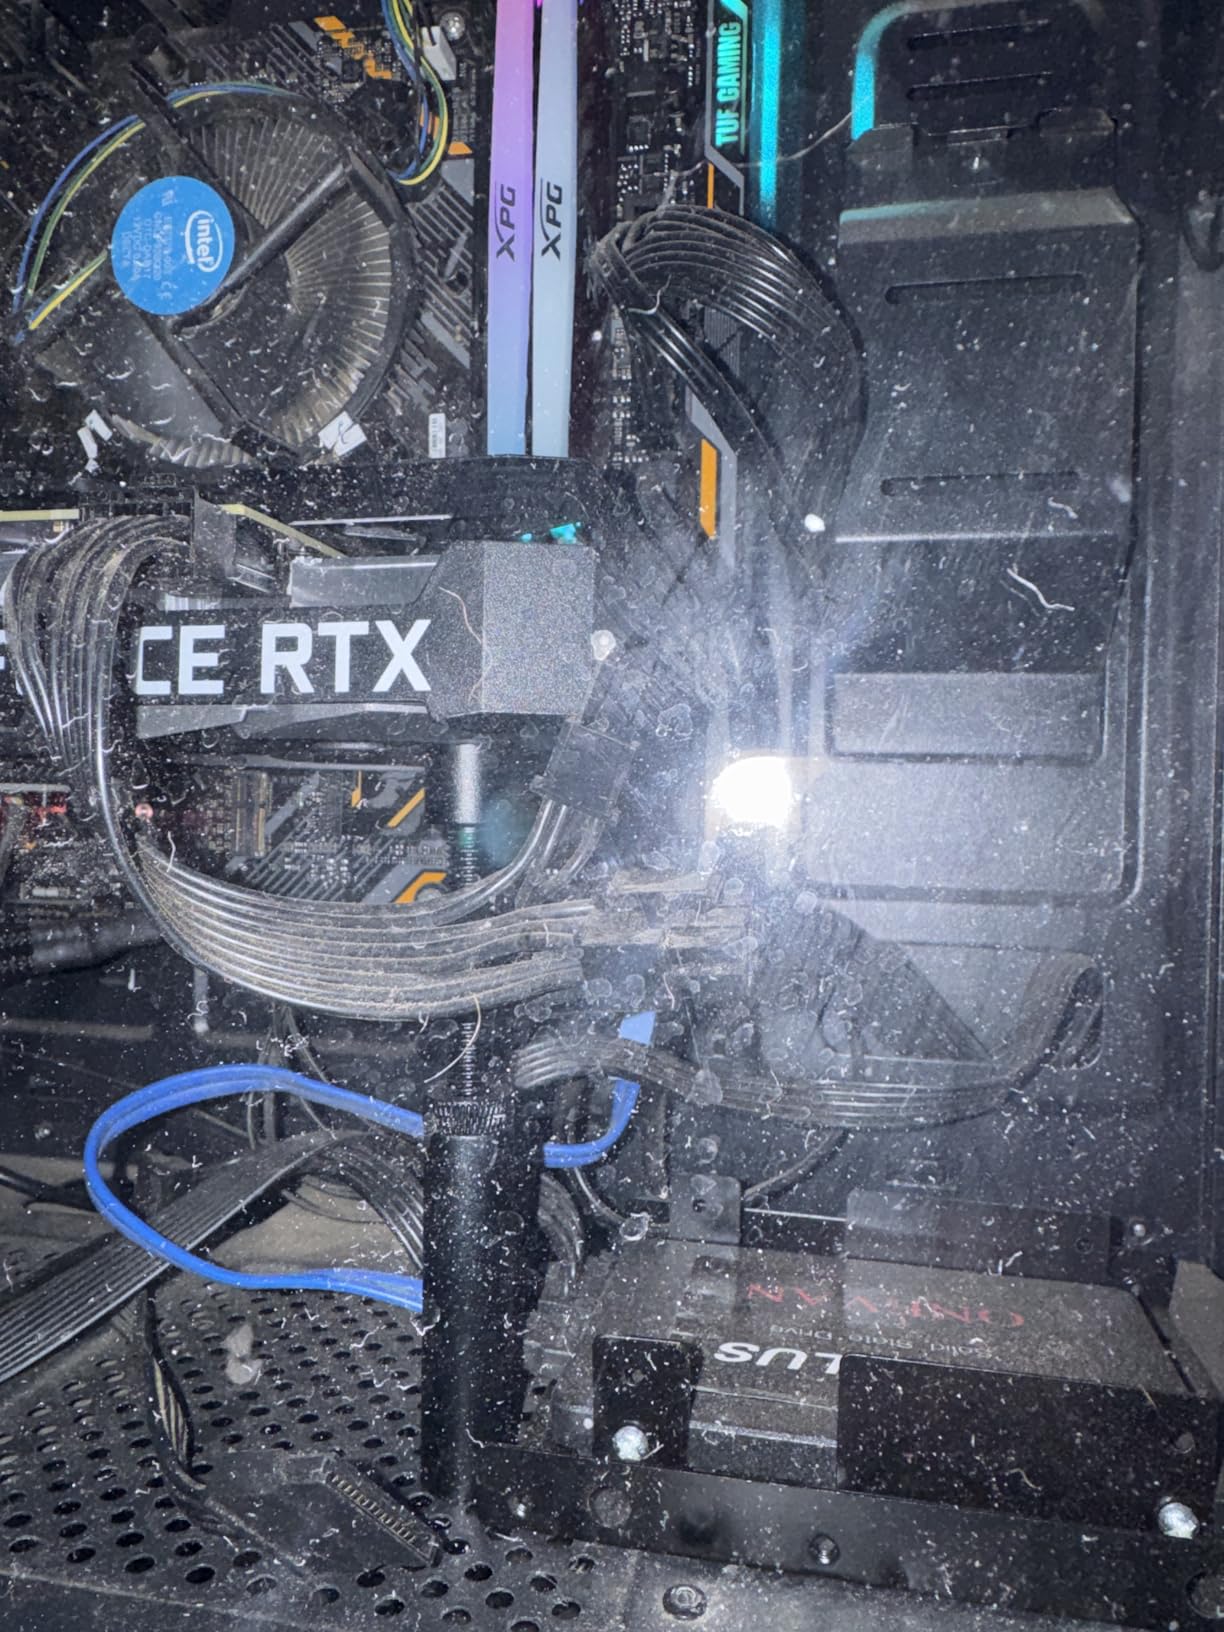
The Case for a Simple Bracket
Most sag complaints are not caused by a bracket failing. They are caused by no bracket at all. For a mainstream card in a mainstream case, an aluminum rod with tool-free fitting solves the problem permanently and quietly, and that is a reasonable place to stop shopping.
8. TEAMOLA Tall Bracket – The Longest Reach for Full-Tower and Large ATX Cases
TEAMOLA Tall GPU Support Bracket – Adjustable GPU Anti-Sag Stand GPU Mount
All-aluminum metal
115-210mm range
Corner mount
+ Pros
- Adjustment range far taller than most brackets
- Longest reach of any bracket in this list
- Twist-nut height adjustment needs no tools
- Slim low-profile arm
– Cons
- Tall L version arrives without a magnet
- Bulky knob sticks out
- Knob only locks the height
Reach is the whole story. A 4.53 to 8.27 inch range, which is 115 to 210mm, is the longest single reach in this list, and it is the difference between a bracket that reaches your case floor and one that stops in mid-air in a full tower. Builders stuck with tall cases report this as the option that finally worked.
A one-year satisfaction guarantee with refund or replacement is included, and at 0.06 kg it outweighs the light budget rods simply because of its length.
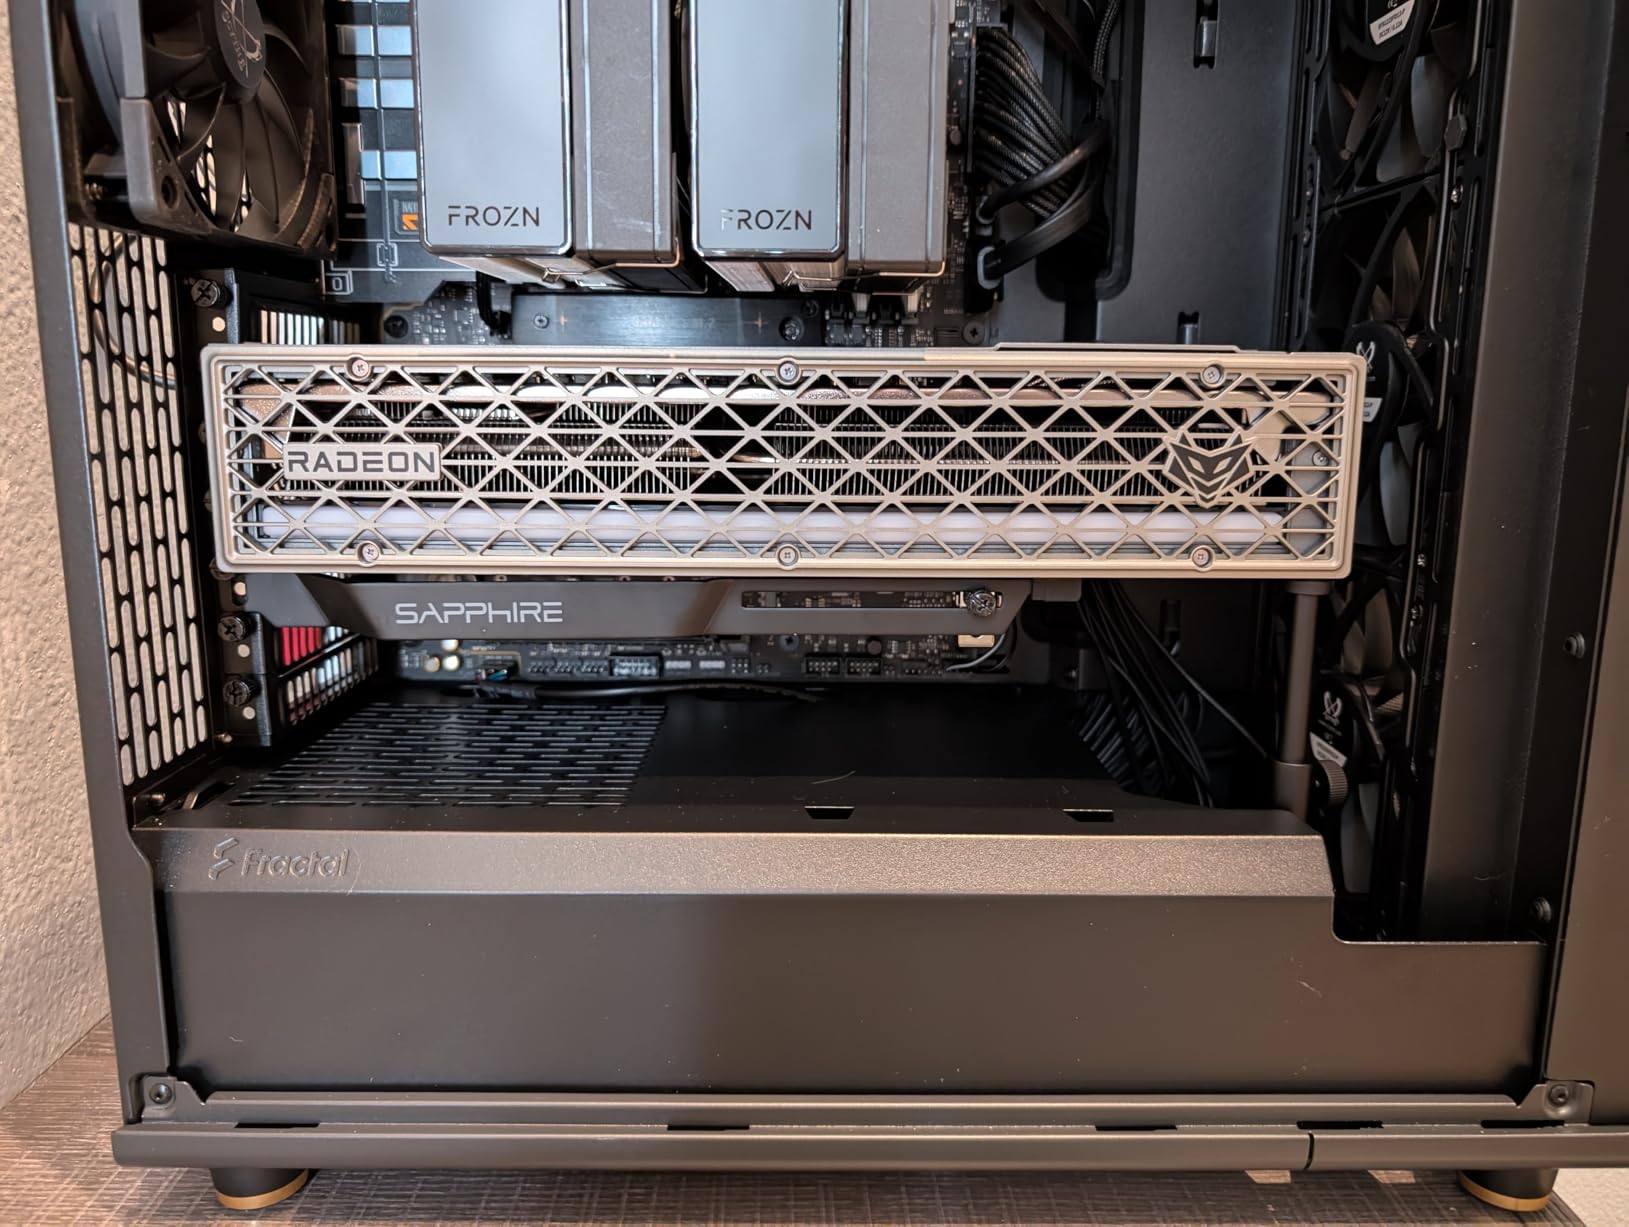
Corner Mounting and Clearance
Corner mounting is the natural choice in a large case because it uses the space beside the power supply area, which is where the extra height exists. Measure before ordering, because the reviewer feedback is consistent on this point: it is much longer than buyers expect.
The Magnet Discrepancy Worth Knowing
The listing advertises a magnet in the base, and owners of the tall L version report that it arrives with soft pads instead. That is the most common complaint behind the 4.5 rating with 77% five-star, so plan to secure the foot with a thin adhesive pad if you want it to stay put. The knob only locks the height rather than raising the arm, and it sticks out.
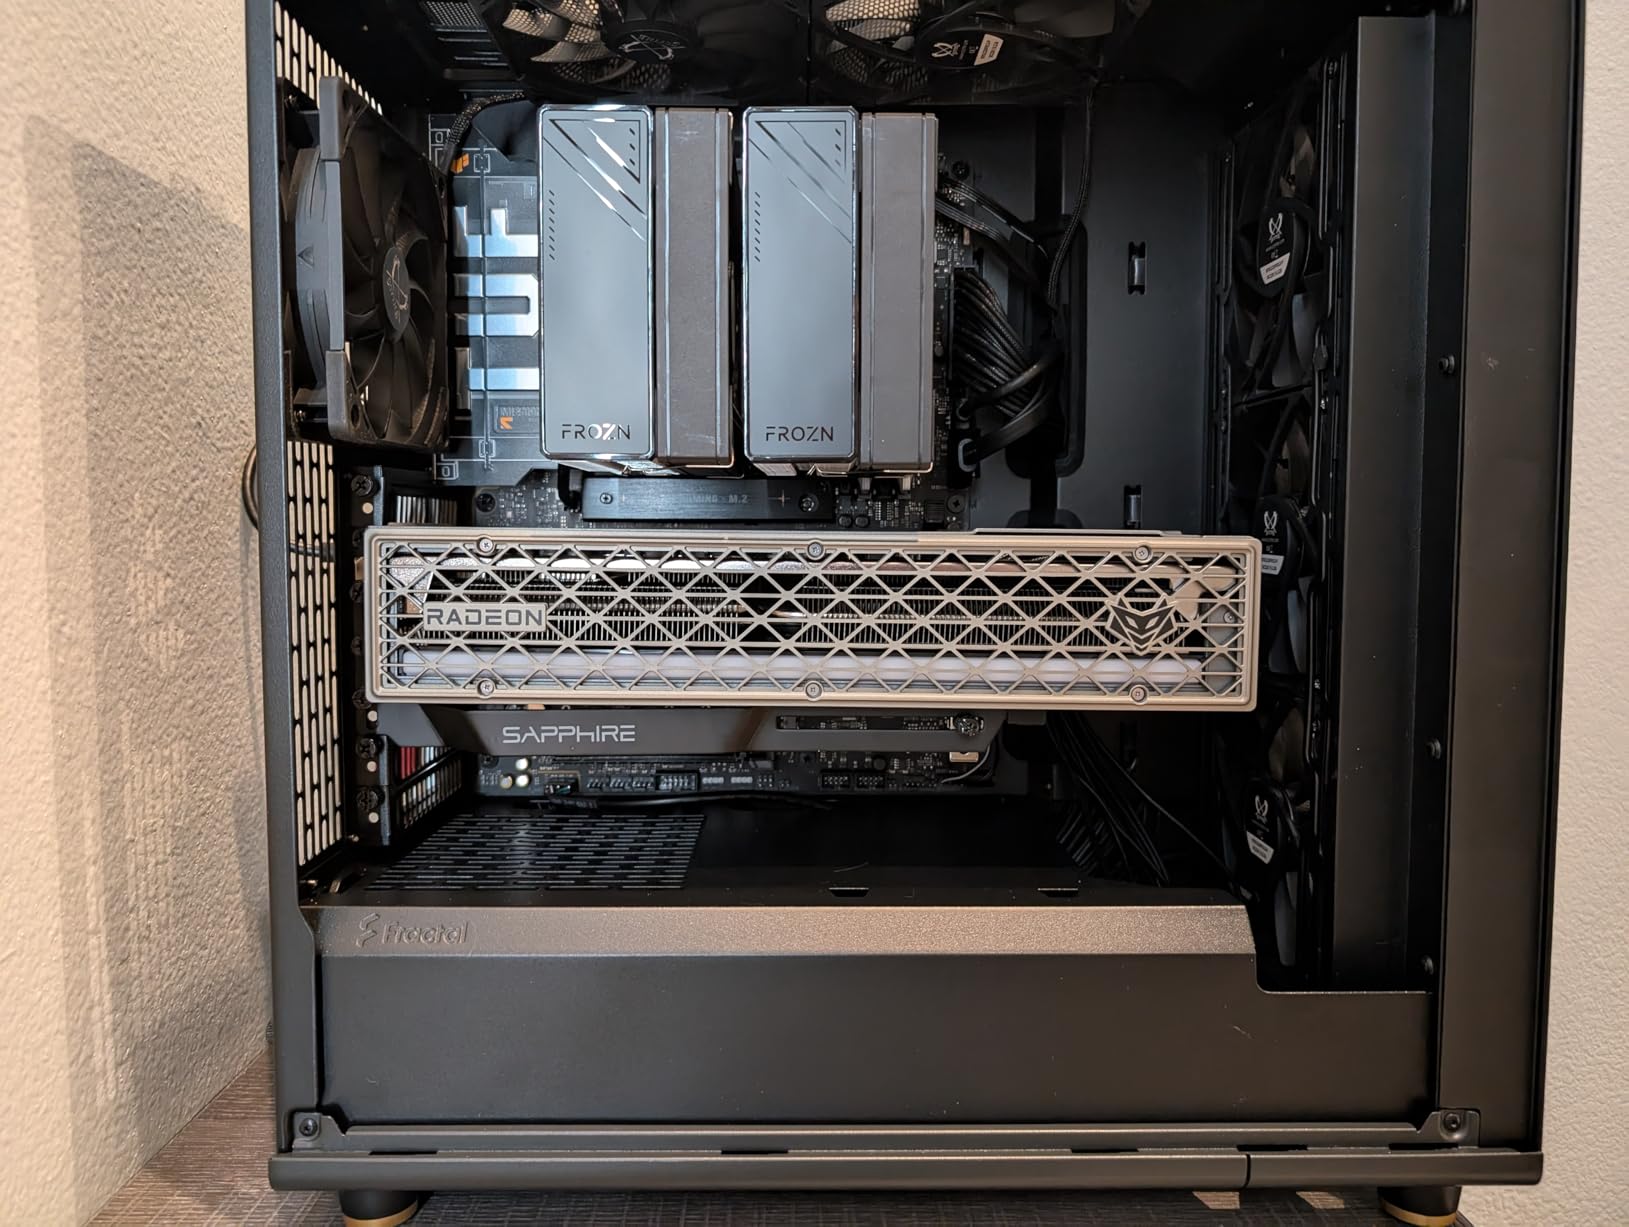
Who It Is For
Full-tower owners, large ATX chassis, and anyone with a raised floor or long power supply bay, where almost every other bracket on this list simply runs out of length. A smaller variant covers 0.98 to 2 inches for compact cases.
9. JOYJOM 19cm Brace – Hard-Anodized Aluminum With a 10mm to 190mm Range
JOYJOM GPU Support Bracket: Adjustable Aluminum Anti Sag GPU Bracket Video Graphics Card Support GPU Stand Holder GPU Support with Hidden Magnet and Anti-Slip Pad-19cm
Hard anodized aluminum
10-190mm adjust
Anti-slip pads
+ Pros
- Exceptionally tall 10-190mm adjustment range
- Hard anodized CNC aluminum resists corrosion
- Anti-slip pads protect the card and shroud
- Hidden base magnet aids stability
- Includes a mini bubble level
– Cons
- Base magnet is weak
- Level only helps if the case is level
- Utilitarian look in a showcase build
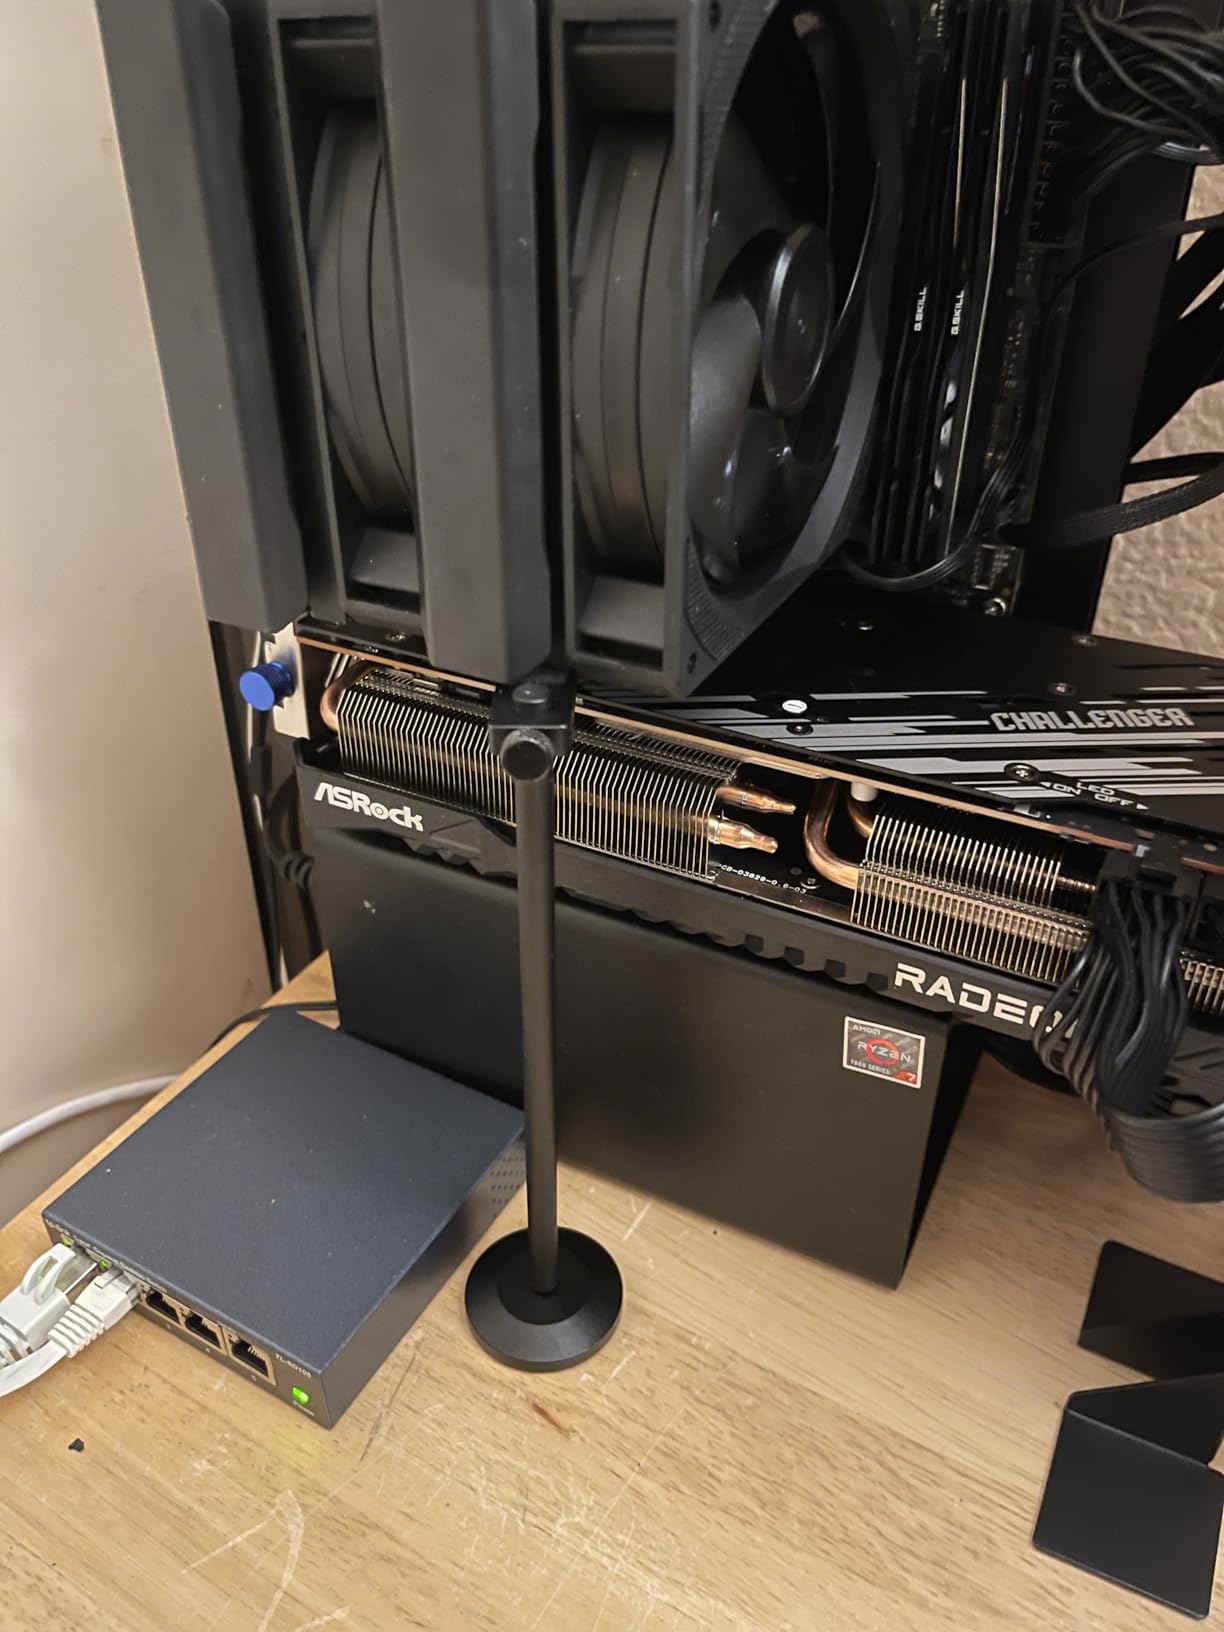
A 10mm to 190mm range is the widest adjustment span among the single-arm braces here, and it means one bracket can serve a compact case in the morning and a large chassis in the afternoon. Owners report it supporting RTX 4090 and 5090 class hardware, which is a meaningful result for a single-arm design.
At 0.2 kg the hard anodized CNC aluminum feels more expensive in the hand than the light budget rods, and the anodizing gives real corrosion resistance in a humid room or a cold garage.
Anti-Slip Pads on Both Contact Points
There are rubber pads on the arm and on the base, so the card backplate and the power supply shroud are both protected. That two-point friction matters because a bracket gripping the shroud resists the small lateral movement that comes from fans spinning up.
The Magnet Weakness and the Included Level
A weak base magnet is the one consistent criticism, and some owners swap the rubber pad for stronger tape or an extra magnet. The included mini bubble level only helps if the case itself is sitting level, though a 60mm depth and 19cm total length make the adjustment easy to reach.
Best Fit for Large Cards in Large Cases
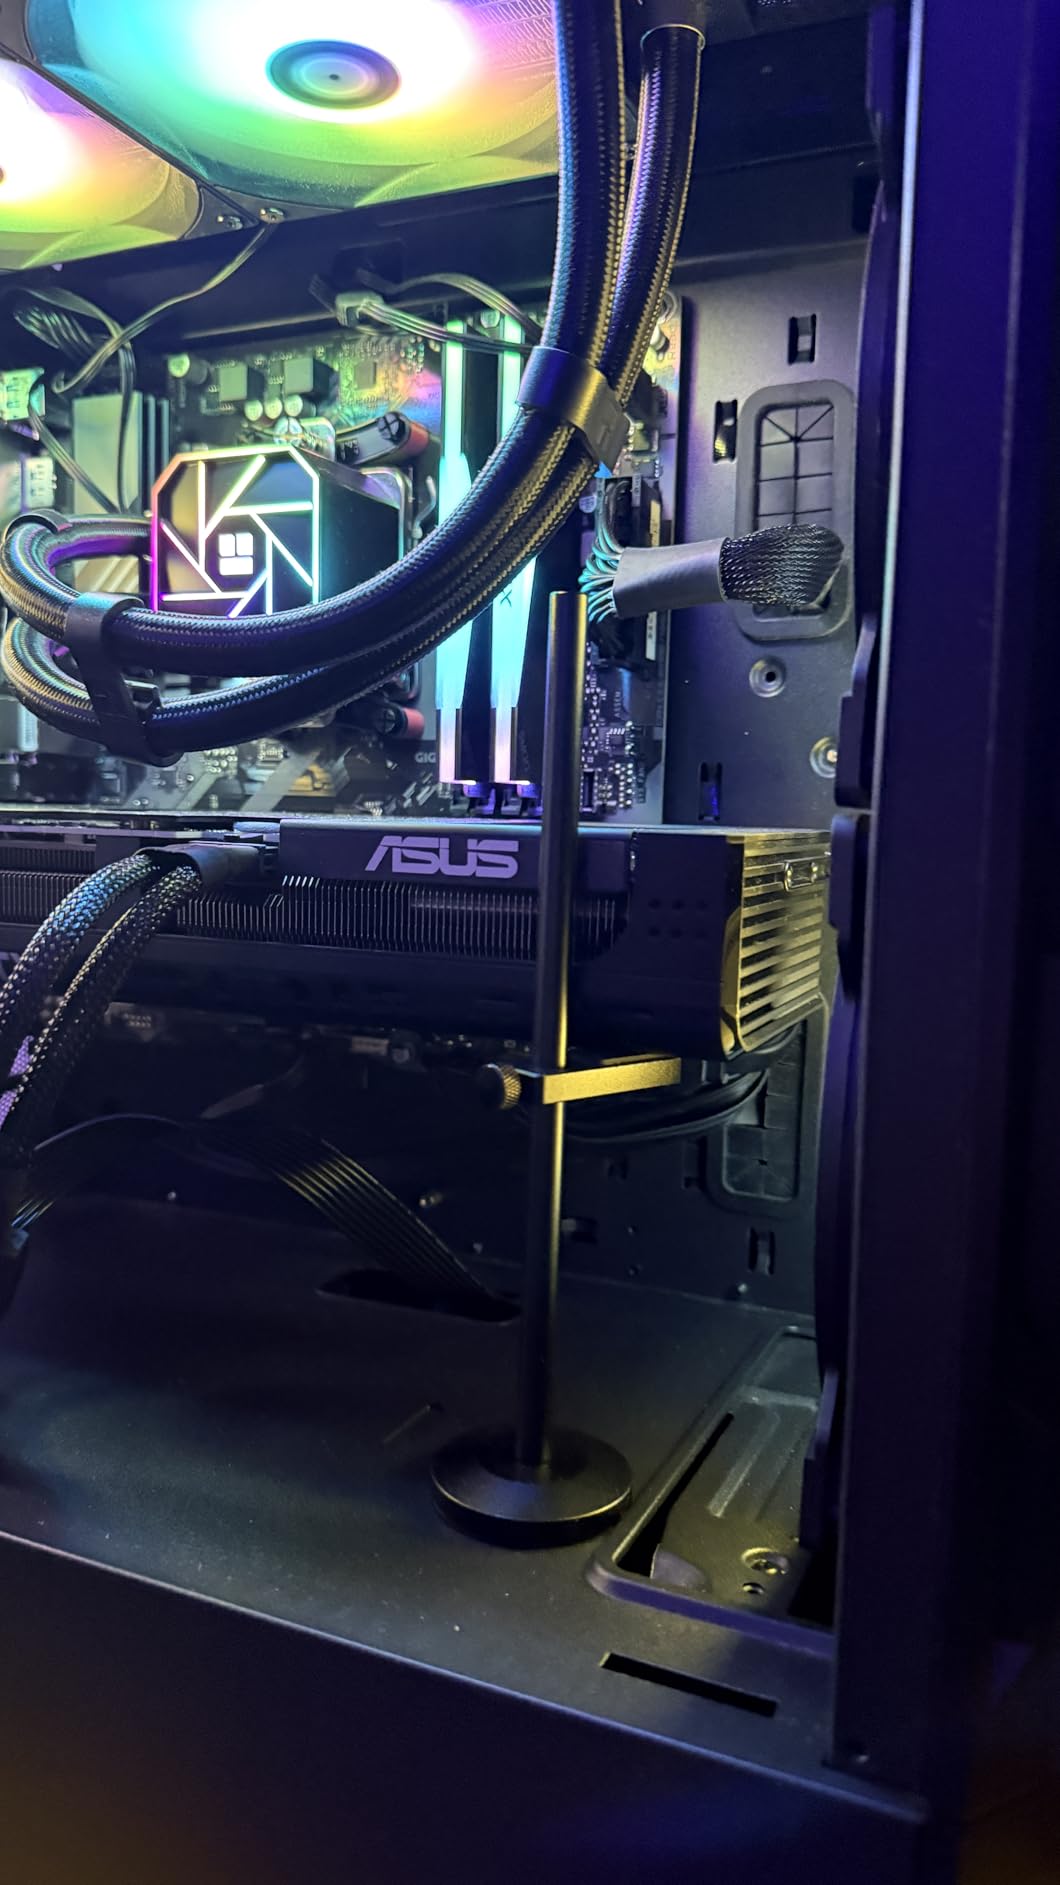
This is the pick for a flagship card in a mid-tower or full tower when you want one bracket that can be repositioned as your hardware changes. The plain single-arm design can look utilitarian behind tempered glass, so if appearance leads, the ASUS Herculx is the more finished-looking option.
10. Acer OGS530 – A 14.7mm Rod With Fine 0.5mm Adjustment Detents
acer GPU Support Bracket, GPU Stand with Magnet Non-Slip Base,(L, 70-120mm)
14.7mm anodized rod
0.5mm detented adjust
Silicone pads and magnet
+ Pros
- Highest average rating in the group
- Thicker 14.7mm rod resists bending
- 0.5mm detented increments for precision
- Strong base magnet with silicone pads
- Tool-free calibration in about 30 seconds
– Cons
- Largest variant stops at 120mm
- No RGB and no leveling bubble
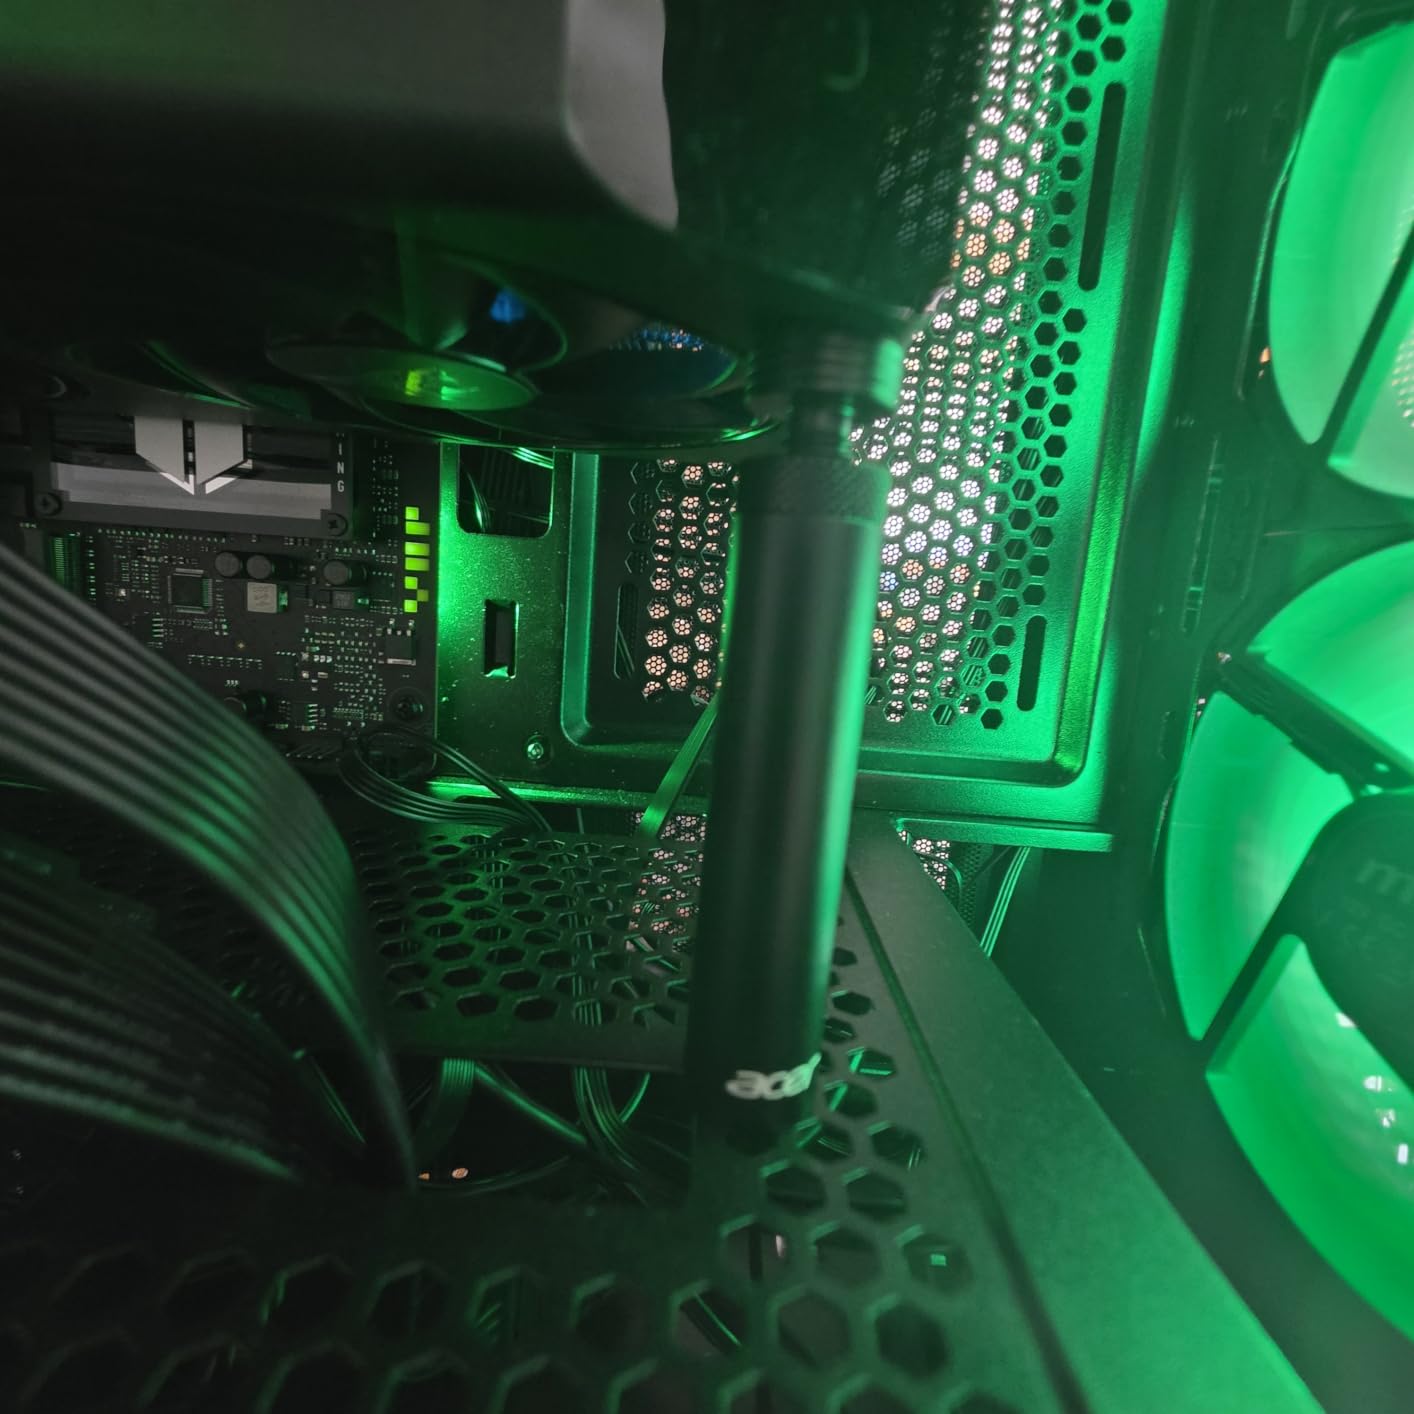
This has the highest average rating in the group at 4.8, with 87% of 370 reviews at five stars, and the reason is not a feature list. It is rod diameter: at 14.7mm this is far thicker than a typical budget brace, and thickness is what stops an aluminum arm bending under a heavy card.
The 0.5mm detented increments are the second reason. Instead of a loose twist collar, the adjustment clicks in small steps, so you can set the card level precisely and know it will stay there.
Silicone Pads and a Strong Base Magnet
Silicone pads sit on the top and bottom of the base, so the foot grips the power supply shroud without scratching it. Unlike several competitors here, the magnet is described as strong, and that complaint simply does not appear in owner feedback. Tool-free hand tightening is calibrated in about 30 seconds.
Variant Sizes and the 120mm Ceiling
Three sizes are offered: S at 25-50mm, M at 50-80mm and L at 70-120mm, in black and silver. The large variant suits mid-towers but will not reach a full-tower floor, so check your gap before choosing it. The product detail lists a one-year manufacturer warranty alongside an 18-plus-18 month support commitment and a stated response within 18 hours.
Who This Is For
If your priority is a bracket that will not flex, this is the strongest single-arm design here and the rating spread backs that up. It suits heavy cards in mid-towers where the floor gap is inside 120mm, and it is the opposite pick from the first entry: where the nkomax wins on proven volume of use, the Acer wins on material thickness and precision.
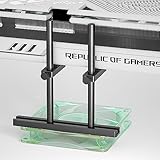
11. JOYJOM Dual Brace 128mm – Two Arms and a Direct Fan-Screw Mount
GPU Support Bracket Dual Brace: Fan mounting Adjustable Aluminum Graphics Card GPU Sag Bracket Video Card Stand Holder Graphics Card Bracket, Support Big GPU – 128mm
Dual brace and fan mount
128mm max height
CNC anodized aluminum
+ Pros
- Dual brace is far more rigid than single rods
- Screws directly to a 12cm or 14cm fan
- Does not block vents or airflow
- Sliding base and adjustable height
- Reports of multi-year sag-free use
– Cons
- Lowest rating in the group at 4.3
- No instructions included
- Fan-screw alignment can fail
- Screws can loosen over time
This is the only dual-arm bracket in the list, and for a genuinely heavy card that matters more than anything else here. Two arms mean two contact points and far less twist when the card is loaded, which is the failure mode a single rod develops over years. It is also the answer to the most common fitment problem on build forums, because it screws straight into a 12cm or 14cm fan instead of competing with your bottom intake.
Owners report multi-year sag-free support on heavy cards and note that it does not obstruct the vent or case airflow the way a wide magnetic base can.
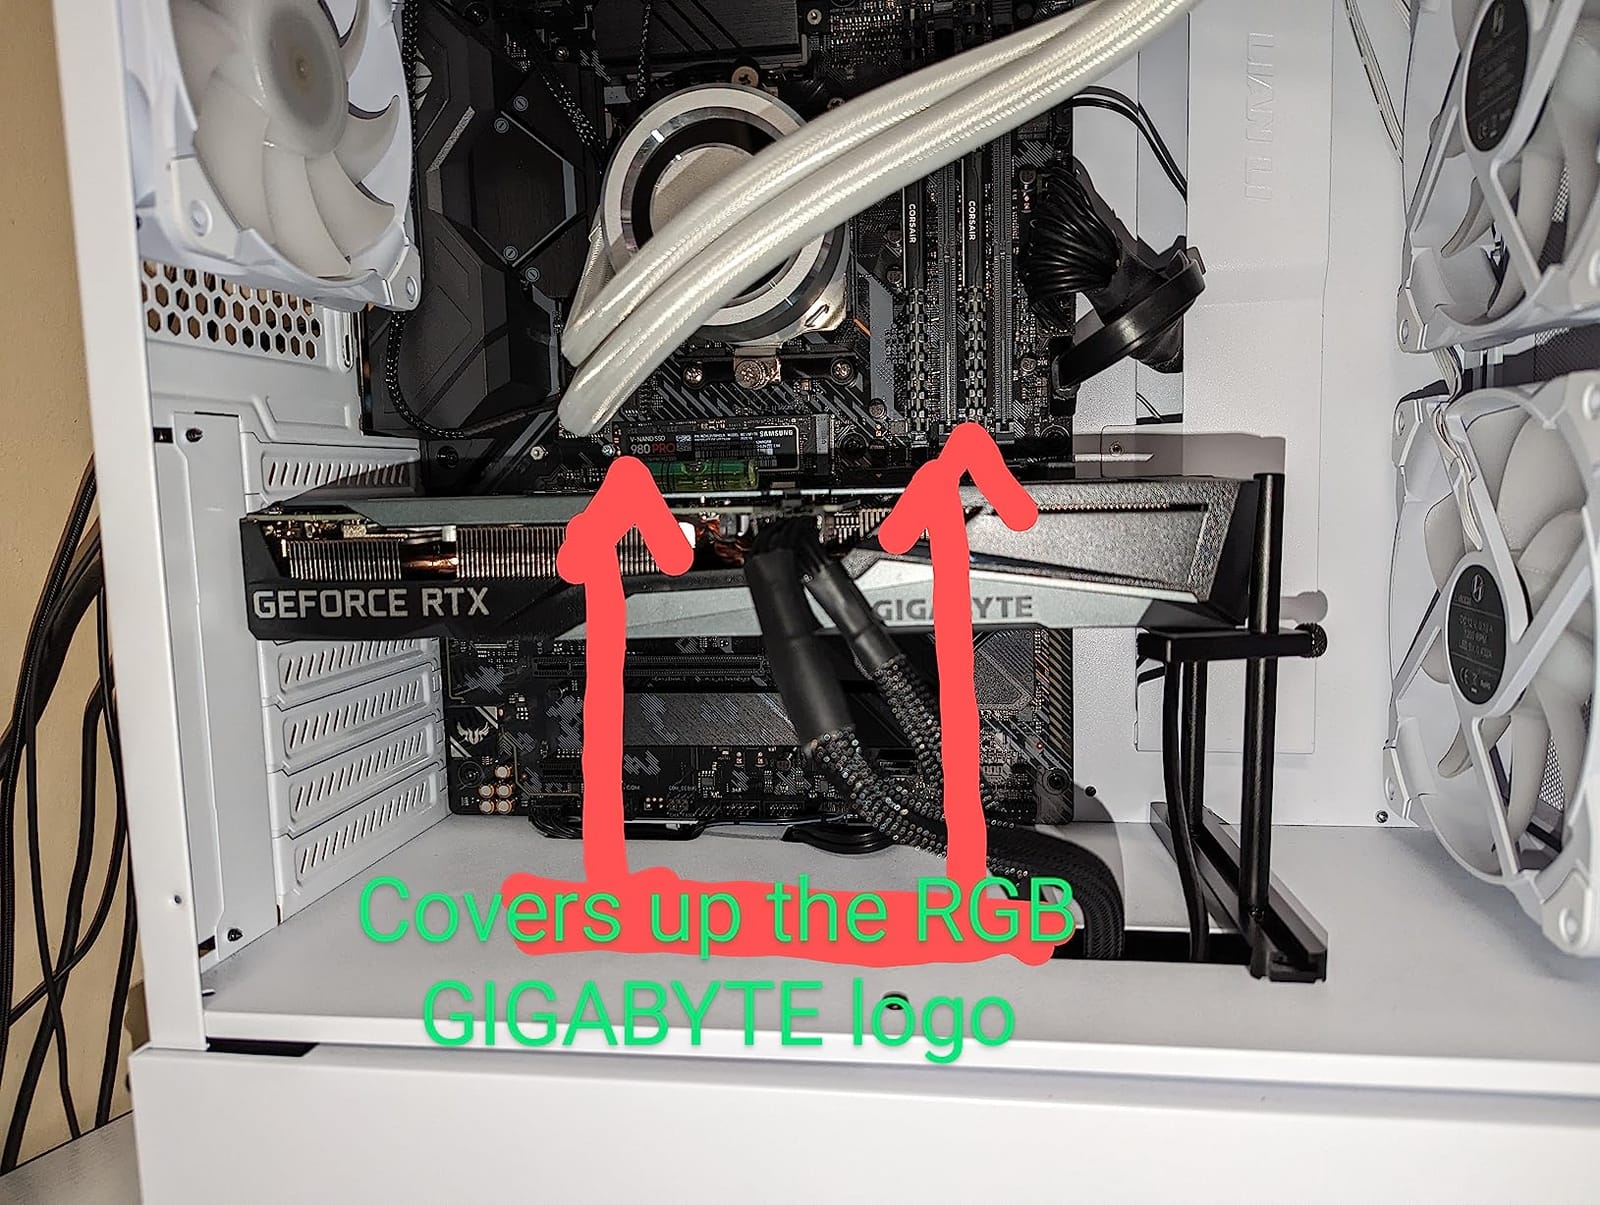
Why Two Arms Beat One Rod
A single rod can rotate under load, and that rotation is what slowly racks the card sideways. Two arms spaced apart cannot rotate the same way, so the card stays parallel to the case floor even under a heavy cooler with a big overhang. At 0.16 kg the anodized CNC aluminum is a sturdier piece than the light budget rods here.
Fan Mounting and Alignment
The sliding base and adjustable height let you position the arms under solid PCB, and rubber pads protect the card surface. A mini bubble level, a screwdriver and screws are included. The main risk is alignment: if the arm does not line up with the fan screw holes the mount fails, and there are no instructions in or on the box.
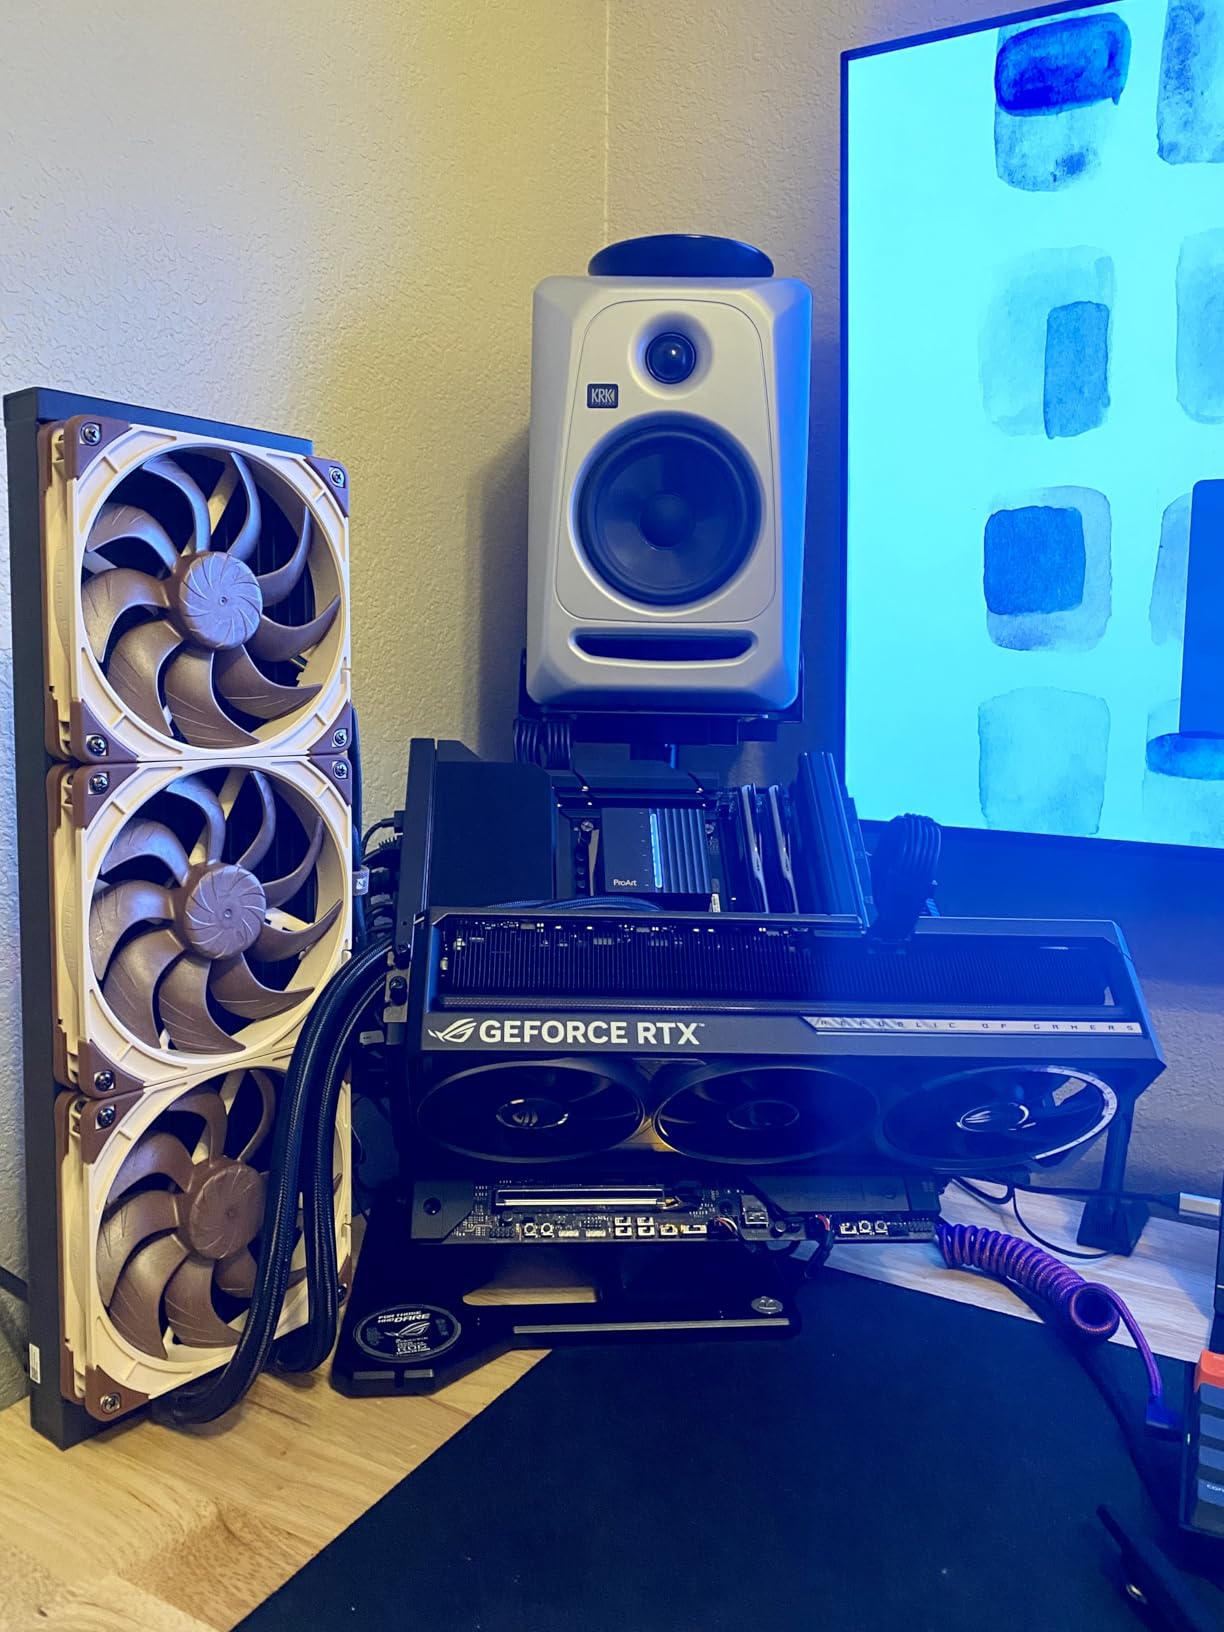
The Lower Rating and What Causes It
At 4.3 with 65% five-star this is the lowest-rated pick, and the pattern is specific rather than general. Complaints cluster around missing instructions, screw alignment with the fan holes, and screws loosening over time so the bar shifts. A thread-locking compound on the mounting screws is the standard fix.
12. JOYJOM CNC Fan-Mount Stand – Flexible Reach for Awkward Case Layouts
GPU Support Bracket, GPU Holder Stand, Adjustable GPU Sag Bracket Graphics Card Support for 12cm Fan Mount CNC Aluminum (0.63-6.3inch)
12cm fan mount
Full CNC aluminum
16-160mm adjust
+ Pros
- Premium CNC aluminum machining
- 0.63 to 6.3 inch range with a detachable two-piece body
- Detaches into two 3.1 inch sections
- Rubber pads protect the card and base
- Tool-free two-piece assembly
– Cons
- Most refined build here
- so simple cases do not need it
- Requires a 12cm fan to anchor to
- No magnet
- so the screw joint matters
This is the most machined design in the list, and the detachable two-piece section is its real trick. Split into two 3.1 inch halves, the same bracket can sit on a bottom fan in one build and a top fan in another, which solves the awkward layouts where a fixed-length arm has nowhere to go. It is also the option we would consider for a vertical graphics card mount, where the weight path differs from a horizontal install.
83% of 225 reviews are five-star, with praise aimed at the machining quality and the rubber protection.
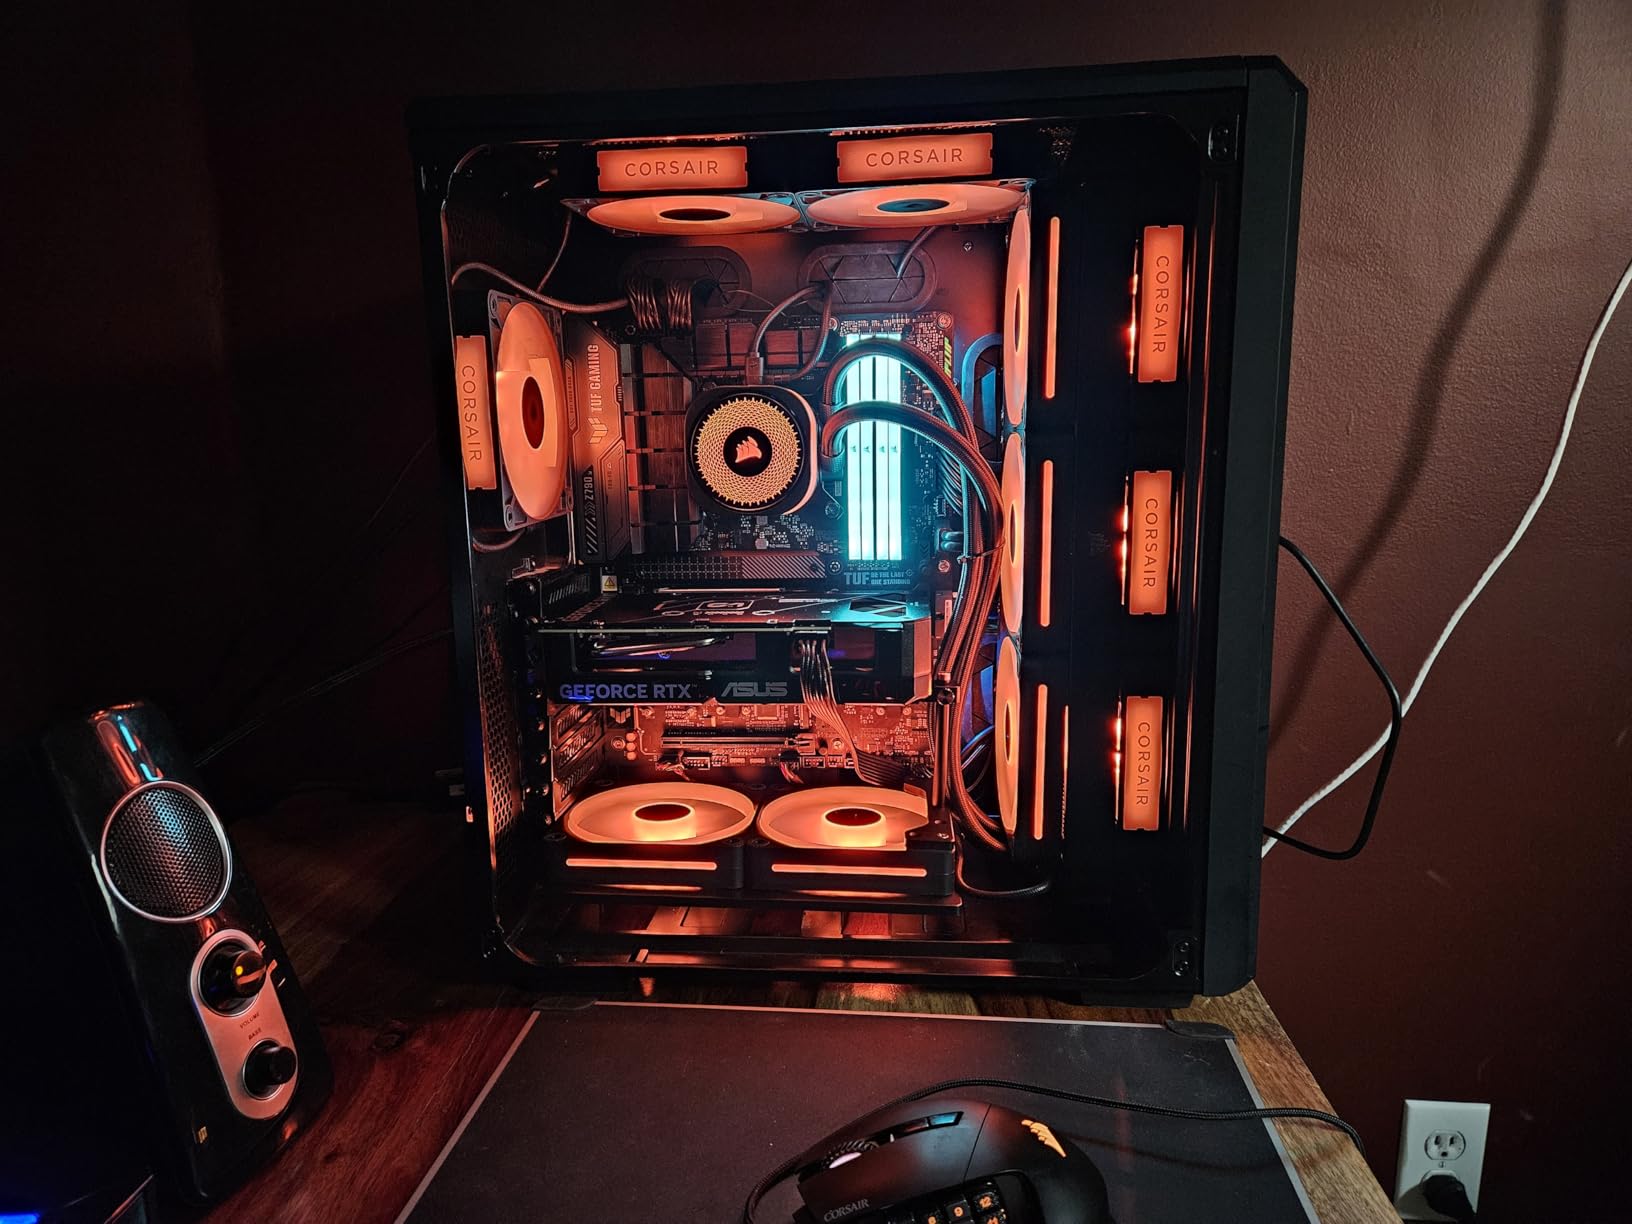
0.63 to 6.3 Inch Adjustment and Two-Piece Assembly
The range runs 16mm to 160mm, with a minimum short enough to reach under a low-hanging card in a compact case. At 0.17 kg the CNC aluminum body has real mass, which helps it stay put once positioned. Assembly is tool-free: rotate the stand into the base, then the arm into the stand.
Fan Mount Dependencies
It needs a 12cm fan with mounting holes to anchor to, and there is no magnet, so the two-piece section depends on the screw joint staying tight. That is fine in a stationary tower and a problem if you move the machine often. A 14cm-only fan layout will not work.
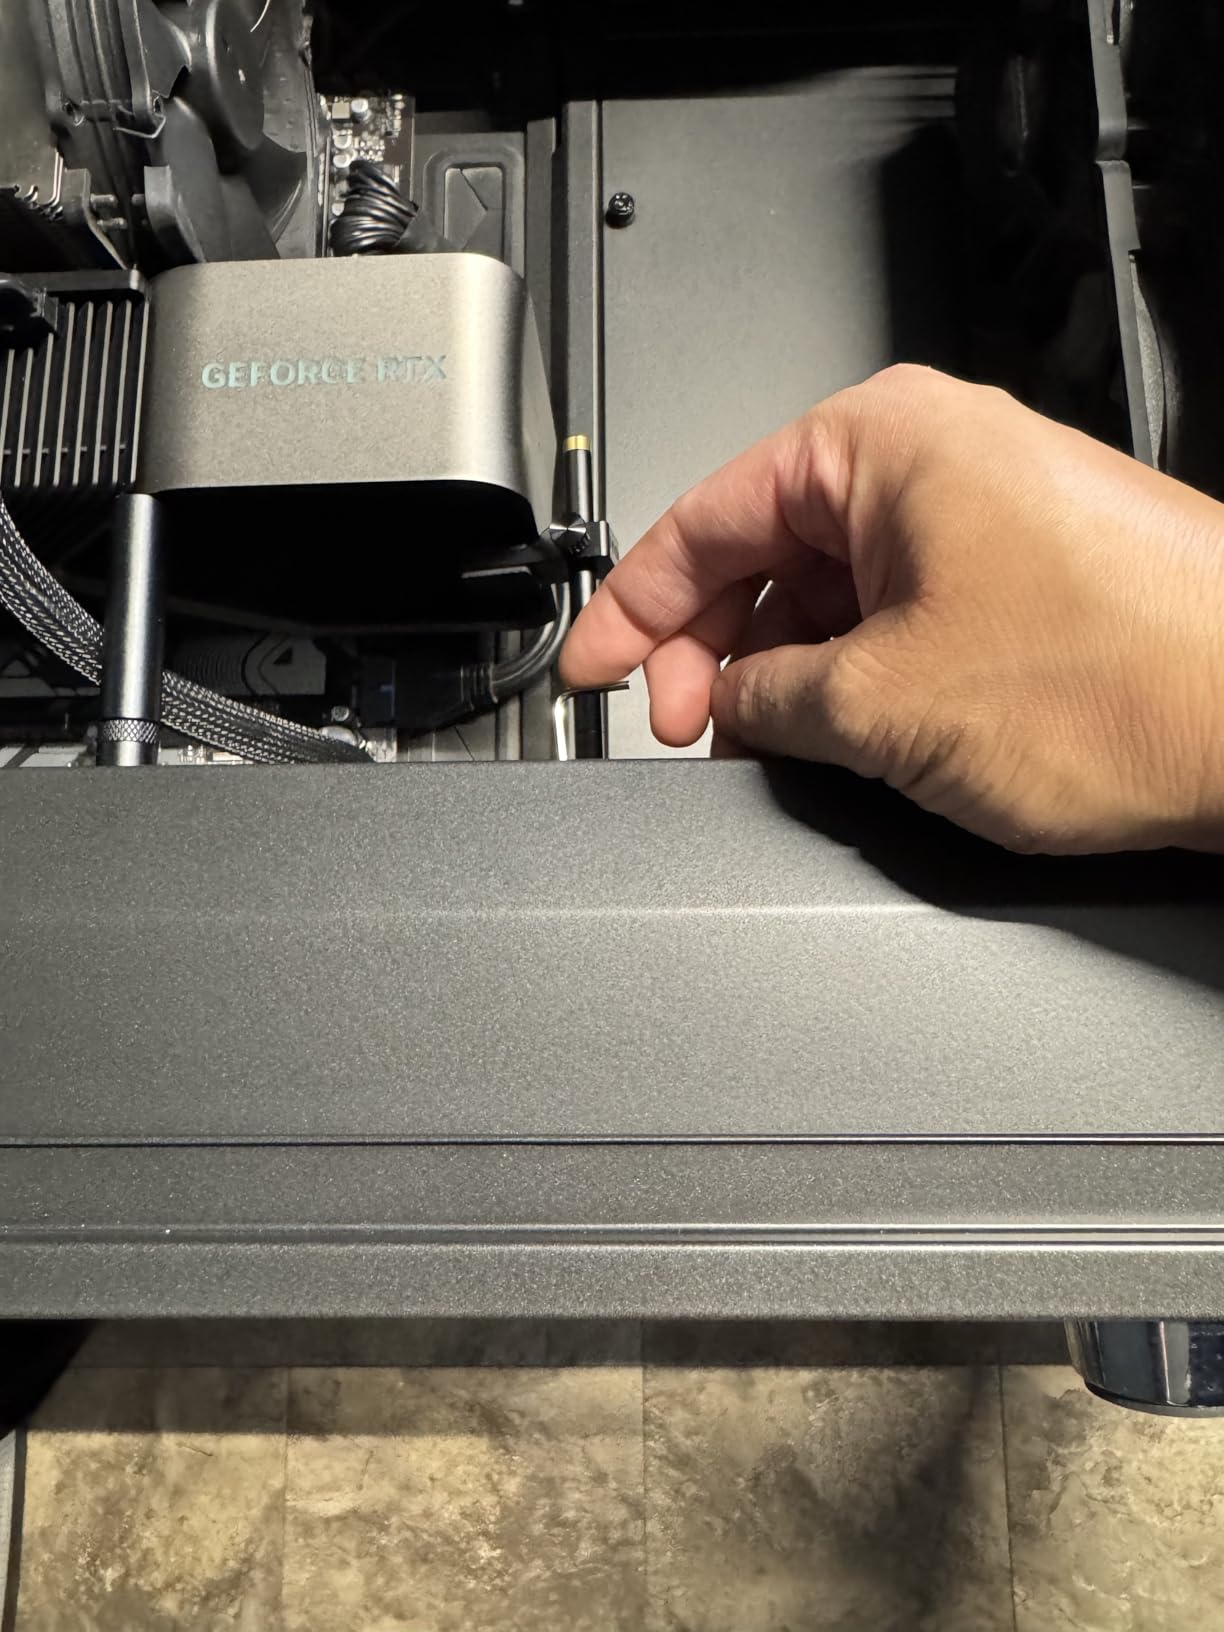
Who Pays for the Extra Machining
For a simple mid-tower with a mid-weight card that refinement is not needed, and the dual-brace pick gives you more structural benefit for a lower build cost if stiffness is the goal. Where this earns its place is an awkward case: a bottom fan in the way of the magnetic foot, a vertical mount, a riser cable layout, or a chassis where the floor is far away.
How to Choose a GPU Support Bracket: Six Criteria That Decide the Fit
Brackets look similar from a distance and behave very differently in a case. These six criteria decide which one works in your chassis, and the order matters: the first can rule a product out entirely, the last is pure preference.
Mount Type Decides Whether It Fits at All
There are four practical mount architectures. A magnetic base installs fastest and is the most likely to be blocked by bottom intake fans, the single most reported fitment complaint in builder communities. A power supply shroud screw mount is sturdier and needs a flat, accessible shroud surface.
A motherboard-anchored bracket transfers load into the board tray instead of the floor, which suits cases with a very high floor. A case or fan screw mount is the most rigid and the least forgiving, because the arm must line up with existing holes. Market voice-of-customer data puts weak magnets at a 12.3% complaint rate across this category, which is why mount type ranks above every other factor.
Load Capacity and Rod Diameter Matter More Than the Price Tag
Retail listings rarely publish a load rating, which is the spec buyers ask for most and get least. Use rod diameter as the proxy instead. The light budget brackets here use slim rods around 0.03 kg total, while the thickest single-arm design in this list uses a 14.7mm rod. For a three-slot or thicker card, structure and thickness are what determine whether the arm is still straight in five years.
Adjustment Range Has to Match Your Case, Not the Card
Brackets are sold in ranges from 25-50mm up to 115-210mm, and the range you need is set by the gap between the case floor and the underside of your card. Measure that gap before you order, and check the minimum as well: a bracket with a 72mm minimum cannot help in a compact case where the card tail sits 30mm off the floor.
Base Material and Pads Decide Whether It Stays Put
A concealed neodymium magnet grips a steel power supply shroud reliably. A flexible magnetic sheet relies on friction and does not, and several brackets here drew exactly that complaint from owners. Silicone or rubber pads on the base and the arm contact point prevent both case scratches and the slow creep that lets a card work its way down.
Clearance Is Where Most Installations Fail
Three traps account for most failed installs: bottom intake fans sitting exactly where a magnetic base wants to go, a low power supply shroud leaving too little vertical travel for a short-range bracket, and front I/O cables or a raised floor pushing the contact point off solid PCB. Check all three before buying.
RGB and Levels Are Nice-to-Haves, Not Load-Bearing Features
A 5V 3-pin ARGB strip will not hold a card up, but it makes a build look finished, and a bubble level saves a frustrating re-adjustment. Treat them as tie-breakers after fit, rigidity and range are settled. One practical note: 5V 3-pin ARGB and 12V 4-pin RGB headers are not interchangeable, so check which header your motherboard has.
Do You Actually Need a Sag Bracket? A Weight and Size Checklist
This is the question the first page of results for this topic is really asking, so here is a direct answer. You need one if any of the following apply.
- Your card is three slots or thicker. Slot thickness is the clearest public signal of a heavy card.
- Your card weighs roughly 2.5 kg or more. That is the range where cooler overhang produces visible droop within a year.
- The cooler or power connector sits at the far end of the card. A top-mounted fan moves mass away from the slot and makes it worse.
- Your card has a full-cover water block or backplate. A vertical mount with a riser cable also changes how the weight reaches the slot.
- You can already see the droop. Sight down the card from the side of the case. If the tail sits lower than the slot, it will only get worse.
- Your case is moved often, or the card sits over a high floor. Clearance trouble forces a slight angle that accelerates the same stress.
If none apply, a light two-slot card in a mid-tower will likely never need support. To test an existing card, rest a straight edge along the top of it with the side panel removed: a gap you can slide a business card into at one end is a card that is already bending.
How to Install a GPU Support Bracket in Eight Steps
- Power down properly. Use the PSU switch, then hold the power button to discharge.
- Remove the side panel and clear the area. You need access to the card underside and to the mounting surface.
- Measure the gap. Measure from the shroud or floor to the card underside, and note any fans in the way.
- Position the base before adjusting the arm. For a magnetic base, place it on the shroud and rotate until the arm sits under solid PCB. For a screw mount, mark the hole positions first.
- Set the height. Extend the arm until it is a millimetre or two short of contact, then tighten the collar properly. Most creep complaints start with a loose collar.
- Check the level. A card that is even in the slot stays even under load.
- Make contact and secure the foot. Bring the arm up so the pad touches without pushing the card upward, then confirm the base cannot slide by hand.
- Recheck after a warm cycle. Run a load for twenty minutes and look again. Thermal expansion can change a gap.
If the card still droops with a bracket fitted, the arm is almost certainly not contacting solid PCB, or the base is moving. Those two causes account for most complaints about brackets not working.
Frequently Asked Questions
Which GPU support bracket is the best?
For most builders the nkomax aluminum brace is the best general choice, because it has the largest body of long-term owner feedback in the category and an all-aluminum build with a tool-free fixing module. For the heaviest cards, the JOYJOM dual brace is the stronger pick, because two arms resist the twist that racks a single rod sideways. The ASUS ROG Herculx wins on finish, tool-free release and its included spirit level.
Are GPU support brackets worth it?
Yes, if your card is three slots or thicker or weighs roughly 2.5 kg or more. The bracket moves the card’s weight off the PCIe x16 connector and onto the case floor or power supply shroud, which prevents PCB flex, connector damage and thermal pad separation over years. For a light two-slot card in a mid-tower, the fix is optional rather than necessary.
How long until a GPU sags?
Usually months rather than days, and it depends on how much of the card’s mass sits beyond the slot. A heavy three-slot card with a top-mounted fan can show visible droop within a year, while a two-slot card may never sag. Check by sighting along the card from the side of the case, or by resting a straight edge on top of it with the side panel removed.
Do I need a GPU support bracket for the RX 9070 XT or an RTX 5080?
Yes, for both. They are heavy multi-fan designs squarely in the range where support makes sense. Pick a bracket whose height range covers your case gap and whose arm contacts solid PCB rather than the underside of the cooler. If your card has bottom-mounted fans, choose a fan-screw mount instead of a magnetic base that will collide with the intake.
Can a GPU support bracket cause overheating?
Rarely, and only when it blocks airflow or holds the card at an angle. A magnetic base placed under a row of bottom intake fans can obstruct the intake, and an arm set too low can push the card into a slight tilt that separates the core from its thermal pads. Position the contact point under solid PCB, keep clearance from the fans, and confirm the card is level.
Which GPU Support Bracket Should You Buy in 2026?
If you want one decision made for you, take the nkomax aluminum brace. It is all-aluminum, it fits the common mid-tower floor gap, it installs without tools, and it carries more long-term owner feedback than anything else we tested in this category. For a mainstream card in a normal case, it is the lowest-effort correct answer.
If your card is at the heavy end of the range, change the pick. For three-slot and thicker cards where twist is the concern, the JOYJOM dual brace is the more serious structure. Where your case is tall or awkward, the JOYJOM 19cm brace covers gaps shorter arms cannot reach, and the TEAMOLA tall bracket answers for full towers. Where appearance leads, the ASUS ROG Herculx is the most finished-looking and the only one with a spirit level in the box.
Where clearance is the obstacle, work backwards from your case instead of the card. A bottom intake fan in the way means you want a fan-screw mount, not a stronger magnet, and a full-tower floor height means you need reach rather than features. Our anti-sag bracket overview covers the same fitment logic from a different angle, and our AMD graphics card guide helps if you are weighing a heavy card against a lighter one.
Measure the gap, check the fans, and install it before you close the panel. A bracket takes five minutes now, and a motherboard takes a week to replace later.
Leave a Reply