
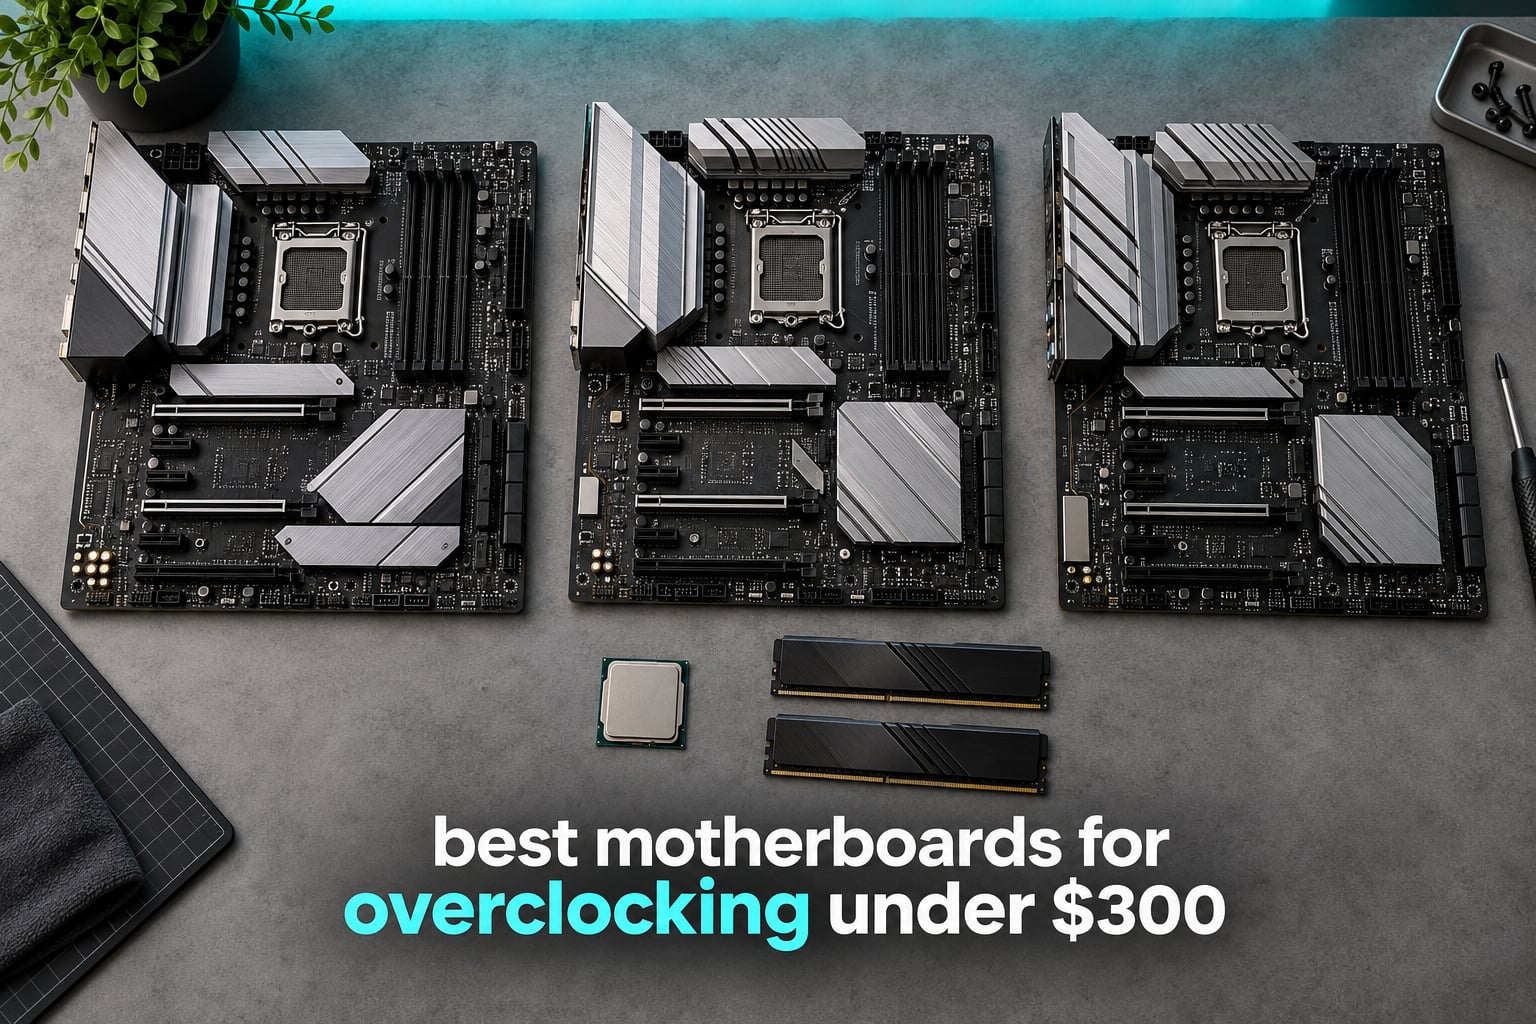
Short answer: the best motherboards for overclocking under 300 dollars in 2026 are the MSI MAG B650 Tomahawk WiFi, the ASUS ROG Strix X870-A Gaming WiFi and the GIGABYTE B650 AORUS Elite AX. All three sit on a chipset that leaves the CPU multiplier unlocked, which is the single spec that decides whether a board can overclock at all.
Most people shopping this category get stuck on the wrong question. They compare VRM phase counts, RGB headers and M.2 slot totals, then discover months later that the board they bought locks the multiplier in the BIOS and no amount of settings will unlock it. That is a chipset decision, made by the manufacturer before you ever open the box.
I spend a lot of time on AM5 and LGA1700 boards specifically because the enthusiast end of the market is where the bad decisions get expensive. Every board below is one I would be comfortable building an unlocked Ryzen or K-series Core around, with the chipset verdict, the power stage amperage and the honest trade-offs all pulled from the manufacturer spec sheets and the patterns that show up across owner reviews. Where a board is a step down from what it could have been, I say so.
If you want the wider picture first, our AM5 motherboard guide covers the platform at large, and the general gaming motherboard picks cover what to buy when you are not tuning anything.
One thing to clear up before the picks: the 300-dollar ceiling does not cost you overclocking capability. It costs you connectivity extras. You can still get 90A power stages, WiFi 7, USB4 and a proper debug readout inside this budget. You just will not get a 20-phase VRM or a full-throttle active cooling solution.
Our Top 3 Overclocking Motherboards Under 300 Dollars (October 2026)

MSI MAG B650 Tomahawk WiFi
- AM5 B650 unlocked multiplier
- Extended Heatsink VRM cooling
- DDR5 6400+ OC
- 2.5G LAN and WiFi 6E

ASUS ROG Strix X870-A Gaming WiFi
- 16+2+2 at 90A per stage
- Dynamic OC Switcher and Core Flex
- 4x M.2 all heatsinked
- WiFi 7 and USB4

GIGABYTE B650 AORUS Elite AX
- Twin 14+2+1 phases at 70A
- 8-layer 2X copper PCB
- PCIe 5.0 NVMe x4 M.2
- Q-Flash Plus BIOS recovery
The Tomahawk takes the top slot because it combines a 4.5 average across more than 1300 owner reviews with cooling that holds up under sustained load. The X870-A takes VRM headroom outright. The AORUS Elite AX is the one to buy when the rest of the budget needs to stretch.
Quick Overview: Every Overclocking Board in This Roundup
All eight boards below run an unlocked CPU multiplier. Seven are AM5 boards from AMD, and one is a LGA 1700 board from GIGABYTE for buyers who want Intel. Use the Check Latest Price button on any row to see current pricing where you shop.
| Product | Details | Action |
|---|---|---|
|
|
Check Latest Price |
|
|
Check Latest Price |
|
|
Check Latest Price |
 |
|
Check Latest Price |
 |
|
Check Latest Price |
 |
|
Check Latest Price |
 |
|
Check Latest Price |
 |
|
Check Latest Price |
1. MSI MAG B650 Tomahawk WiFi – The Most Proven AM5 Overclocking Board
MSI MAG B650 Tomahawk WiFi Gaming Motherboard (AMD Ryzen 9000/8000/7000 Series Processors, AM5, DDR5, PCIe 4.0, M.2, SATA 6Gb/s, USB 3.2 Gen 2, HDMI/DP, Wi-Fi 6E, Bluetooth 5.3, 2.5Gbps LAN, ATX)
Socket AM5
AMD B650 chipset
DDR5 up to 6400+ OC
2.5G LAN, WiFi 6E
+ Pros
- Proven AM5 workhorse with 1300+ owner reviews
- Extended Heatsink and M.2 Shield Frozr cooling support sustained overclocking loads
- Six SATA ports give more storage flexibility than newer boards
- Click BIOS and EZ DIY fittings are well regarded for ease of use
– Cons
- Older B650 chipset with no native USB4 and no PCIe 5.0 M.2 slots
- Primary GPU slot is PCIe 4.0 rather than PCIe 5.0
- Memory capacity ceiling of 128 GB
The B650 Tomahawk WiFi is the board I recommend to almost everyone who asks me where to start overclocking on a budget. It carries a 4.5 average from more than 1300 owner reviews, which is more real-world evidence than any spec sheet can give you, and the Extended Heatsink across the VRM is sized for chips that spend time above their default boost clock.
MSI’s Click BIOS is still the interface I enjoy most on AM5. The tuning options are grouped logically, memory profiles load without drama, and the board reacts predictably when you change a voltage. For a first overclock that predictability is worth more than a phase count on paper.
Networking is unremarkable in the best way: 2.5Gbps LAN with Intel WiFi 6E and Bluetooth 5.3. That is a generation behind WiFi 7 but it has been completely reliable across the review history.
Why This VRM Holds Up Under Load
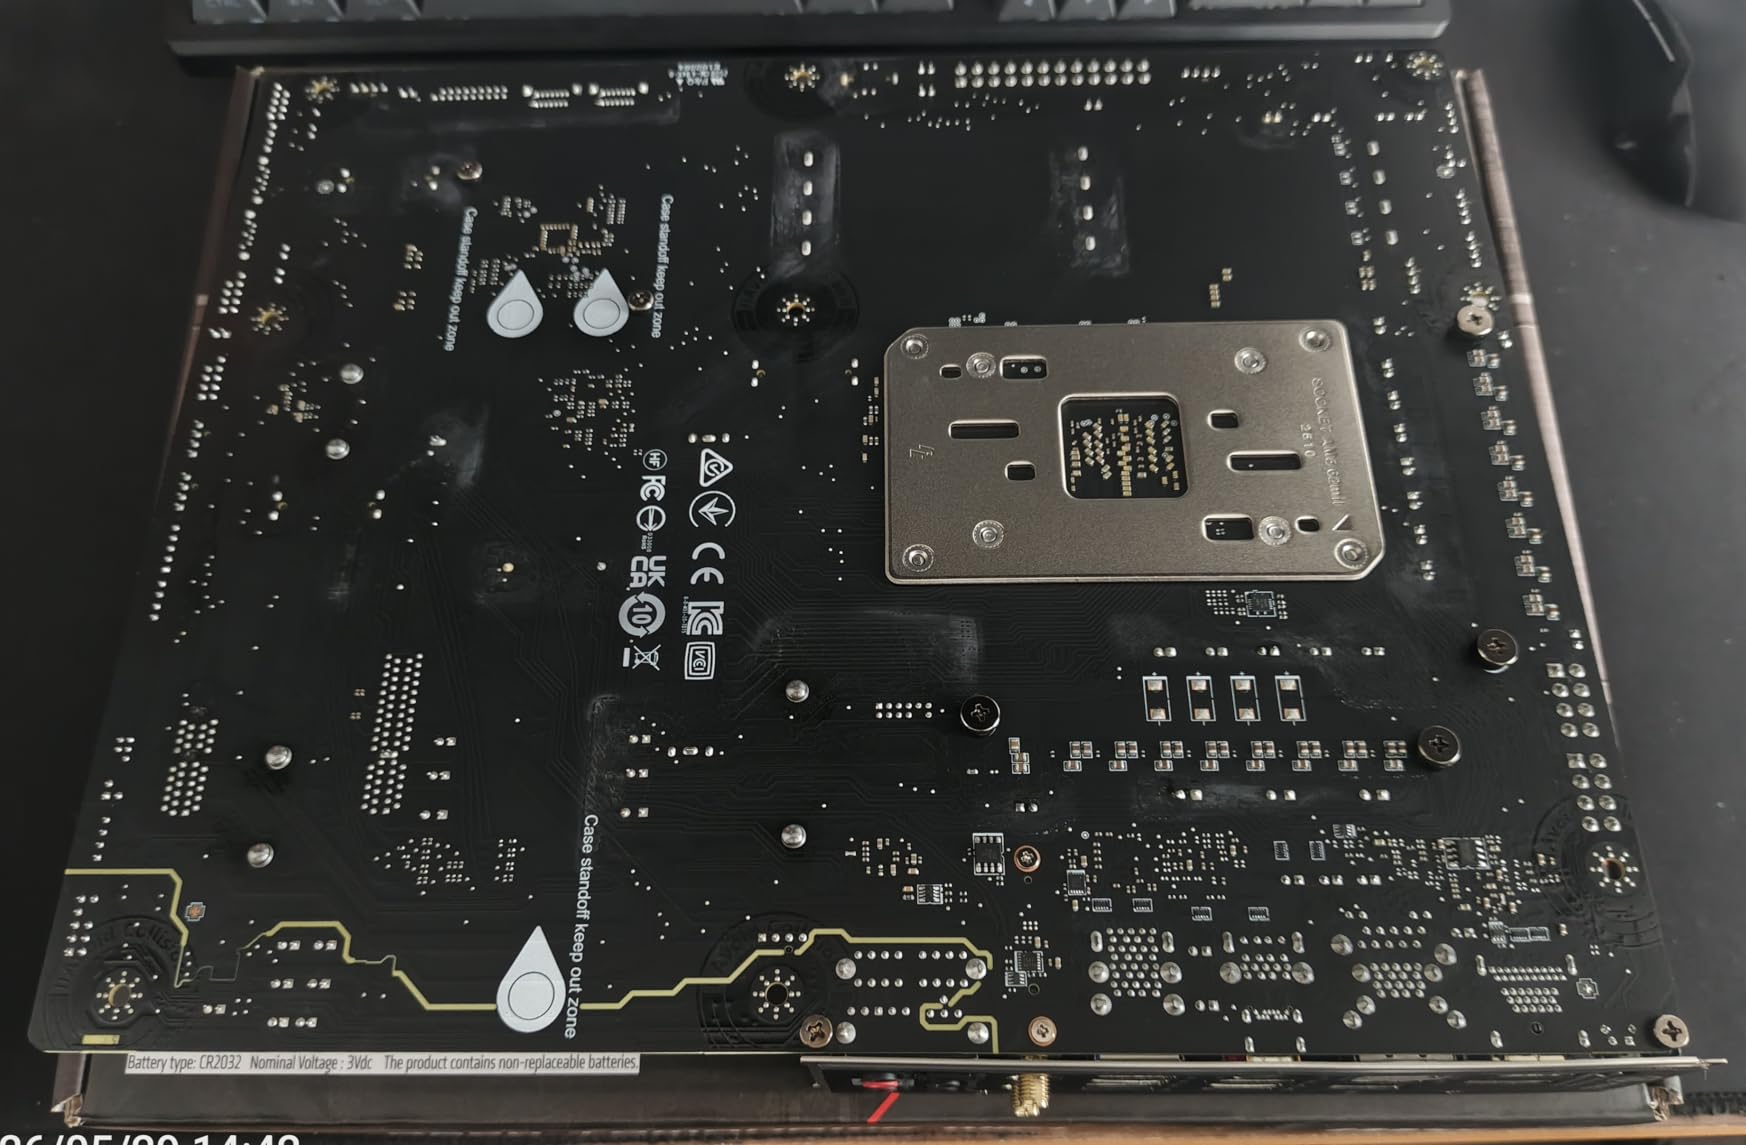
The Extended Heatsink design here is not a decorative fin. It is a genuinely substantial mass over the power stages, and paired with the M.2 Shield Frozr it means a long all-core burn does not produce the thermal throttling that thinner boards hit. Owners running sustained multi-threaded loads report stable behaviour rather than clock drops.
You are not getting 90A stages or a 16+2+2 count here. What you are getting is a design that does not need to be babysat at moderate offsets, which for most first-time overclockers is the trade that matters.
Memory Tuning on This Board
DDR5 support runs up to 6400+ in overclocking profile, and the practical target for a Ryzen 5000 or 9000 chip is DDR5-6000 at CL30 with EXPO enabled. Anything faster on this platform often costs stability for very little real gain in games.
One recurring owner report is that earlier BIOS revisions needed an update before EXPO would apply correctly on Ryzen 9000-series chips. Update the BIOS before you start tuning, not after you wonder why memory is running at 3600.
What You Give Up Compared to Newer Boards
This is an older chipset generation, and the compromises are real. There is no native USB4, no PCIe 5.0 M.2 slot, and the primary graphics slot is PCIe 4.0. Memory capacity tops out at 128 GB.
For a gaming build with one fast NVMe drive and a mid-range graphics card, none of that registers. For a creator workstation planning a four-drive Gen5 array, it is the wrong board. There is also a variant trap: confirm you are buying the WiFi model if you need wireless.
2. ASUS ROG Strix X870-A Gaming WiFi – The Deepest VRM in the Roundup
ASUS ROG Strix X870-A Gaming WiFi AMD AM5 X870 ATX Motherboard 16+2+2 Power Stages, Dynamic OC Switcher, Core Flex, DDR5 AEMP, WiFi 7, 4X M.2, PCIe® 5.0, Q-Release Slim, USB4®, AI OCing & Networking
Socket AM5
AMD X870 chipset
16+2+2 at 90A per stage
WiFi 7 and USB4
+ Pros
- 16+2+2 power stages rated 90A per stage keep high-end Ryzen chips cool under sustained load
- Full suite of ROG overclocking tools with Dynamic OC Switcher and Core Flex
- All four M.2 slots have dedicated heatsinks with no throttling on the primary drive
- Q-Release Slim button makes GPU removal painless
– Cons
- No onboard Q-LED debug code readout
- No push-to-start power button
- Filling all four M.2 slots can limit PCIe bandwidth
The X870-A is the board to buy if you plan to run a high-end unlocked Ryzen at a meaningful all-core offset for years. Sixteen power stages at 90A each is the most substantial VRM in this roundup by a wide margin, and it is paired with a socket that will accept several more CPU generations.
ASUS packs the overclocking toolkit properly here. Dynamic OC Switcher lets you flip between a fixed all-core override and PBO behaviour, Core Flex exposes per-core curves, and Asynchronous Clock gives you independent BCLK control. AEMP handles memory training profiles that actually simplify reaching a stable DDR5-6000 CL30 result.
It is also a genuinely nice board to look at, which matters less than the spec sheet but not at all zero.
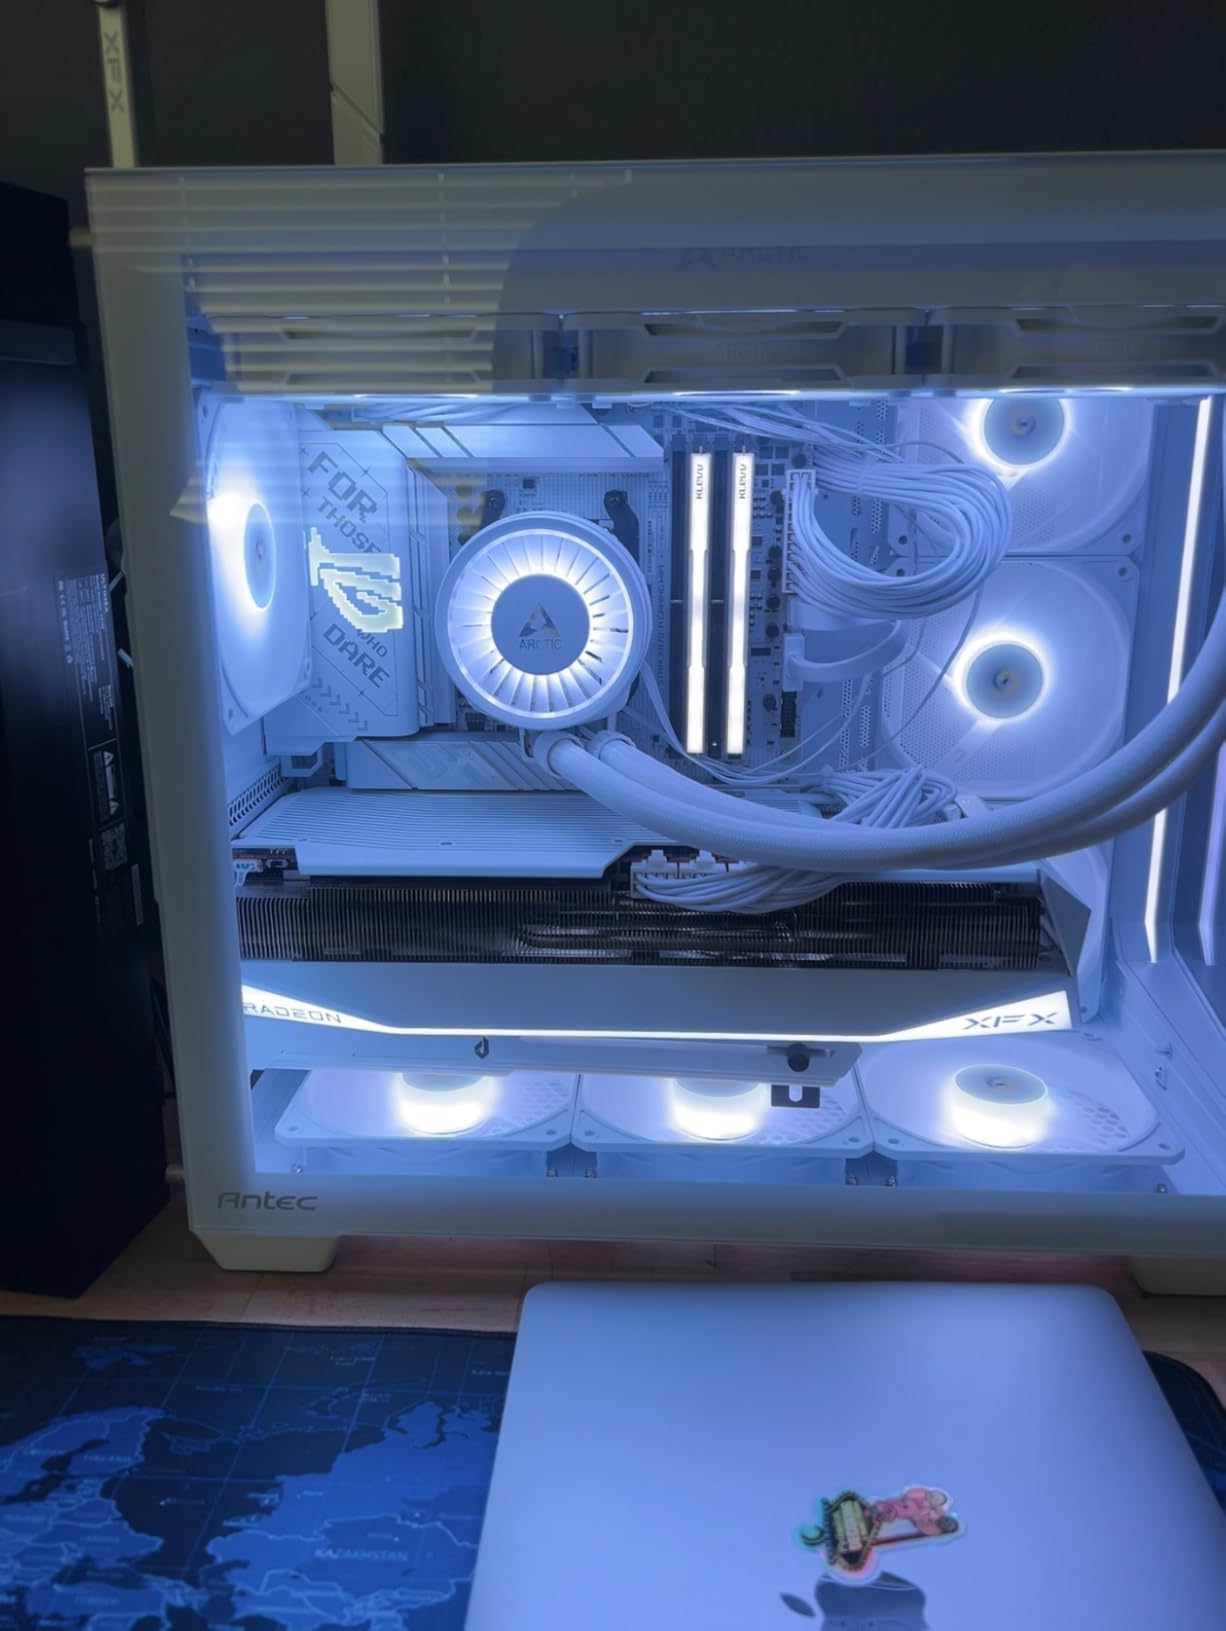
90A Per Stage and What It Buys You
Amperage per phase is the number that matters more than the headline phase count, and 90A is the highest figure here. Combined with dual ProCool II power connectors, that means you can push a large chip well past its default boost without the VRM becoming the limiting factor.
On a 12-core or 16-core part, the difference between this board and a 12+2 design is the difference between a stable overclock and one that backs off under a long render. This is the board I would pair with the most ambitious silicon in the lineup.
Storage and Lane Layout
All four M.2 slots carry dedicated heatsinks, and owners report no throttling on the primary drive. That completeness is unusual at this budget level. The caution is bandwidth: filling every slot can reduce the graphics card’s available PCIe lanes, so plan your layout before you populate it.
Twenty-one USB ports including USB4 means you can run a dense desk setup without a hub. Connectivity here is the best in the roundup alongside the AORUS Elite WIFI7.
Who Should Not Buy This Board
There is no numeric post-code display, so a failed boot is diagnosed with plain status LEDs. If you build PCs often or are new to the process, that diagnostic gap will annoy you in ways the VRM will not compensate for.
Armoury Crate is also a known source of friction. Owners report it resetting settings and backlight behaviour after updates, so treat BIOS settings as the source of truth. And check memory kit compatibility: some high-speed kits need a BIOS update before they will train at their rated speed.
3. GIGABYTE B650 AORUS Elite AX – The Budget Entry With Real Overclocking Headroom
GIGABYTE B650 AORUS Elite AX AMD AM5 ATX Motherboard, Support Ryzen 9000/8000/7000 Series, DDR5, 14+2+1 Power Phase, PCIe 5.0 M.2, USB-C 3.2 Gen 2, WIFI6E, 2.5GbE, EZ-Latch, Q-Flash, RGB Fusion
Socket AM5
AMD B650 chipset
Twin 14+2+1 at 70A
PCIe 5.0 NVMe M.2
+ Pros
- Best-selling board in this roundup with more than 1500 owner reviews
- Twin 14+2+1 power phases with 70A stages on an 8-layer 2X copper PCB
- PCIe 5.0 NVMe x4 M.2 with M.2 Thermal Guard
- Q-Flash Plus allows BIOS updates without an installed CPU
– Cons
- No printed manual in the box
- No onboard post-code debug LED display
- Entry-level onboard audio chipset
The B650 AORUS Elite AX has the largest review count of anything in this roundup, more than 1500 owner ratings, and it sits at the entry point of the list. That combination of evidence and price makes it the board I point most first-time overclockers toward.
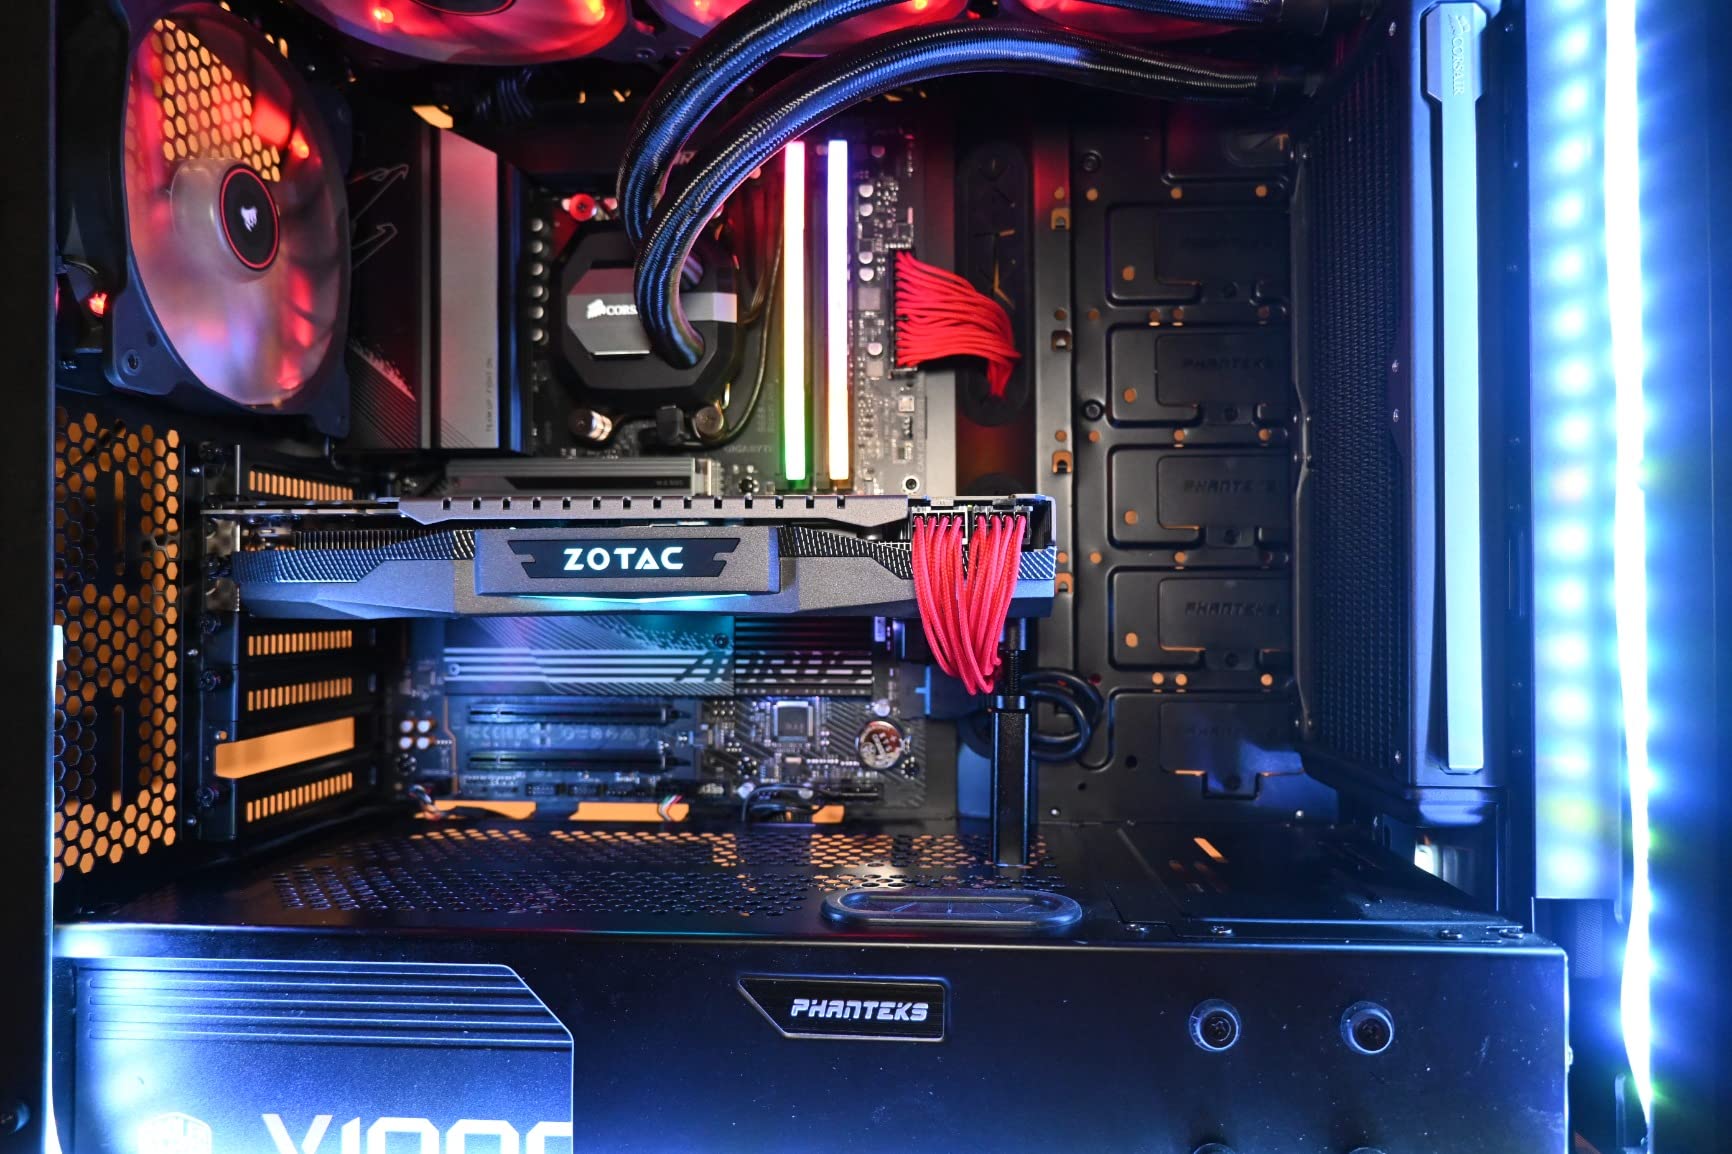
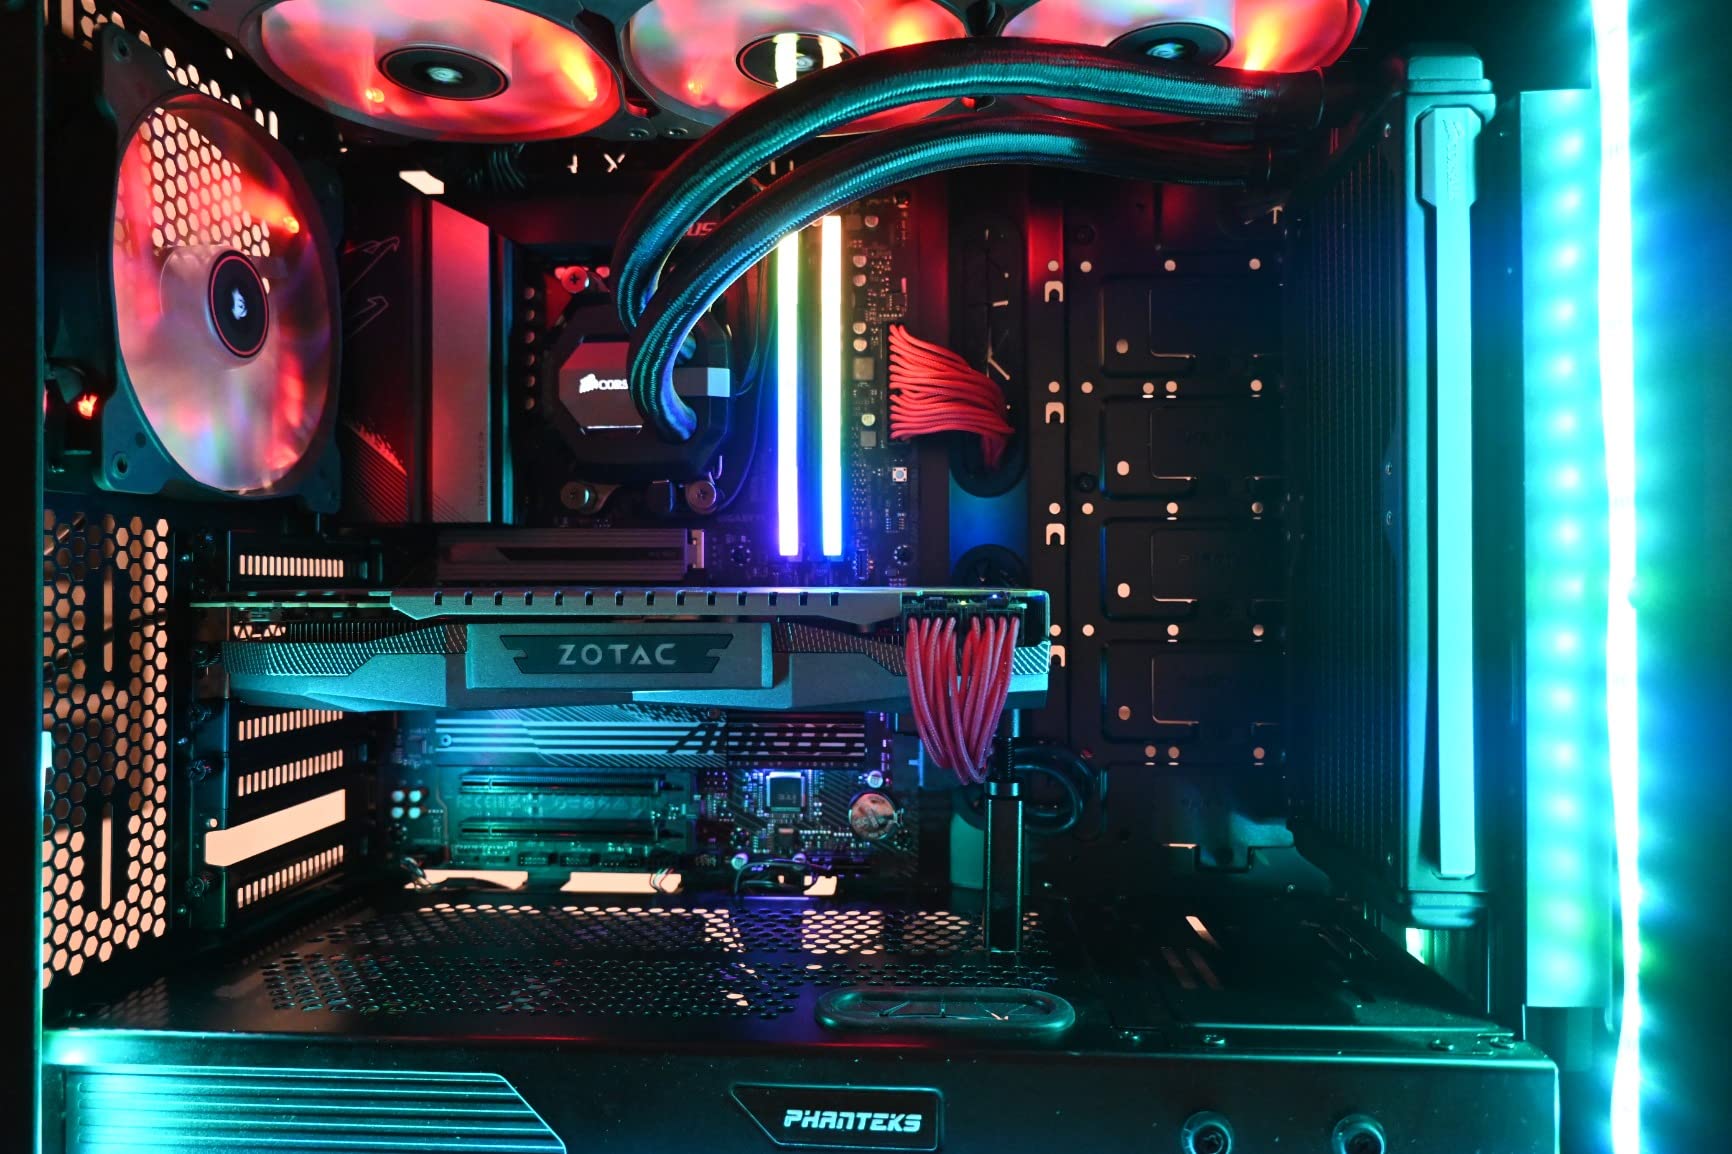
The VRM is where the money went. Twin 14+2+1 phases with 70A power stages sit on an 8-layer, 2X copper PCB, and a 6mm heatpipe plus fully covered MOSFET heatsinks handle the sustained-load side of it. Owners report VRM temperatures staying well under control even during heavy load.
It is also one of very few boards at this tier with a genuine PCIe 5.0 NVMe x4 M.2 slot, which means your boot drive is not stuck on the older generation.
The 8-Layer PCB and Why It Matters
PCB layer count is not a marketing number. More layers mean more copper for power delivery and signal integrity, which shows up as better transient response when a core slams from idle to load. On a board that will be running above its default clock, that is a real difference.
Forums have a recurring heuristic that a thin VRM is fine as long as you never overclock. This board is the counter-example: 70A stages with proper copper and a heatpipe give you genuine headroom, and the 4.3 average reflects BIOS quirks far more than VRM weakness.
Q-Flash Plus and the BIOS Update Trap
Q-Flash Plus lets you update the BIOS with no CPU installed, which matters if you are pairing a brand new Ryzen 9000-series chip with a board that predates it. That is not a theoretical benefit for this platform right now.
The catch is that earlier BIOS revisions shipped without working XMP and EXPO, and some early-revision owners reported XMP failure and reboot behaviour. A BIOS update resolves essentially all of it. Also note there is no printed manual in the box, so have the online guide open during the build.
Small Annoyances Worth Knowing
The onboard audio is entry-level, and there is no post-code debug LED display, so a failed boot means counting lights rather than reading a number. The topmost NVMe slot also carries very thick pre-applied thermal adhesive that can slightly bow a drive, so check clearance before fitting a large heatsink there.
One variant caution applies across the whole AORUS line: confirm the AX suffix. Not every board in the family includes wireless, and the naming is easy to misread on a marketplace listing.
4. MSI MAG B850 Tomahawk MAX WiFi – The Best Newer-Chipset Value Pick
MSI MAG B850 Tomahawk MAX WiFi Motherboard, ATX – Supports AMD Ryzen 9000/8000 / 7000 Processors, AM5-80A SPS VRM, DDR5 Memory Boost 8400+ MT/s (OC), PCIe 5.0 x16, M.2 Gen5, Wi-Fi 7, 5G LAN
Socket AM5
AMD B850 chipset
14 Duet Rail 80A SPS VRM
2x M.2 Gen5 x4
+ Pros
- 14 Duet Rail 80A SPS VRM delivers stable power and clean thermals for Ryzen 9000/8000/7000 chips
- Four M.2 slots including two Gen5 x4 with EZ M.2 Shield Frozr II
- PCIe 5.0 x16 Steel Armor II slot with a push-button GPU release
- WiFi 7
- Bluetooth 5.4
- 5G LAN and rear USB 20G Type-C
– Cons
- No physical manual in the box
- Windows 11 only platform support
- Green PCB colour scheme is not to everyone's taste
B850 is the awkward middle of the AM5 chipset stack: newer than B650, cheaper than X870, and it unlocks the multiplier like both. The Tomahawk MAX is the board that makes that middle tier genuinely interesting, because you get 80A stages and dual Gen5 storage without paying for the X870 tier.
Owners report that the board simply works. Clean first boot with Ryzen 9000-series chips, stable EXPO memory, correct PCIe x16 Gen4 lane negotiation, and an intuitive BIOS. That is exactly the experience a first-time overclocker wants.
Windows 11 only is a genuine limitation for anyone still running an older operating system, so check that before committing.
Frozr Guard and the Thermal Budget
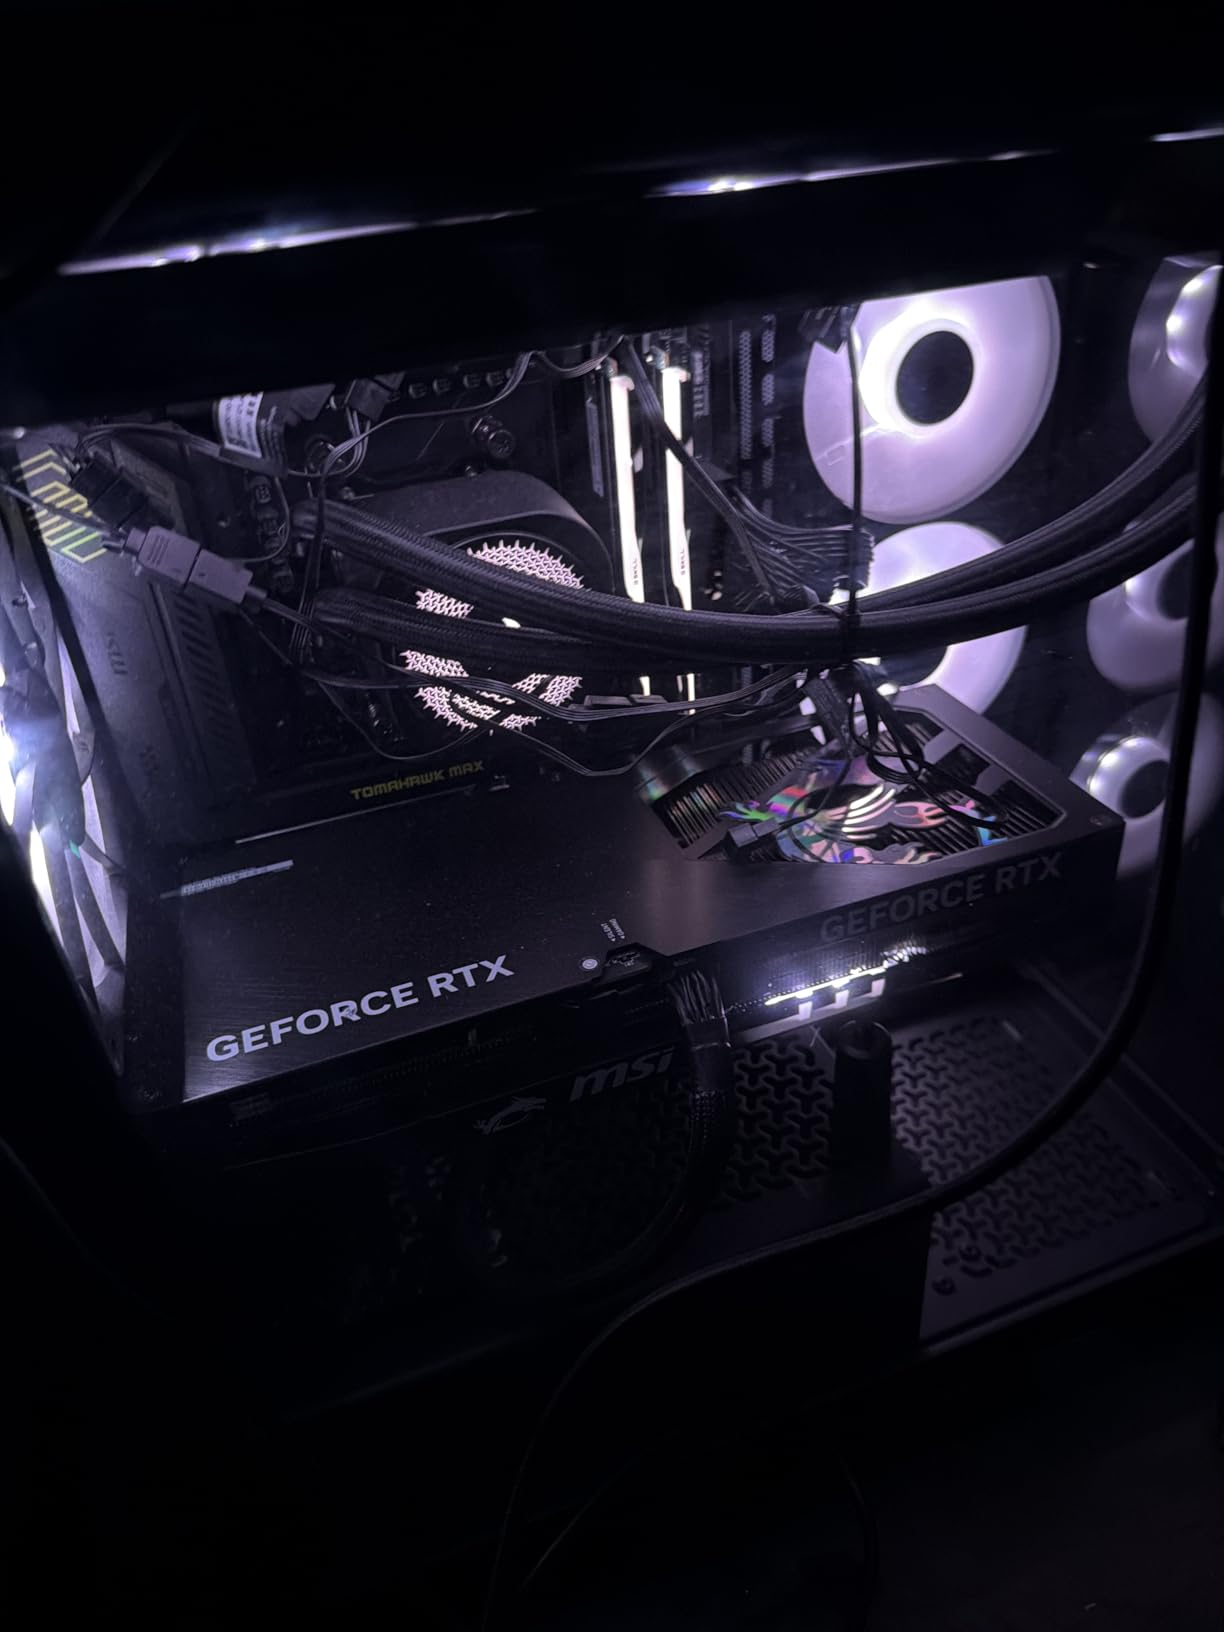
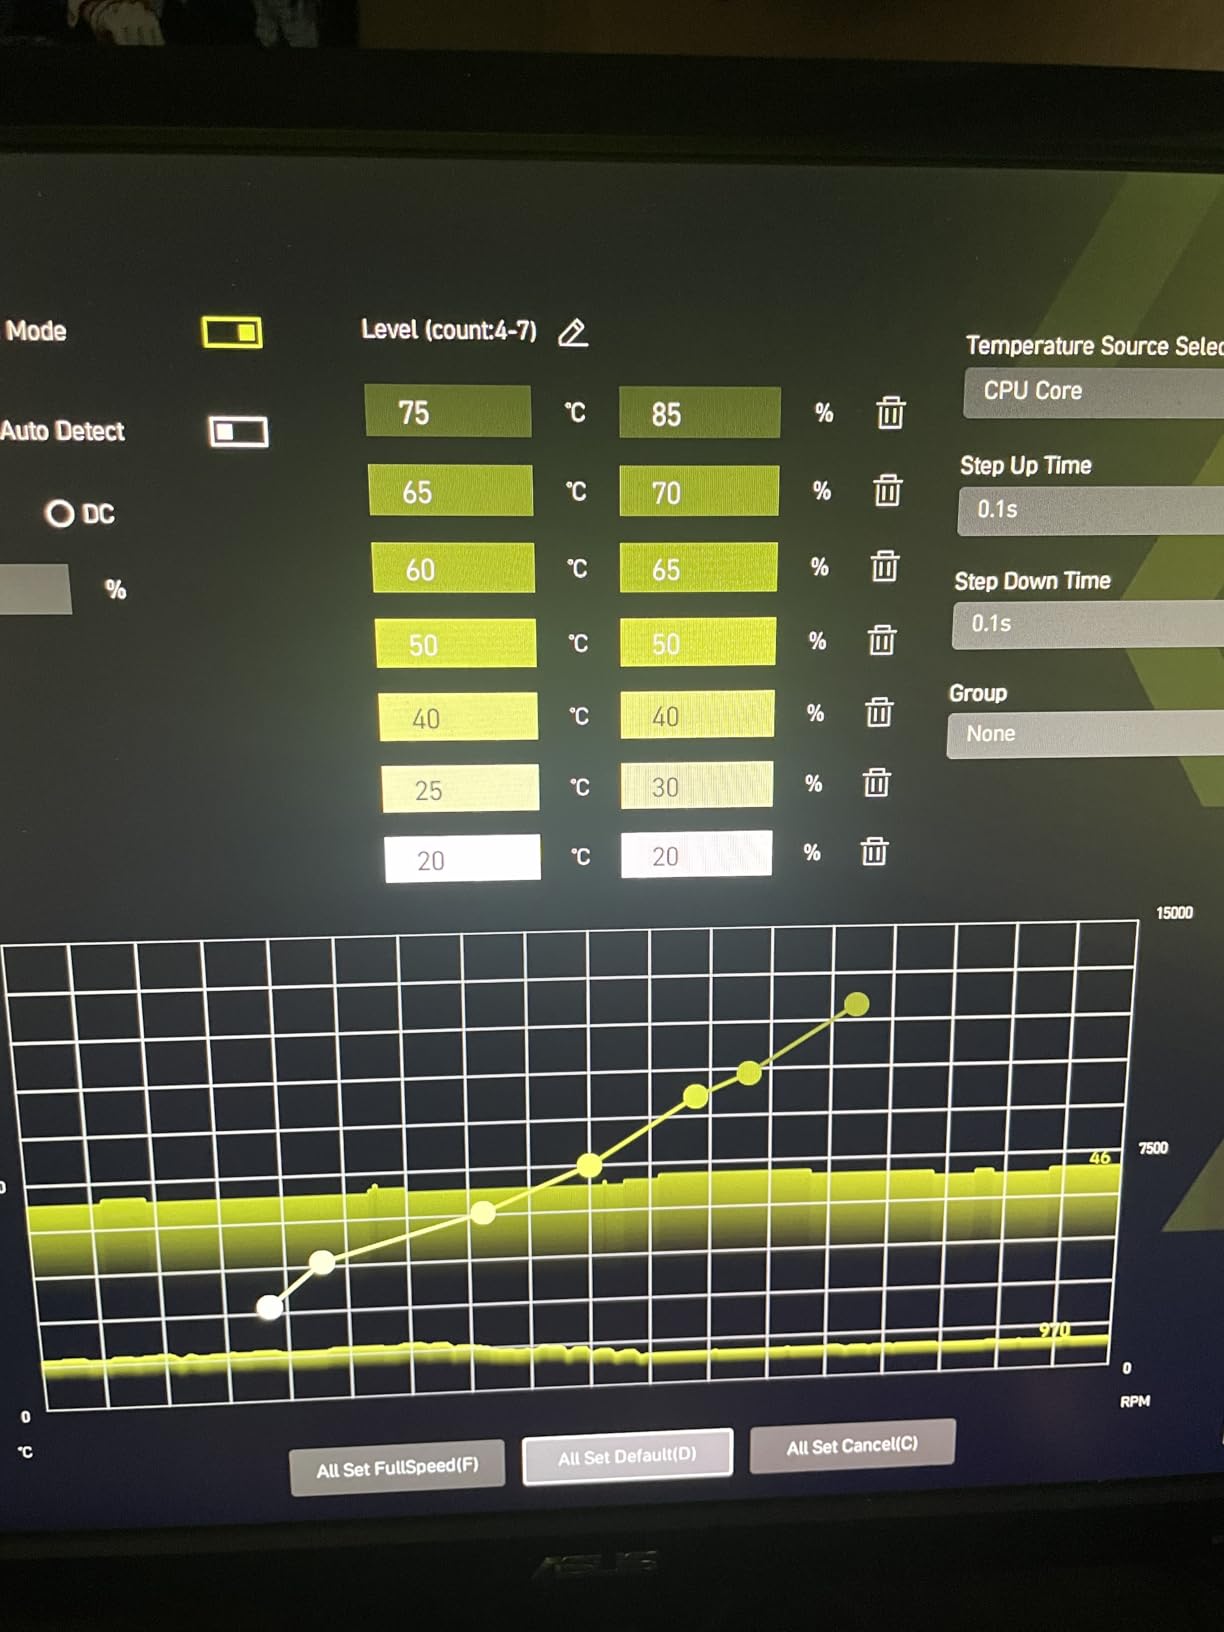
The cooling story is unusually thorough for a mid-tier board: 7W/mK MOSFET thermal pads, extra choke thermal pads, an extended heatsink, a chipset heatsink, EZ M.2 Shield Frozr II and a combo fan header. Every one of those touches a component that generates heat during a sustained overclock.
That is why owners describe the thermals as clean rather than merely adequate. A board that is running below its thermal limits at high voltage will hold a higher all-core clock for longer before backing off.
Memory and Storage Headroom
Four SMT DIMM slots support DDR5 speeds up to 8400+ in overclocking profile with a single-rank single-DIMC configuration, and capacity runs to 256 GB. The practical tuning target is still DDR5-6000 CL30 with EXPO, but the headroom above it gives you room to explore memory overclocking after the CPU is dialed in.
Storage is the standout: two M.2 Gen5 x4 slots at 128Gbps each, plus one Gen5-capable Gen4 x4 and one Gen4 x2. For a creator building a multi-NVMe machine on a budget, that is an unusual amount of Gen5.
The MAX Naming Trap
This is a different motherboard from the B650 Tomahawk WiFi, and they are often listed side by side. The MAX designation covers the newer B850 chipset, the higher-amperage stages and the dual Gen5 storage. Confirm the chipset and the model number before you order.
Also expect no printed manual. Documentation is online only, and some older cases have limited front-panel header options, so check your case before wiring the front panel.
5. GIGABYTE X870 AORUS Elite WIFI7 – The Best Connectivity Under 300
GIGABYTE X870 AORUS Elite WIFI7 AMD AM5 LGA 1718 Motherboard, ATX, DDR5, 4X M.2, PCIe 5.0, USB4, WIFI7, 2.5GbE LAN, EZ-Latch, 5-Year Warranty
Socket AM5
AMD X870 chipset
16+2+2 power design
Dual USB4 and WiFi 7
+ Pros
- X870 chipset brings native USB4 and PCIe 5.0 support to the AM5 platform
- 16+2+2 power design with VRM heatsinks and M.2 Thermal Guard cooling
- Four M.2 slots for extensive NVMe storage expansion
- Five-year manufacturer warranty
– Cons
- Second PCIe 5.0 M.2 slot on this platform class shares bandwidth with GPU or USB4 lanes
- Gigabyte BIOS revisions should be checked against the specific board revision for correct software
- Fewer USB ports than some competing X870 boards
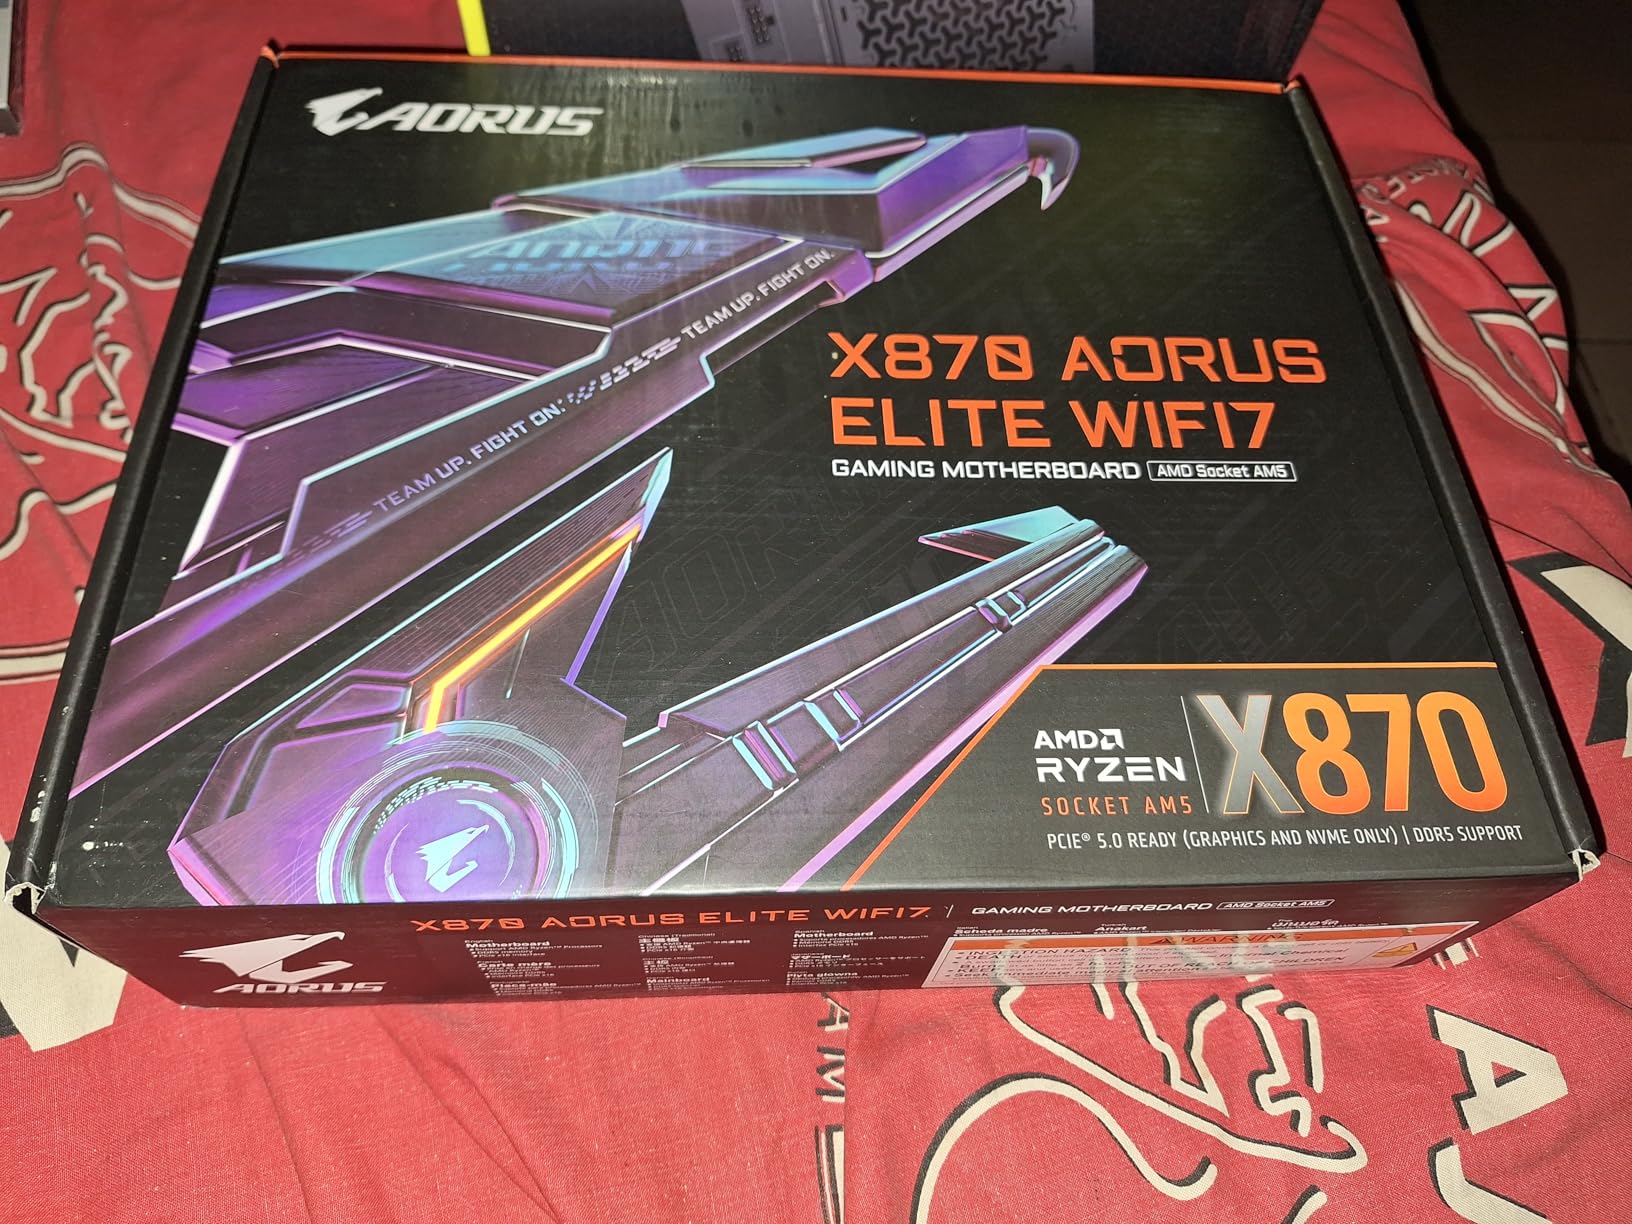
The X870 AORUS Elite WIFI7 is the connectivity answer in this roundup, and the only board here carrying a five-year manufacturer warranty alongside dual USB4 Type-C ports, WiFi 7 and 2.5GbE LAN. The warranty length is a quiet differentiator that most buyers never think to compare.
Over a 4.5 average across more than 450 reviews, the consistent owner message is balance: current-generation ports and storage without the flagship price. Memory support runs to 256 GB with EXPO profiles and four DIMM slots.
The 16+2+2 power design with VRM heatsinks and M.2 Thermal Guard is enough for meaningful all-core tuning on a Ryzen 7 or 9, though it is a clear step below the 90A stages on the X870-A.
USB4 and Where the Lanes Actually Go
Dual USB4 means you can run a dock, a fast external drive and a high-end display without a hub. That is a real quality-of-life difference over the USB 3.2 Gen 2×2 Type-C offered by the cheaper boards here.
The planning caveat is bandwidth, not ports. On this platform class the second PCIe 5.0 M.2 slot shares lanes with the graphics card or the USB4 controllers. If you are filling multiple M.2 slots and running a bandwidth-hungry graphics card, check the lane diagram in the manual before you build.
Five-Year Warranty and Build Lifespan
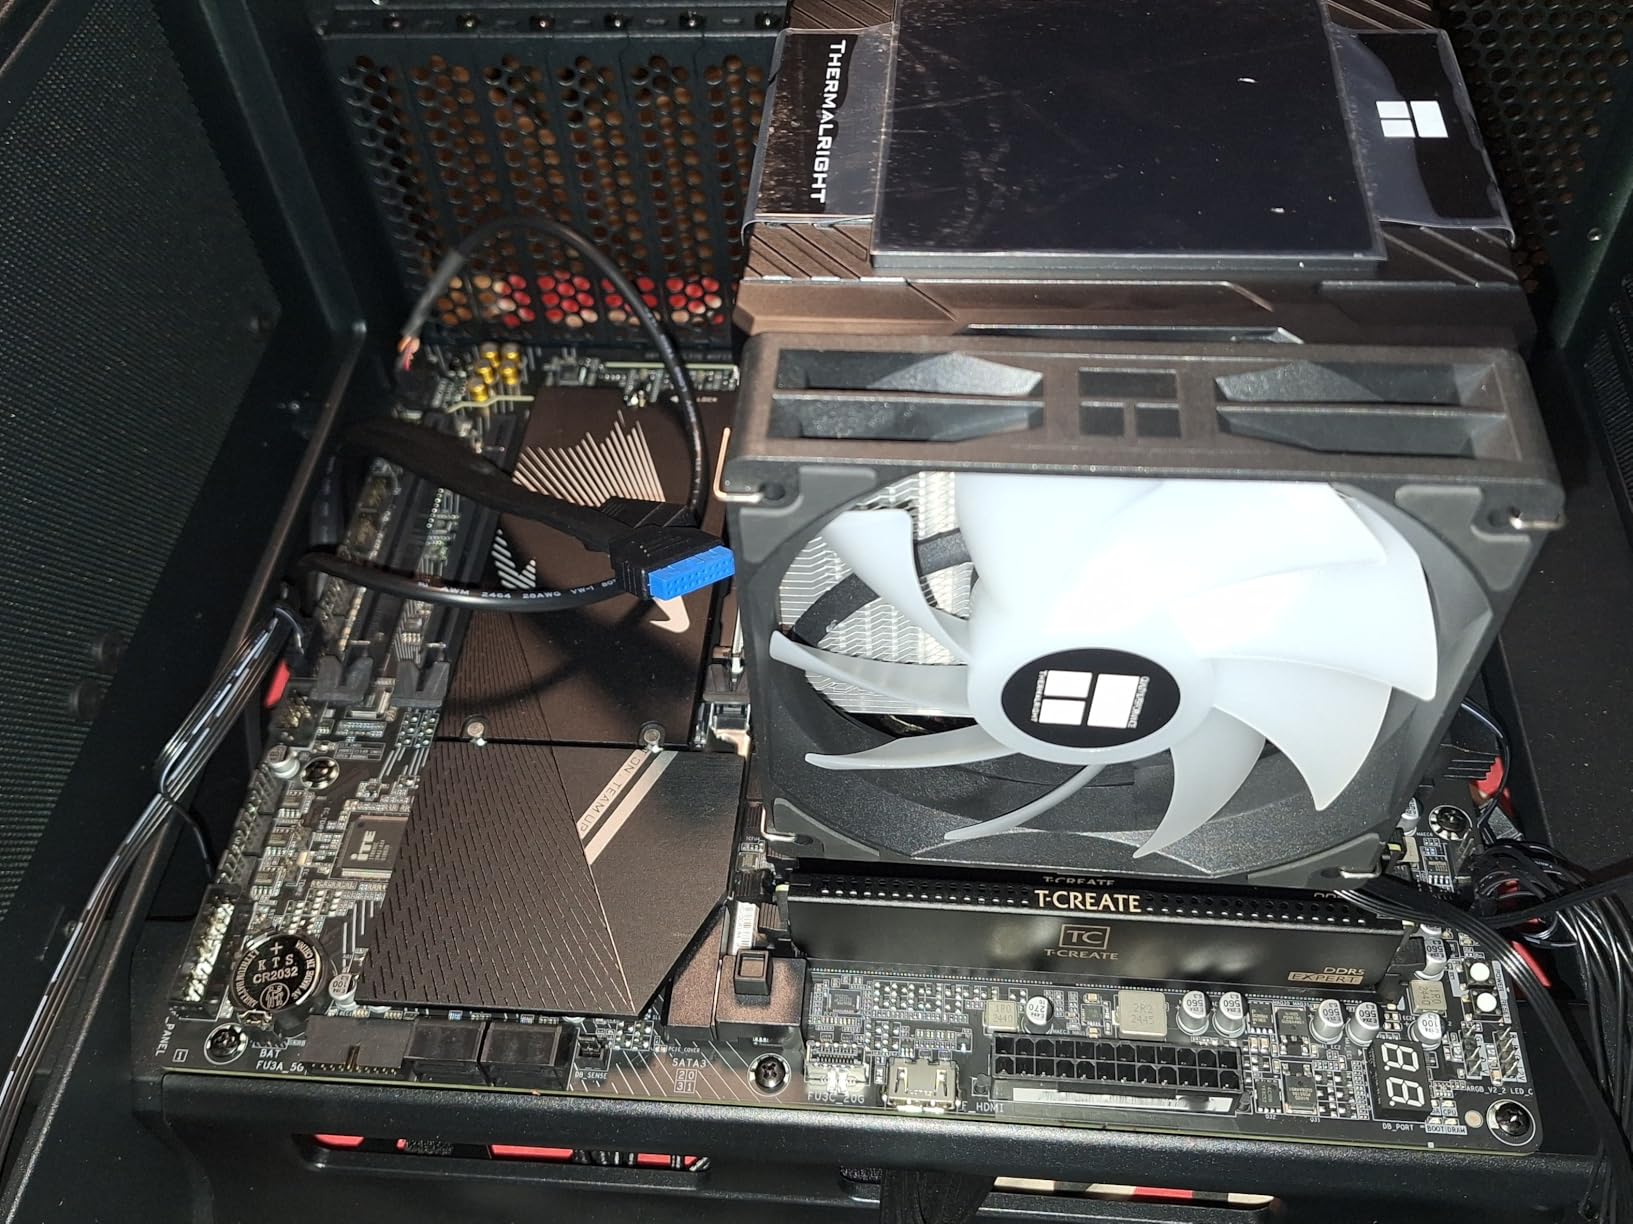
A five-year warranty on a board in this price bracket is unusual and it matters if you plan to keep this platform for several CPU generations. AM5 has a long published support path, and a board like this is one you can grow into rather than replace.
The practical limit is BIOS quality rather than warranty length. GIGABYTE’s BIOS is functional and well regarded, though less polished than MSI Click BIOS for newcomers. You are trading interface polish for longevity and ports, which is a fair trade for a lot of builders.
Before You Order: Check the Board Revision
This is the one specific warning on this board. GIGABYTE BIOS downloads are revision-specific, and picking the wrong one leads to failed updates. Verify the exact board revision printed on the board itself against the download page before flashing.
It also carries fewer USB ports than some competing X870 boards, so if you run a very dense desk setup, count ports first. Otherwise the connectivity package here is hard to beat at this ceiling.
6. MSI MAG X870 Tomahawk WiFi – The Best Board for Diagnosing Build Problems
MSI MAG X870 Tomahawk WiFi Gaming Motherboard (AMD Ryzen 9000/8000/7000 Series Processors, AM5, DDR5, PCIe 5.0, M.2 Gen5, SATA 6Gb/s, USB 40Gbps, HDMI/DP, Wi-Fi 7, Bluetooth 5.4, 5Gbps LAN, ATX)
Socket AM5
AMD X870 chipset
14+2+1 Duet Rail at 80A
USB 4, WiFi 7, 5G LAN
+ Pros
- 17-phase 14+2+1 Duet Rail VRM with 80A stages runs high-end Ryzen chips without throttling
- LED debug code display
- Clear CMOS and BIOS Flashback buttons are rarely seen at this tier
- Tool-less EZ M.2 heatsink makes NVMe installation and removal simple
- WiFi 7
- 5G LAN and USB 4 provide current-gen connectivity
– Cons
- The second PCIe 5.0 M.2 slot shares lanes with the USB 4 port
- Some boards reported WiFi stability and post-sleep RGB detection issues
- Not all BIOS revisions shipped ready for Ryzen 9000 series
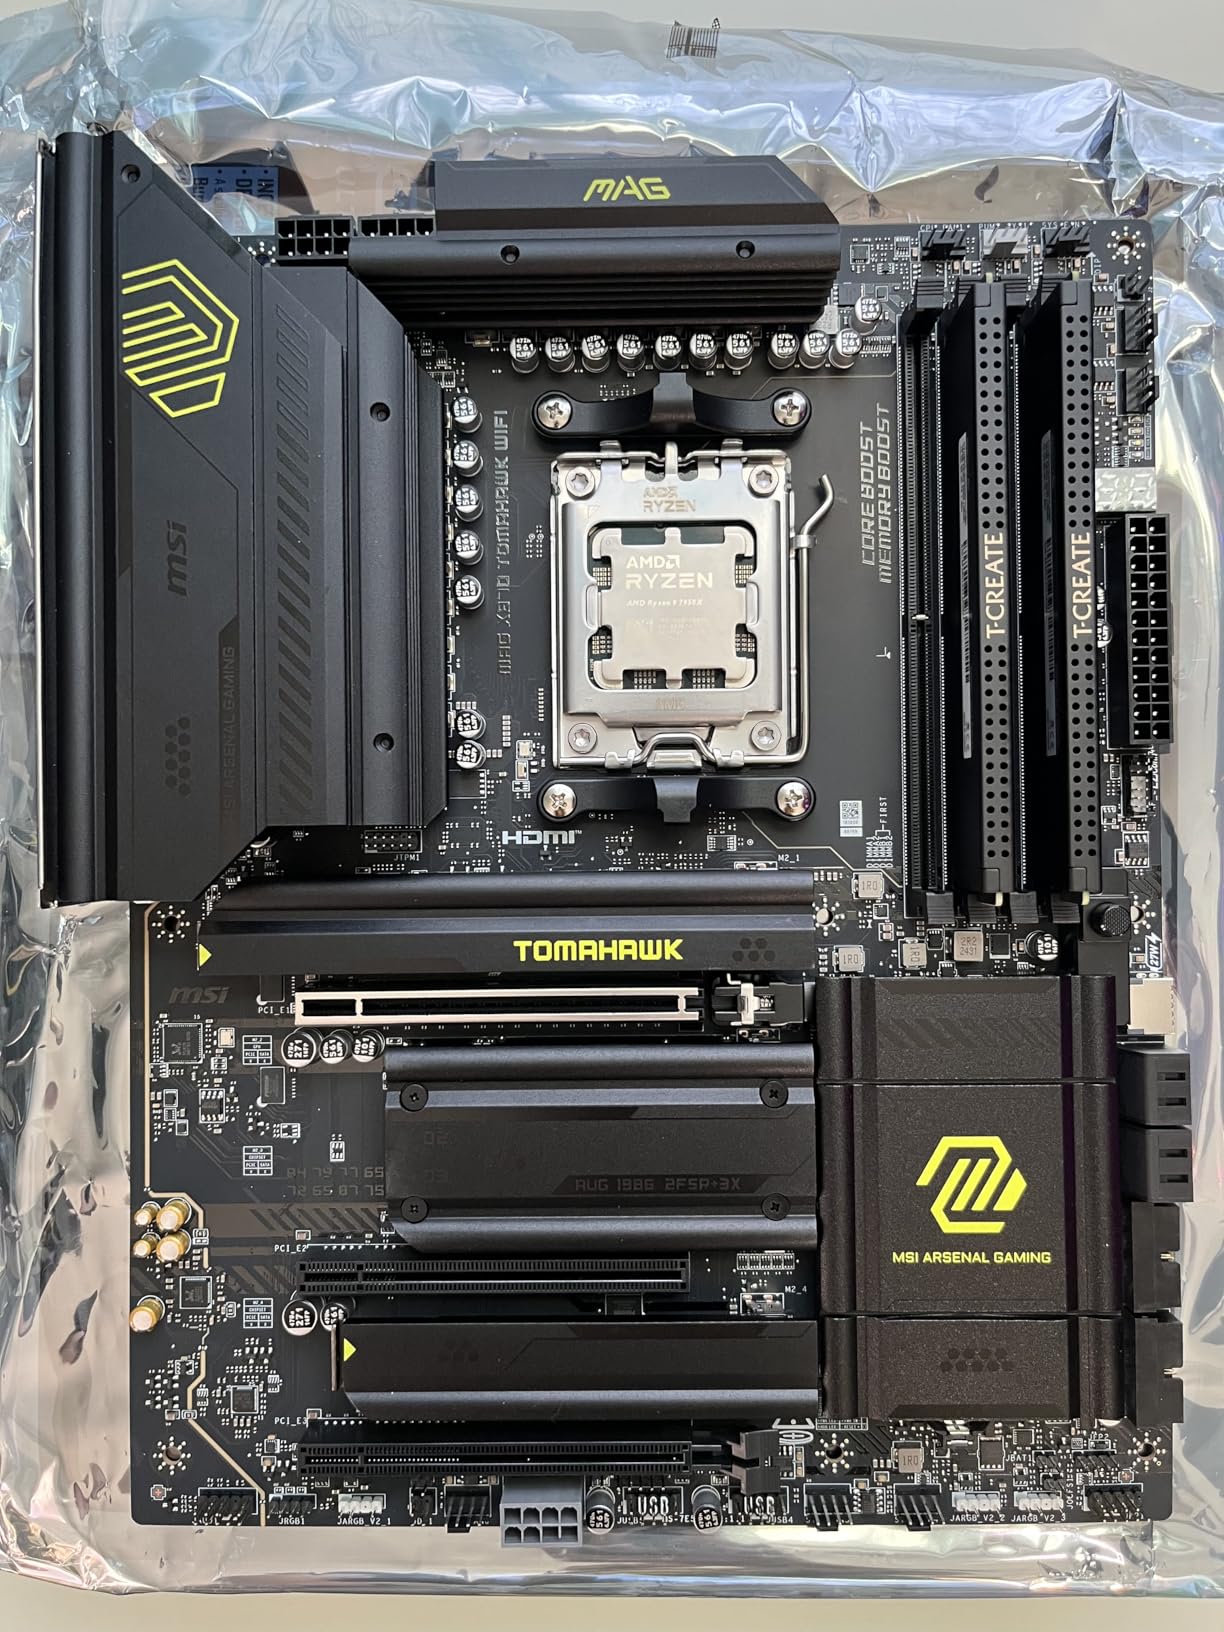
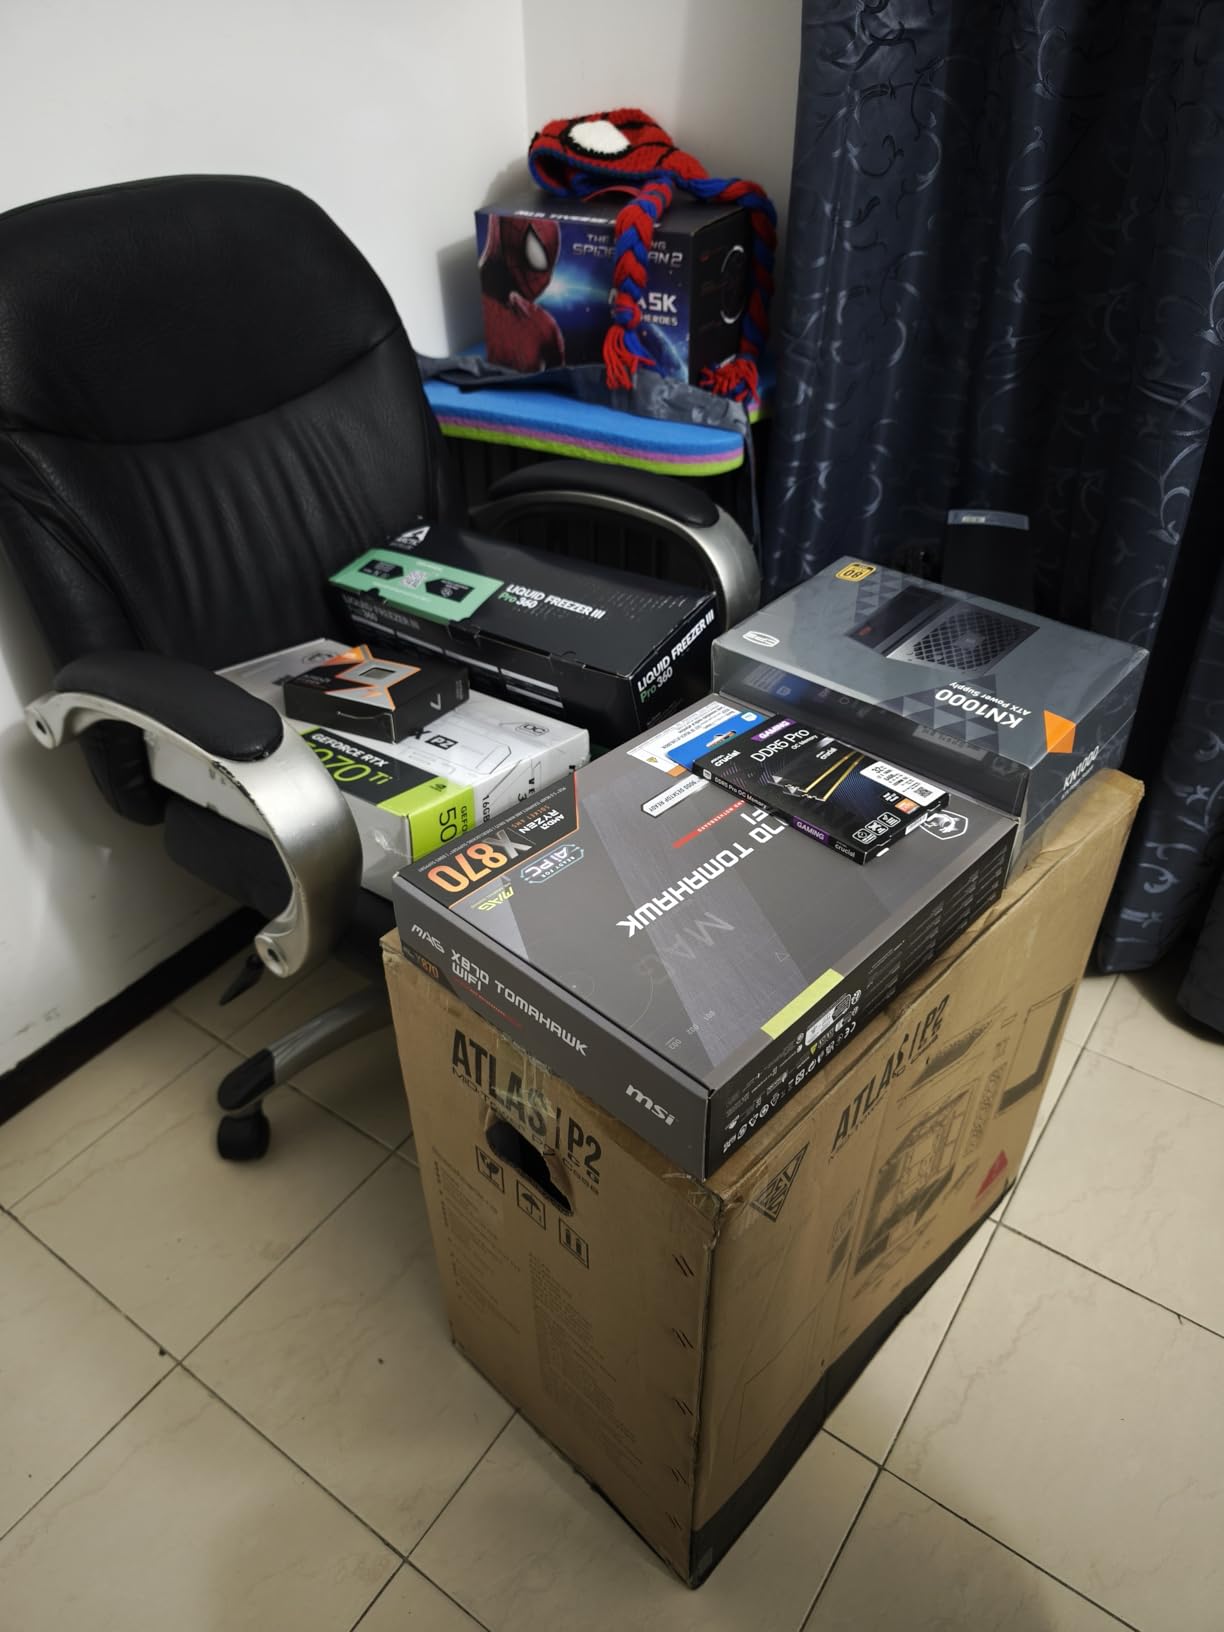
What separates the MAG X870 Tomahawk WiFi from its cheaper siblings is not raw spec. It is the debugging hardware: an LED debug code display, a rear Clear CMOS button and a BIOS Flashback button, all three on the rear I/O. On a board you are going to tune, those three features are worth more than another M.2 slot.
The VRM is a 17-phase 14+2+1 Duet Rail design with 80A Smart Power Stages and an extended PWM heatsink. Owners report it running high-end Ryzen chips without throttling, and memory support extends to 256 GB with speeds listed to 7800.
The BIOS itself is repeatedly described as the cleanest and most intuitive in the AM5 lineup. If you have never tuned a CPU before, that is a real advantage.
Why the LED Debug Code Display Matters
A two-digit LED readout turns a failed POST from a guessing game into an answer. Codes for memory training failures, CPU detection problems and GPU faults are printed in the manual, and you read the number instead of swapping components one at a time in the dark.
Combined with the rear Clear CMOS button, you can reset BIOS settings without opening the case or removing the graphics card. For a first overclock, that pair of features is worth more than any RGB header on the market.
USB 4 and the Lane-Sharing Decision
The USB 4 port delivers 40Gbps over a native controller, which is a genuine step up from USB 3.2 Gen 2×2. The trade-off is explicit: the second PCIe 5.0 M.2 slot shares lanes with that USB 4 port, and you can only have one at a time.
Decide early. If you want a Gen5 boot drive and a fast external dock, the X870-A or the AORUS Elite WIFI7 give you a cleaner split. If you only need one of the two, this board is fine.
Early-Revision Quirks and Case Fit
Some boards show WiFi instability and RGB detection problems after the system resumes from sleep. The manufacturer addresses this through BIOS updates, so update before troubleshooting hardware.
Also note that not all BIOS revisions shipped ready for Ryzen 9000-series processors, and the board is on the larger side at 13.4 by 10.9 inches. Confirm ATX clearance in your case before ordering, and note that Audio Boost 5 is not a native 5.1 solution and the four SATA ports are modest for a multi-drive machine.
7. ASUS ROG Strix B650E-F Gaming WiFi – The ROG Feature Set on a B650E
ASUS ROG Strix B650E-F Gaming WiFi AMD B650 AM5 Ryzen™ Desktop 9000 8000 & 7000 ATX Motherboard, 12+2 Power Stages, DDR5, 3X M.2 Slot, PCIe® 5.0, WiFi 6E, 2.5G LAN, USB 3.2 Gen 2×2 Type-C®, Aura Sync
Socket AM5
AMD B650E chipset
12+2 power stages
PCIe 5.0 M.2 and WiFi 6E
+ Pros
- 12+2 power stage design with heavy VRM heatsinks handles multi-core Ryzen chips well
- One PCIe 5.0 M.2 plus two PCIe 4.0 M.2 slots
- all covered by heatsinks
- WiFi 6E
- Bluetooth 5.2 and Intel 2.5G Ethernet with LANGuard
- Aura Sync RGB lighting with multiple addressable Gen 2 headers
– Cons
- 12+2 power stages are lighter than the 16+2+2 designs found on X870 boards
- No native USB4
- Memory ceiling listed at 128 GB
The B650E-F is the board to buy if you want the ROG software ecosystem, Armoury Crate integration and Aura Sync lighting but not the flagship price. It delivers PCIe 5.0 x16 graphics, a PCIe 5.0 M.2 slot and the full ASUS overclocking feature set on a B650E chipset that leaves the multiplier unlocked.
Owners consistently praise the VRM capability, storage flexibility and networking, with many running Ryzen 9000-series chips on it. The recurring reservation is the more modest power stage count relative to X870 alternatives, plus the absence of native USB4.
Note the B650E-F and the B650-F are different boards. The E designation is the overclocking-relevant one, and the naming is easy to misread in a marketplace listing.
Where the 12+2 Design Falls Short
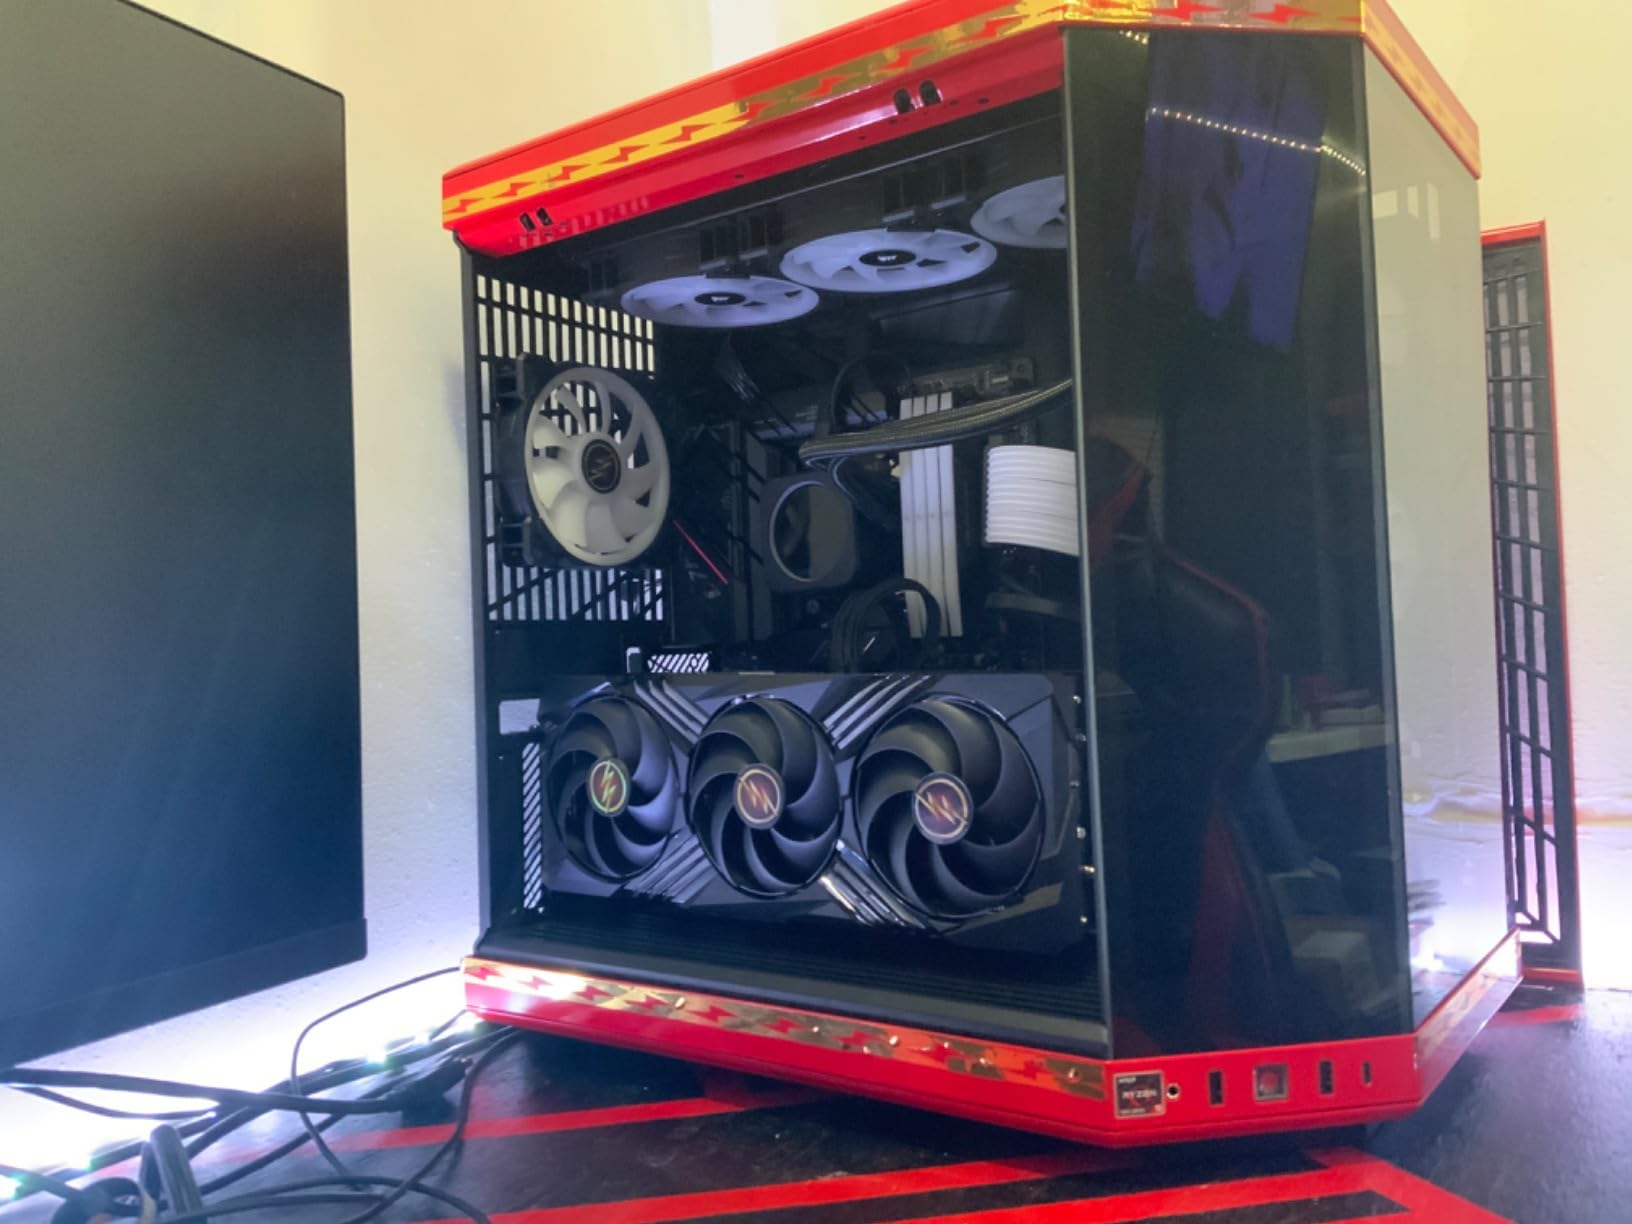
Twelve phases plus two SoC phases is a modest count by the standards of the boards above it. For a Ryzen 7 at moderate PBO offsets, the heavy VRM heatsinks with high conductivity thermal pads handle it fine, and owners report that much without complaint.
For a 16-core part at a large all-core offset, the X870-A’s 16+2+2 at 90A is the smarter buy. This is a case where the chipset tier and the VRM tier are telling different stories, and the VRM is the one that matters when you are actually overclocking.
Storage, Audio and Networking Detail
One PCIe 5.0 M.2 slot and two PCIe 4.0 slots, all with heatsinks, is a good storage layout. Audio is an ALC4080 codec with a Savitech SV3H712 amplifier plus DTS Sound Unbound and Sonic Studio III, which is above what most boards at this level offer.
Networking is WiFi 6E with Bluetooth 5.2 and Intel 2.5G Ethernet with LANGuard protection. There are twelve USB ports including one USB 3.2 Gen 2×2 Type-C, HDMI 2.1 and DisplayPort 1.4 for integrated graphics.
The BIOS Update Requirement
This is a genuine practical warning. The listing notes a BIOS update may be required when pairing with Ryzen 9000 and 8000 series processors, and the board does include the update path to handle it. Check the ASUS support page for the exact model before you build.
Once updated, the board handles Ryzen 9000-series chips cleanly. The three-year warranty is shorter than the five-year coverage on the AORUS Elite WIFI7, which is another reason to weigh the two against each other.
8. GIGABYTE Z790 UD AC – The Only Intel LGA 1700 Route to Overclocking
GIGABYTE Z790 UD AC LGA 1700 ATX Motherboard, Support Intel Core 14th/13th/12th Gen, DDR5, 16+1+1 Power Phase, 3X M.2, PCIe 5.0, USB-C 3.2, Dual Band WiFi, 2.5GbE, EZ-Latch, Q-Flash, RGB Fusion
LGA 1700 socket
Intel Z790 chipset
16+1+1 at 60A DrMOS
Three PCIe 4.0 M.2
+ Pros
- Z790 chipset with unlocked 12th/13th/14th Gen Intel Core support for multiplier overclocking
- 16+1+1 Twin Hybrid Phases with 60A DrMOS and a fully covered MOSFET heatsink
- Three PCIe 4.0 x4 M.2 slots plus PCIe 5.0 expansion and M.2 Thermal Guard
- 6-layer PCB with Ultra Durable Armor on the primary PCIe slot
– Cons
- LGA 1700 platform has no forward CPU upgrade path beyond 14th Gen
- Only 6-layer PCB and 6x SATA rather than 8-layer construction
- No native USB4 and a modest port count
If you are building an Intel system, there is exactly one chipset family that allows CPU multiplier overclocking: Z790 and above. Everything below it, including B760 and B860, locks the multiplier. The Z790 UD AC is a budget entry point into that unlocked LGA 1700 platform.
The power design is 16+1+1 Twin Hybrid Phases with 60A DrMOS, wrapped in fully covered MOSFET heatsinks with a 6-layer PCB. That is enough to tune a Core i5 or i7 K-series chip at moderate all-core offsets, which is exactly what this platform is for.
The 4.2 average reflects a board that covers the overclocking essentials while offering limited future-proofing. It is a mature, well-understood platform rather than a risky one.
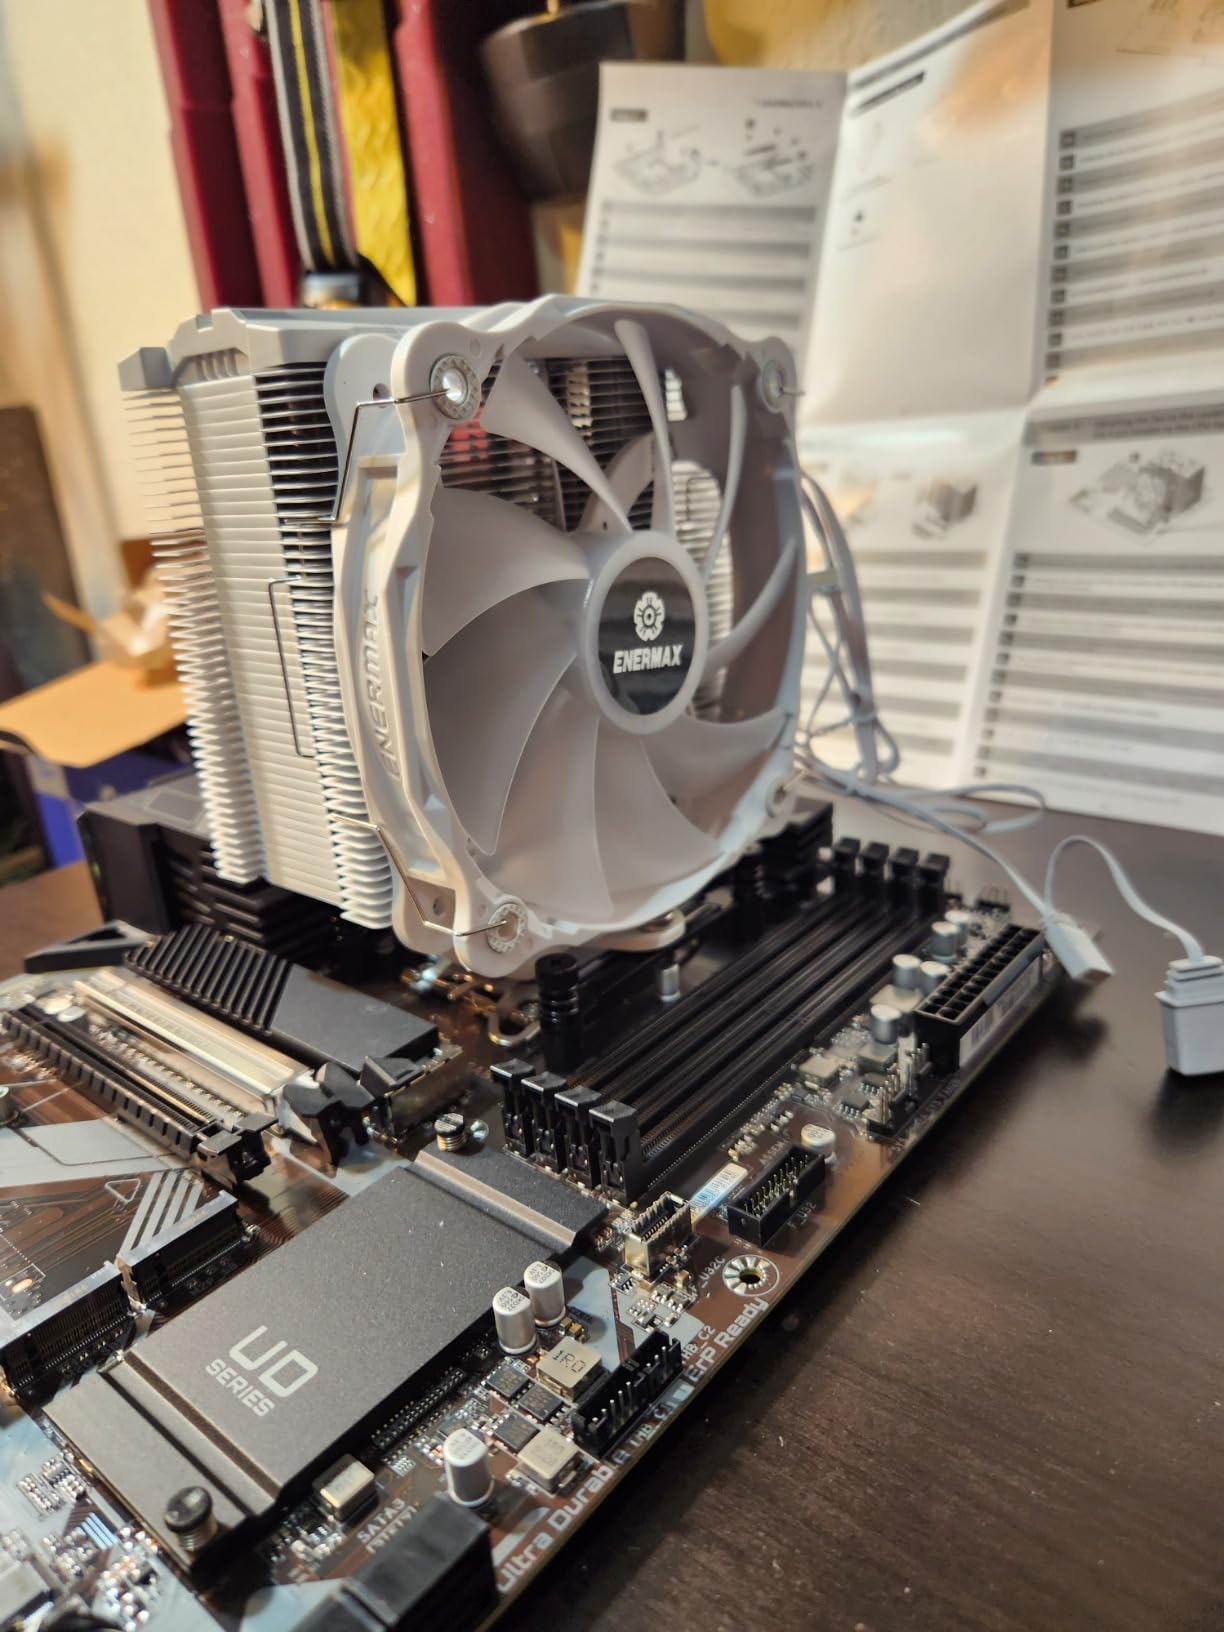
Z790 Versus B760 and B860: The Decision That Matters
Intel’s chipset naming splits cleanly. B760 and B860 are mainstream parts that do not expose the CPU multiplier overclocking controls. Z790 is the enthusiast tier and does. No amount of VRM quality changes this, and it is the reason this board exists in a roundup about overclocking.
Two widely-circulated claims conflate chipset tiers with overclocking support, and the answer is unambiguous. If multiplier overclocking is your goal, the Z tier is the only option on Intel, and B-series boards are an automatic disqualifier regardless of how good their power delivery looks.
DrMOS Stages and the 6-Layer PCB
Sixty-ampere DrMOS stages are a mainstream part, and integrated high and low-side MOSFETs run cooler than discrete designs. Combined with a fully covered heatsink, M.2 Thermal Guard and Ultra Durable Armor on the primary slot, thermals are handled adequately for sustained tuning on a mid-range Core.
The 6-layer PCB is thinner construction than the 8-layer boards in the AMD half of this list. It is a fair trade at this price point, but it is the reason we would not pair this board with the most expensive unlocked Core.
The Upgrade Path Ends Here
This is the decisive argument against the LGA 1700 route and it is worth being blunt about. There is no forward CPU upgrade beyond 14th generation, while AM5 boards support several more generations. A BIOS update cannot bridge a socket change.
Networking is also a generation behind: dual band WiFi and 2.5GbE rather than WiFi 6E or 7, no native USB4, and a modest port count. If your existing build is already LGA 1700, this is a sensible upgrade. If you are starting fresh in 2026, read our Z890 roundup first, since LGA 1851 is the socket with a future.
Which Chipsets Actually Unlock CPU Overclocking
This is the reference breakdown no competitor publishes, and it settles the most confused question in this category. Overclocking permission is a chipset-level decision, not a motherboard quality decision. The board matters for whether the power delivery survives the attempt, but the chipset decides whether the attempt is possible at all.
AMD AM5 – multiplier unlocked: B650, B650E, X670, X670E, X870 and X870E. All of these expose Precision Boost Overdrive and the full Curve Optimizer interface.
AMD AM5 – multiplier locked: A620 and A620E. No CPU multiplier overclocking, and no PBO tuning that raises clocks above the default boost.
AMD – earlier generation: X570, B550, B450 and X470. The B550 and X570 generations do allow multiplier overclocking, which is why AM4 boards remain a legitimate cheap overclocking route for older Ryzen 3000 and 5000 chips.
Intel – multiplier unlocked: Z790 and Z790E on LGA 1700, and Z890 on LGA 1851.
Intel – multiplier locked: B760, B860, H670 and H610. These are mainstream chipsets and the CPU multiplier stays locked regardless of the board.
Two practical notes on top of that list. First, plain B650 boards do overclock on AM5, which contradicts a claim that circulates widely in forum threads. The B650E designation adds PCIe 5.0 features and lane flexibility rather than unlocking overclocking. Second, B650E boards are sometimes cheaper than newer B850 equivalents, so a newer chipset is not automatically the better buy.
For a broader view of the whole AM5 lineup beyond the overclocking picks, our B650 roundup and X870 roundup go deeper on those two chipsets.
How to Overclock One of These Boards Safely
You do not need a manual voltage table to get a stable, meaningful overclock. The safe path uses the manufacturer’s own tools and leaves the CPU to make its own decisions. It is how most experienced builders tune today, and it works on every board in this roundup.
Step 1: Update the BIOS and load your memory profile. Do the update first with Flashback-capable boards, before the CPU goes in. Then enable EXPO on AMD or XMP on Intel and confirm the memory is running at its rated speed before touching core clocks.
Step 2: Set a conservative core temperature target. Cap your maximum core temperature in the BIOS at 85 degrees. This is the single most useful safety setting in any overclock, and it makes the CPU back off before it cooks rather than after.
Step 3: Enable PBO, not a fixed all-core clock. On AMD boards, set Precision Boost Overdrive to Advanced or Auto. PBO lets each core find its own limit within the package power limit you set, which produces more performance than a single fixed number across every core.
Step 4: Tighten Curve Optimizer one core at a time. Start with a modest negative voltage offset such as minus 10 on your best core, run a stability test, and only then push further. Most Ryzen 5000 and 9000 chips land somewhere between minus 20 and minus 30 on favored cores.
Step 5: Fix a single package power limit. Set a sustained package power limit above the default rather than raising the multiplier. This is what drives a higher all-core clock on a power-limited chip, and it scales properly to the VRM you bought.
Step 6: Test before you trust it. Run a long Prime95 small FFT test, a memory stress test and your actual games. A stable-looking desktop means very little. If any test produces an error, back the offset off by 5 and retest.
On Intel, the equivalent is setting a fixed all-core multiplier with a negative voltage offset, then stepping up in small increments and retesting. Remember the locked-chip caveat: X3D parts are poor overclocking candidates because their boost design is deliberately constrained.
What to Check Before Buying an Overclocking Motherboard
1. The Chipset Has to Unlock the Multiplier
Start here and do not skip it. Confirm the chipset allows CPU multiplier overclocking using the reference list above. B760, B860 and A620 boards are automatic disqualifiers no matter how good the VRM looks on the spec sheet.
On AMD, plain B650 is enough. Forgetting the B650 versus B650E distinction is the most common and most expensive mistake in this category, and forum threads are full of contradictory advice that makes it worse.
2. Amperage Per Phase Beats Phase Count
Marketing inflates the headline phase number. What actually determines whether your chip holds its clock is amperage per phase multiplied by the number of phases, combined with the mass of the heatsink sitting on top of them. Compare 16 stages at 60A against 12 stages at 90A and the arithmetic is closer than the phase counts suggest.
A practical floor for this budget tier: 12+2 at 60A is enough for a Ryzen 7 or Core i5 at moderate offsets. Going to a 12-core or 16-core part at a serious all-core offset wants 70A or better.
3. Count the CPU Power Connectors
This is the trap that catches people most often. A board with a single 8-pin CPU power connector cannot deliver the current a sustained all-core load demands, and it is an immediate disqualifier for an overclocking build. Every board in this roundup uses a multi-pin connector arrangement appropriate to its VRM.
Cheap boards on older platforms are where this shows up, and forum builders have discovered it the hard way only after their install.
4. Form Factor Versus Your Case
All eight boards here are ATX, which is the easy answer for most cases. Check your chassis supports ATX before ordering anything, and be aware that Micro-ATX and Mini-ITX boards frequently carry the thinnest VRMs because the physical area for cooling is limited.
Diminishing returns run in one direction: the more cores your CPU has, the more VRM you need, and the less board area you have to cool it. That is why we have kept this list to full-size ATX boards.
5. BIOS Support and CPU Generation
If you are pairing a new CPU generation with an older board, verify BIOS support before you build. Several boards here note that a BIOS update may be required for Ryzen 9000 and 8000 series processors, and while Flashback and Q-Flash Plus make that painless, it is a step you cannot skip.
For longer-term planning, remember that a BIOS update cannot bridge a socket change. The LGA 1700 board in this list has no forward CPU path, while AM5 boards support several more generations.
6. Memory: Aim for DDR5-6000 CL30
On AM5, the widely regarded sweet spot is DDR5-6000 at CL30, because it lets the fabric clock run in a 1:1 ratio with the memory clock. Running faster memory at an asynchronous ratio often costs you latency, which defeats the purpose of buying fast RAM.
EXPO handles the profile load, and every board in this AMD half of the list supports it. If a kit will not train at its rated speed, update the BIOS before assuming the board is faulty.
7. What the 300-Dollar Ceiling Actually Costs You
Spend the full ceiling on an AM5 X870 or X870E board and you get 90A stages, dual USB4, WiFi 7, a debug code display and tool-less fittings across the storage slots. None of that is overclocking capability. Overclocking capability is available from well under the ceiling.
What the ceiling genuinely cannot buy you is a 20-phase VRM with active cooling, a full-fat 8x SATA array alongside four M.2 slots, or a four-digit Q-LED display. If your CPU is a Ryzen 7 or a Core i5, you will not notice those gaps. If you plan to run a 16-core part at high voltage for years, they start to matter.
Frequently Asked Questions
Can a B860 or B760 motherboard overclock?
No. B860, B760, H670 and H610 are mainstream Intel chipsets that lock the CPU multiplier, so multiplier overclocking and Z-series tuning controls are unavailable. On Intel, only Z790 and above on LGA 1700, and Z890 on LGA 1851, expose those controls. Memory overclocking through XMP is still available on B-series boards, which is why a B760 is not a bad board for a non-overclocked build.
How can I overclock my motherboard?
Update the BIOS first, then enable EXPO or XMP so memory runs at its rated speed. Set a core temperature limit of 85 degrees as a safety net, enable PBO in Advanced mode on AMD boards, and tighten Curve Optimizer in small negative steps, starting around minus 10. Fix a sustained package power limit rather than forcing a fixed all-core clock, then test with a long Prime95 run and your actual games before trusting the result.
Is a B650 board enough for overclocking, or do I need B650E?
Plain B650 is enough. B650 boards unlock the CPU multiplier and expose Precision Boost Overdrive, so a board like the MSI MAG B650 Tomahawk WiFi or the GIGABYTE B650 AORUS Elite AX overclocks perfectly well. The E in B650E denotes additional PCIe 5.0 features and lane flexibility rather than overclocking permission. B650E boards are sometimes cheaper than newer B850 models, so check actual pricing rather than assuming newer is better.
Which CPU is best for overclocking?
On AMD, a non-X3D Ryzen 5000 or 9000 series chip is the best candidate because its boost behavior is not deliberately constrained. X3D parts and 65W efficiency chips are poor overclocking targets. On Intel, an unlocked K-series Core on a Z790 or Z890 board is the equivalent choice. Match the chip to the VRM: a 16-core part at high all-core offsets wants 70A or better per phase.
How much VRM do I need for overclocking?
Amperage per phase matters more than headline phase count. For a Ryzen 7 or a Core i5 at moderate offsets, 12 power stages at 60A is a workable floor. For a 12-core or 16-core chip running a serious all-core offset, look for 70A or better, ideally 80A or 90A, paired with a substantial heatsink. A thin VRM is only acceptable if you never overclock, which is the boundary most budget builders cross without realising it.
Final Verdict: Which Overclocking Board Should You Build With
If you want the single best motherboard for overclocking under 300 dollars, build on the MSI MAG B650 Tomahawk WiFi. The 4.5 average across more than 1300 owner reviews, the Extended Heatsink cooling and the cleanest BIOS in the AM5 lineup make it the pick I would hand to almost anyone starting an overclock for the first time.
If you are running a high-end unlocked Ryzen and intend to push a large all-core offset for years, the ASUS ROG Strix X870-A Gaming WiFi has the deepest VRM in the roundup at 16+2+2 with 90A stages. If you need to preserve the rest of your build budget, the GIGABYTE B650 AORUS Elite AX delivers 70A stages on an 8-layer PCB for the least.
For current connectivity without flagship pricing, take the GIGABYTE X870 AORUS Elite WIFI7 for dual USB4 and a five-year warranty. For a clean first build where diagnosing problems matters more than ports, the MSI MAG X870 Tomahawk WiFi has the debug code display. The MAG B850 Tomahawk MAX WiFi is the smart middle-tier buy, and the ASUS ROG Strix B650E-F Gaming WiFi suits anyone who wants the Armoury Crate ecosystem.
If you are firmly Intel, the GIGABYTE Z790 UD AC is the only board in this roundup that will unlock your multiplier, but check the LGA 1851 route first before starting fresh in 2026. Either way, update the BIOS before you tune, and cap your core temperature at 85 degrees. That single setting does more for your silicon than any chipset choice on this list.
Leave a Reply